Double Guitar with “Faux Bass”
This technique dates back to when I was doing live gigs with Brian Hardgroove from Public Enemy—me on guitar, him on drums. Since there was no bass player, we needed a way to fill out the bottom end. I’ve come up with a bunch of ways to do that over the years, but the technique presented here is the easiest one yet to implement. We’ll extract a bass line from an existing guitar track, without using MIDI or virtual instruments—here’s how.
Start by copying the guitar’s audio to a new track, which will become our faux bass track. Call up the Inspector, and transpose the faux bass track down by -12 semitones (Fig. 1). This technique works best with relatively articulated guitar notes, not rhythm guitar chords.

Figure 1: Start by transposing the Faux Bass track down an octave.
Now, it may seem like transposing down an octave is enough, and we can all go home now. No! The faux bass track needs three processors to sound right (Fig. 2).
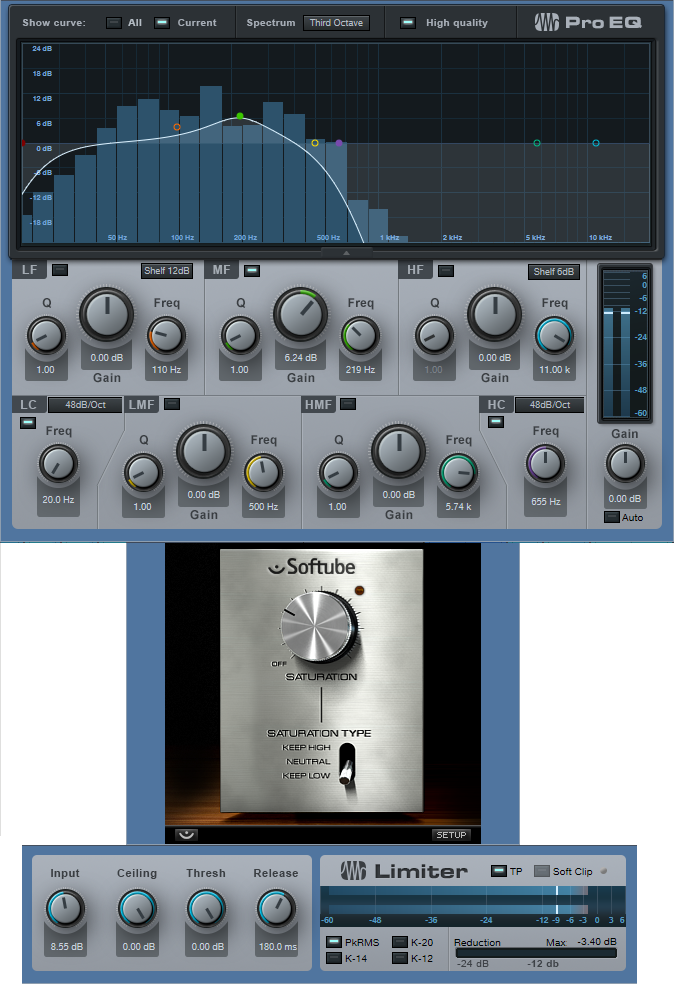
- Pro EQ. This takes off the high end. If you transpose the high frequencies down by ‑12 semitones, you end up with midrange frequencies, and that’s not what we want. We want to transpose the low frequencies, to make them lower.
- Saturation Knob. If you’ve ever played bass, and pushed the sound through a vintage 1964 Ampeg B-15 bass amp, then you know why we need a bit of saturation. The object is to give the bass some “growl,” not only so it stands out a bit compared to the guitar, but also so it has a somewhat aggressive edge.
- People tend to limit or compress bass…who am I to argue? Again, this helps differentiate the faux bass track from the guitar and provides a more solid low end.
But as they always say, the proof is in the pudding. However, since we’re not providing a recipe about how to make pudding, check out the audio example instead.
The first two measures are the guitar by itself, while the second two measures have the faux bass playing along. Pretty cool, eh? Oh…and if you’re in a Cream tribute band, this will definitely come in handy for “Sunshine of Your Love.” Have a great weekend!
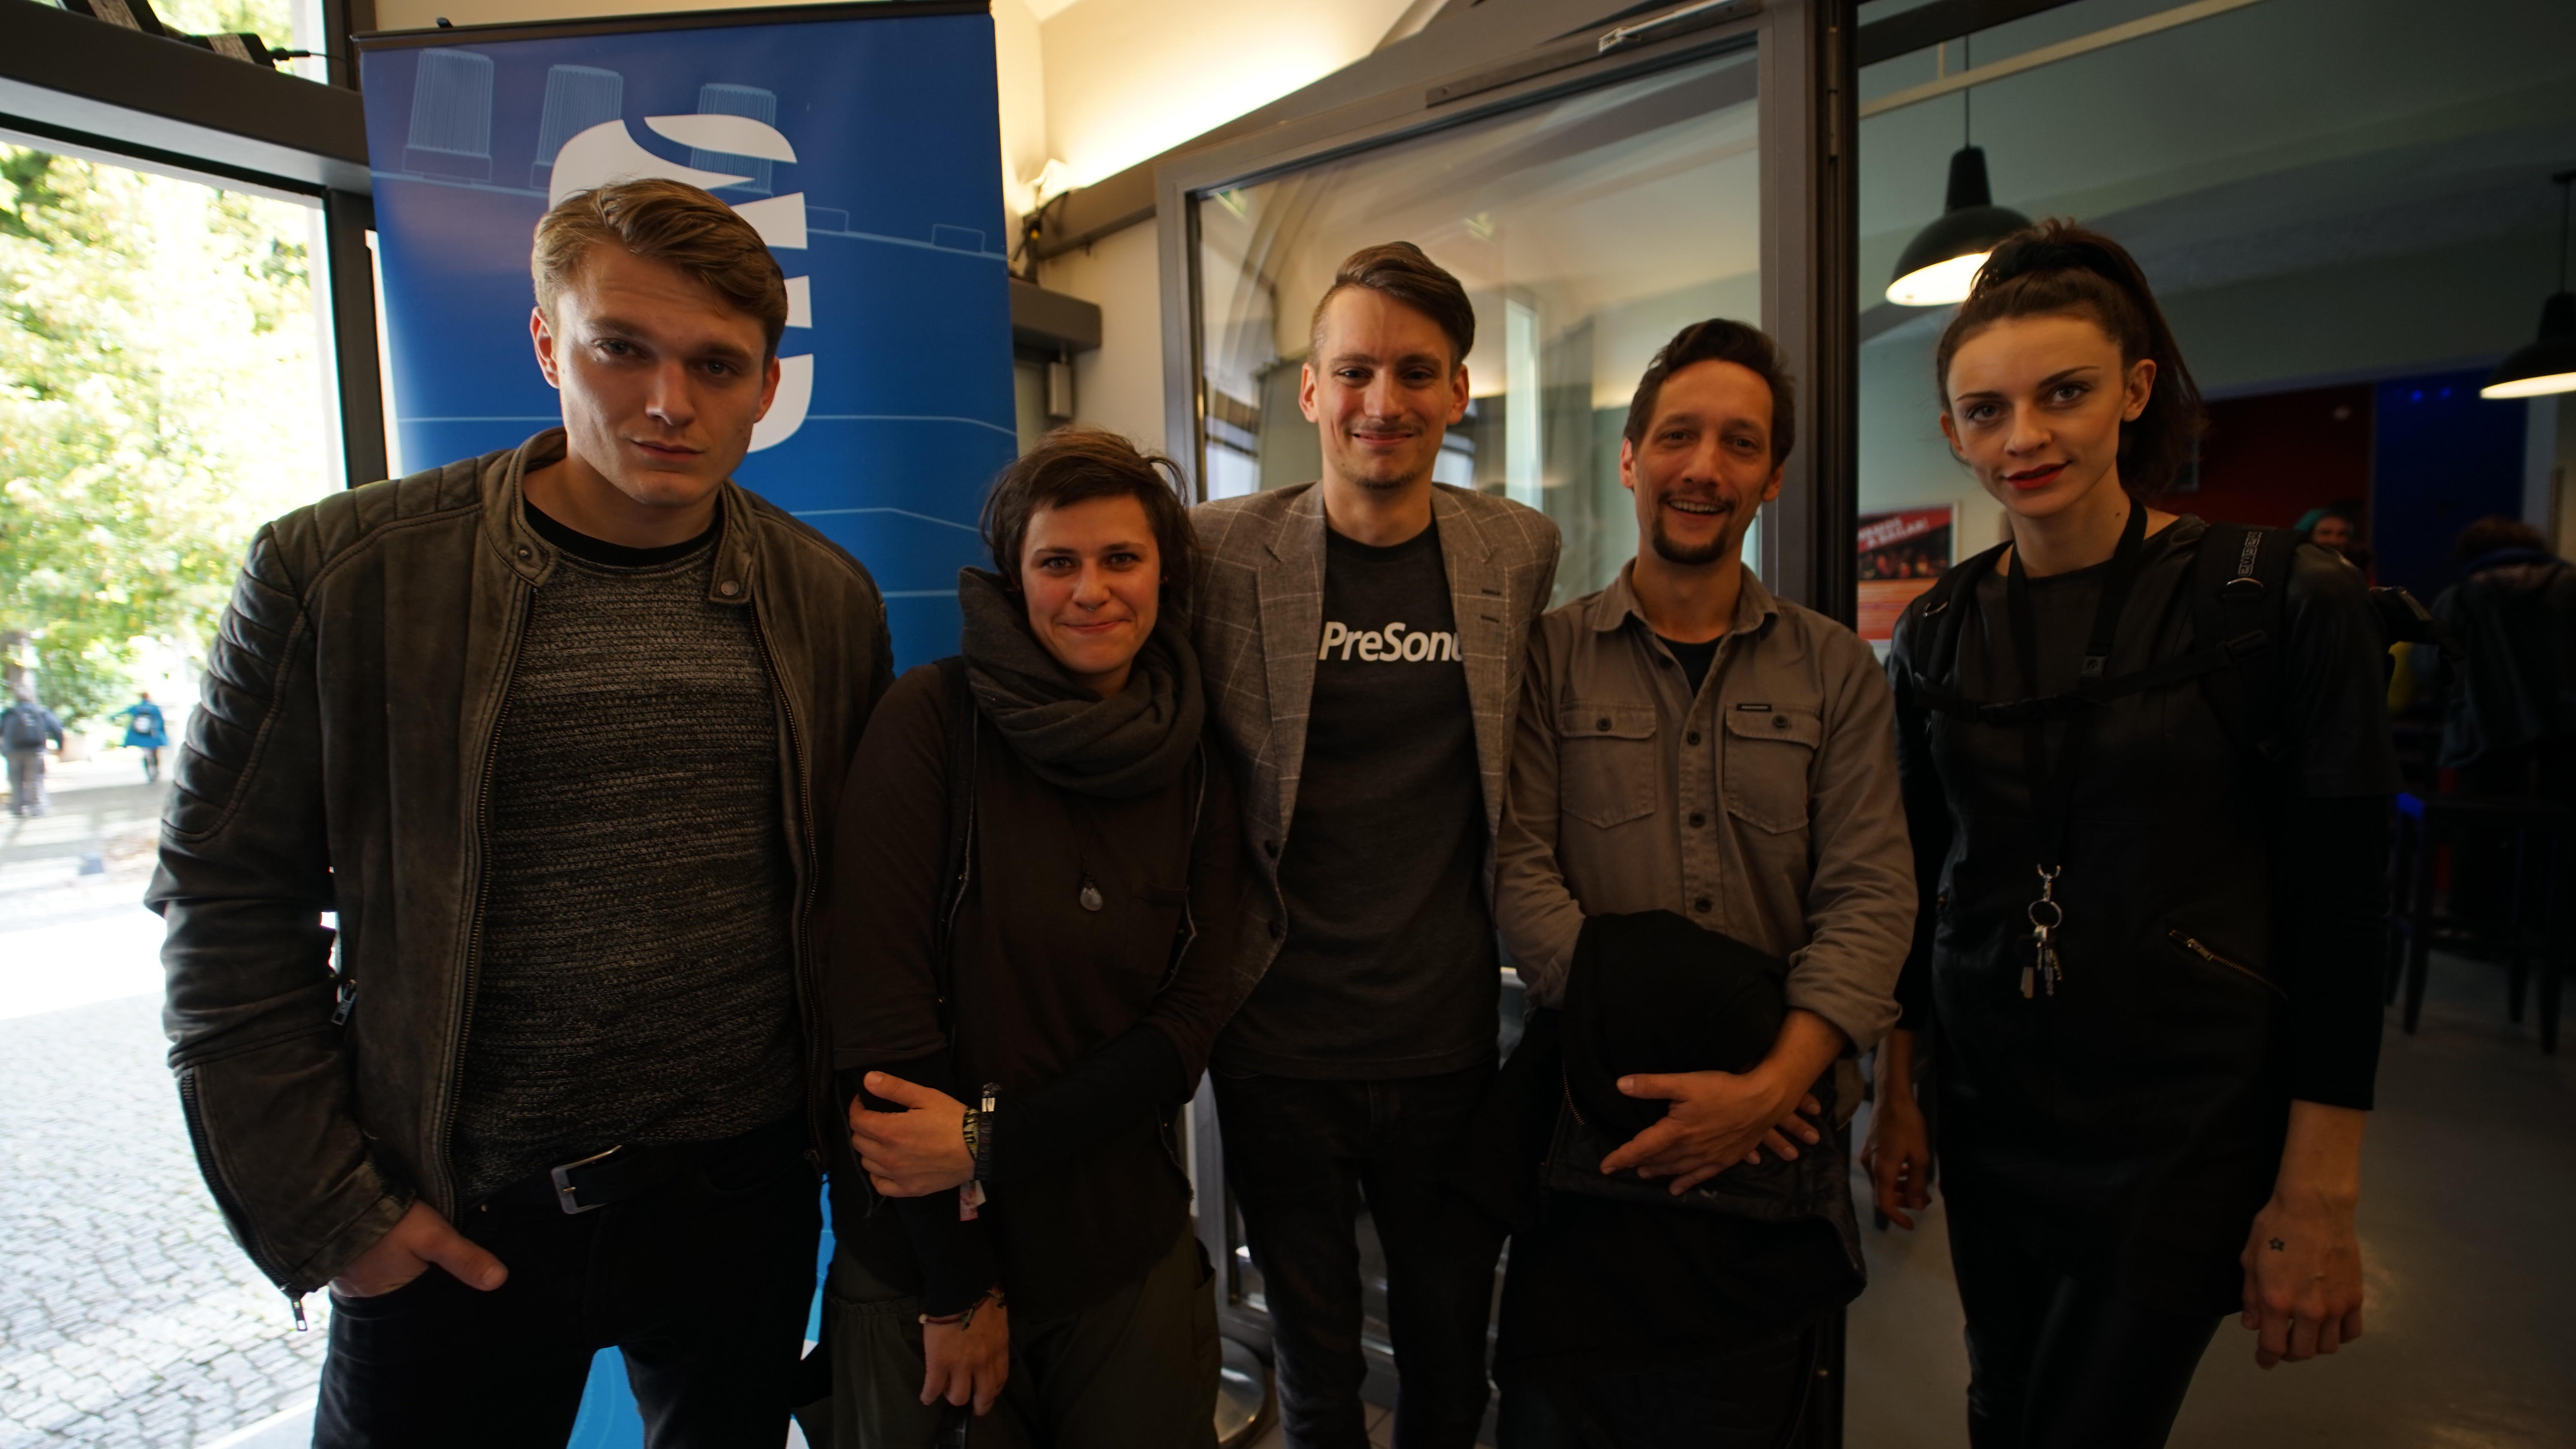
WAVE AKADEMIE was a blast!
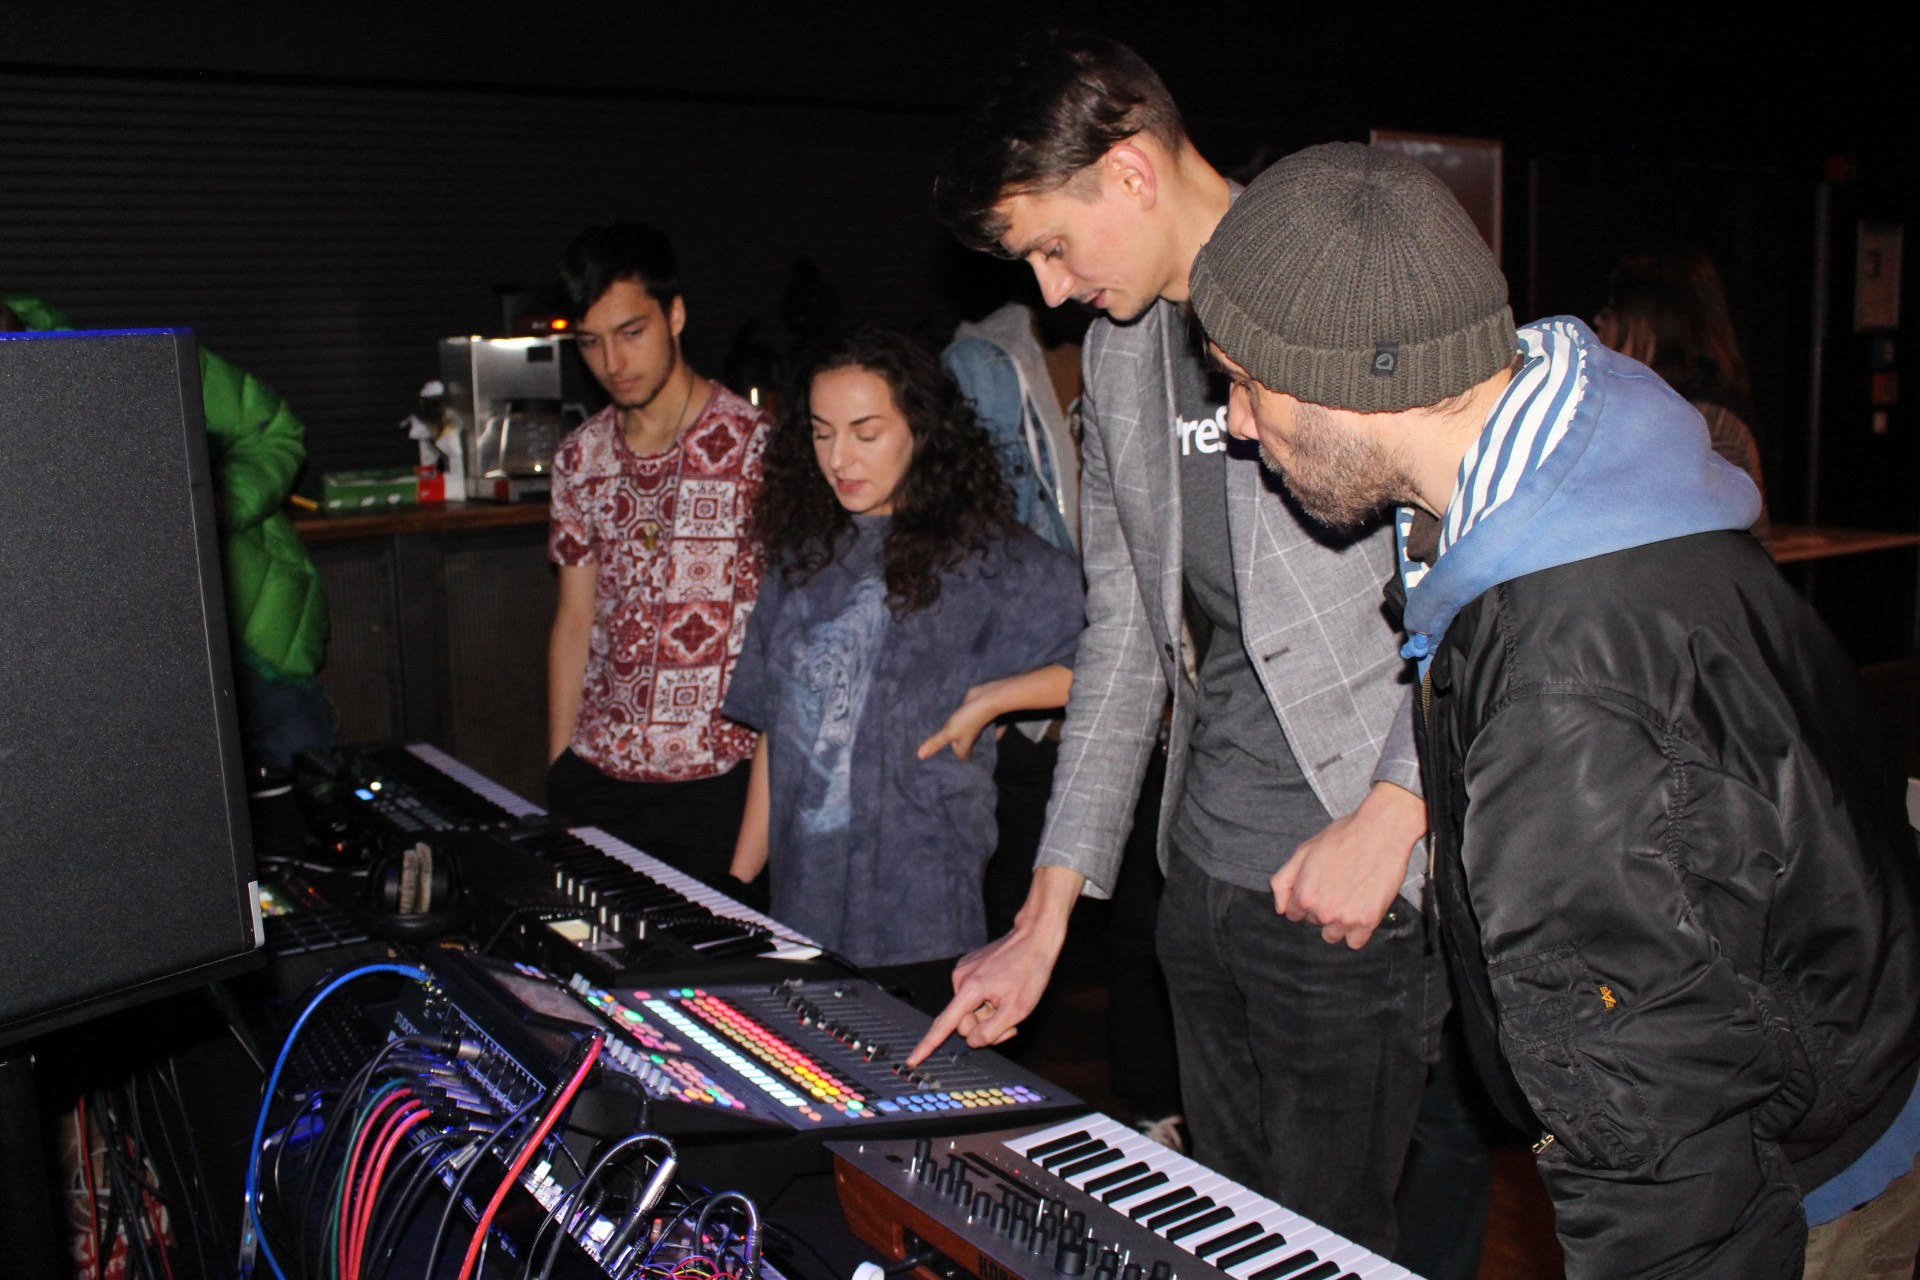
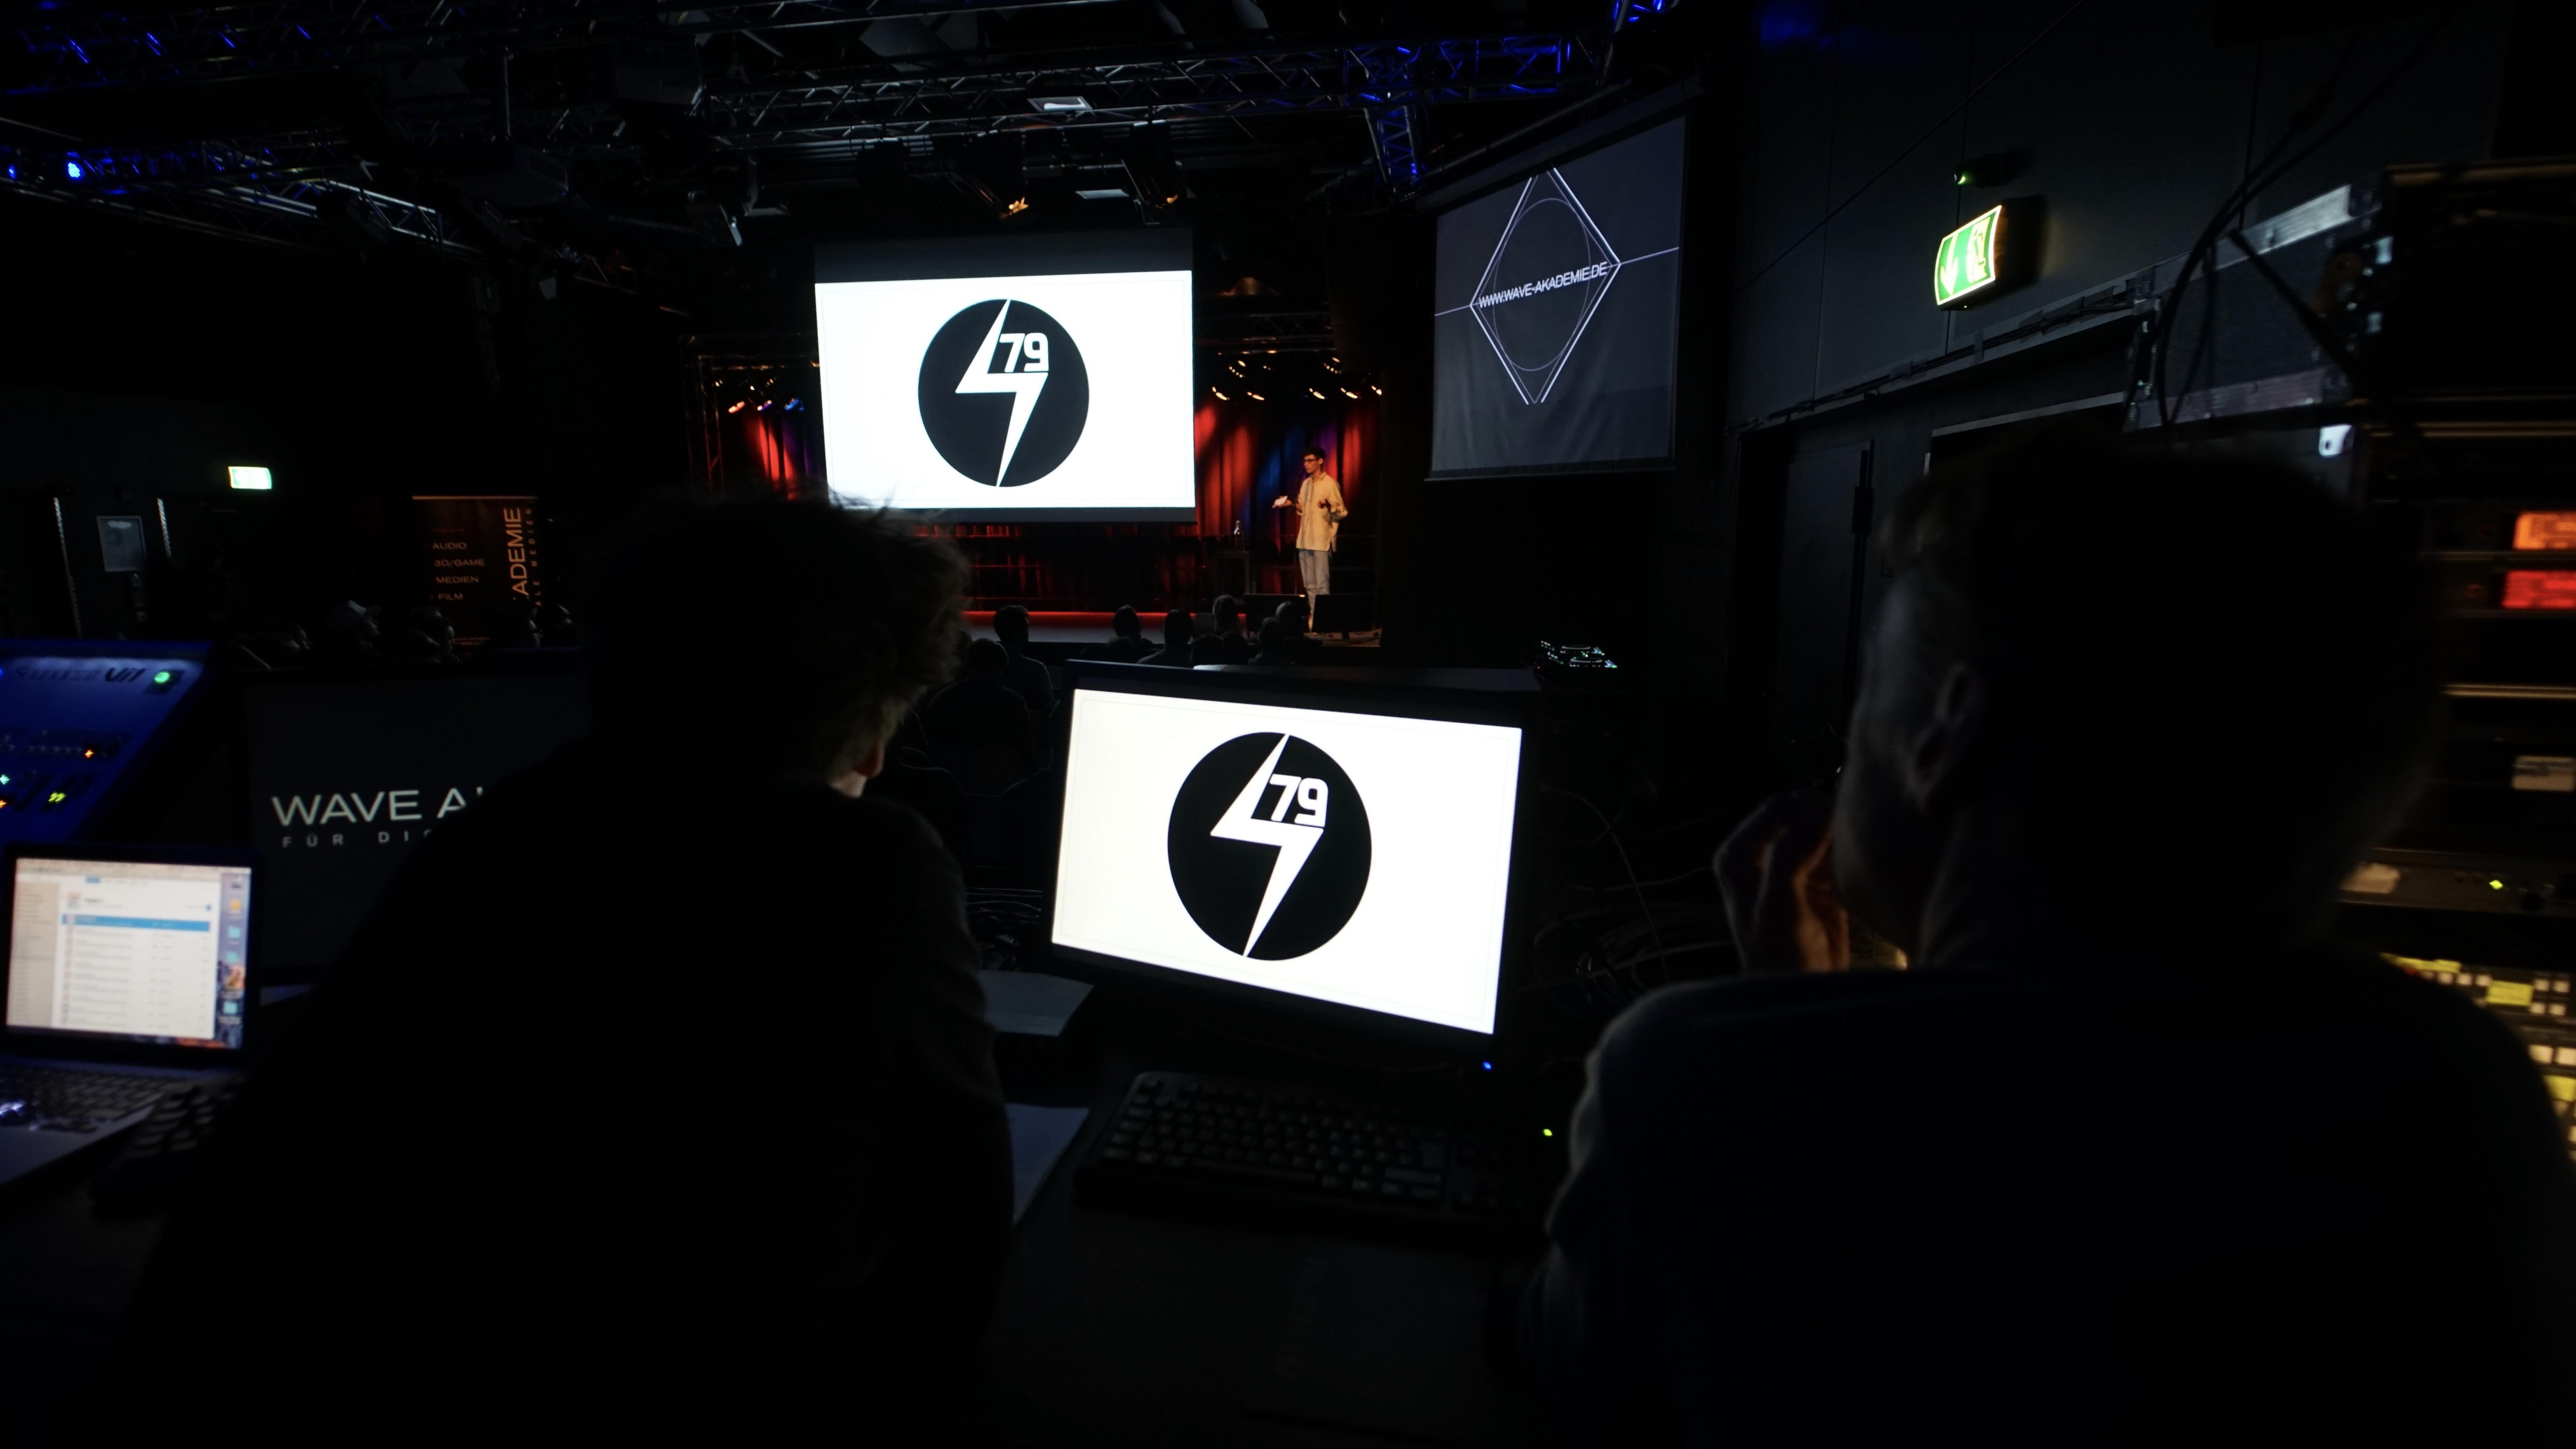
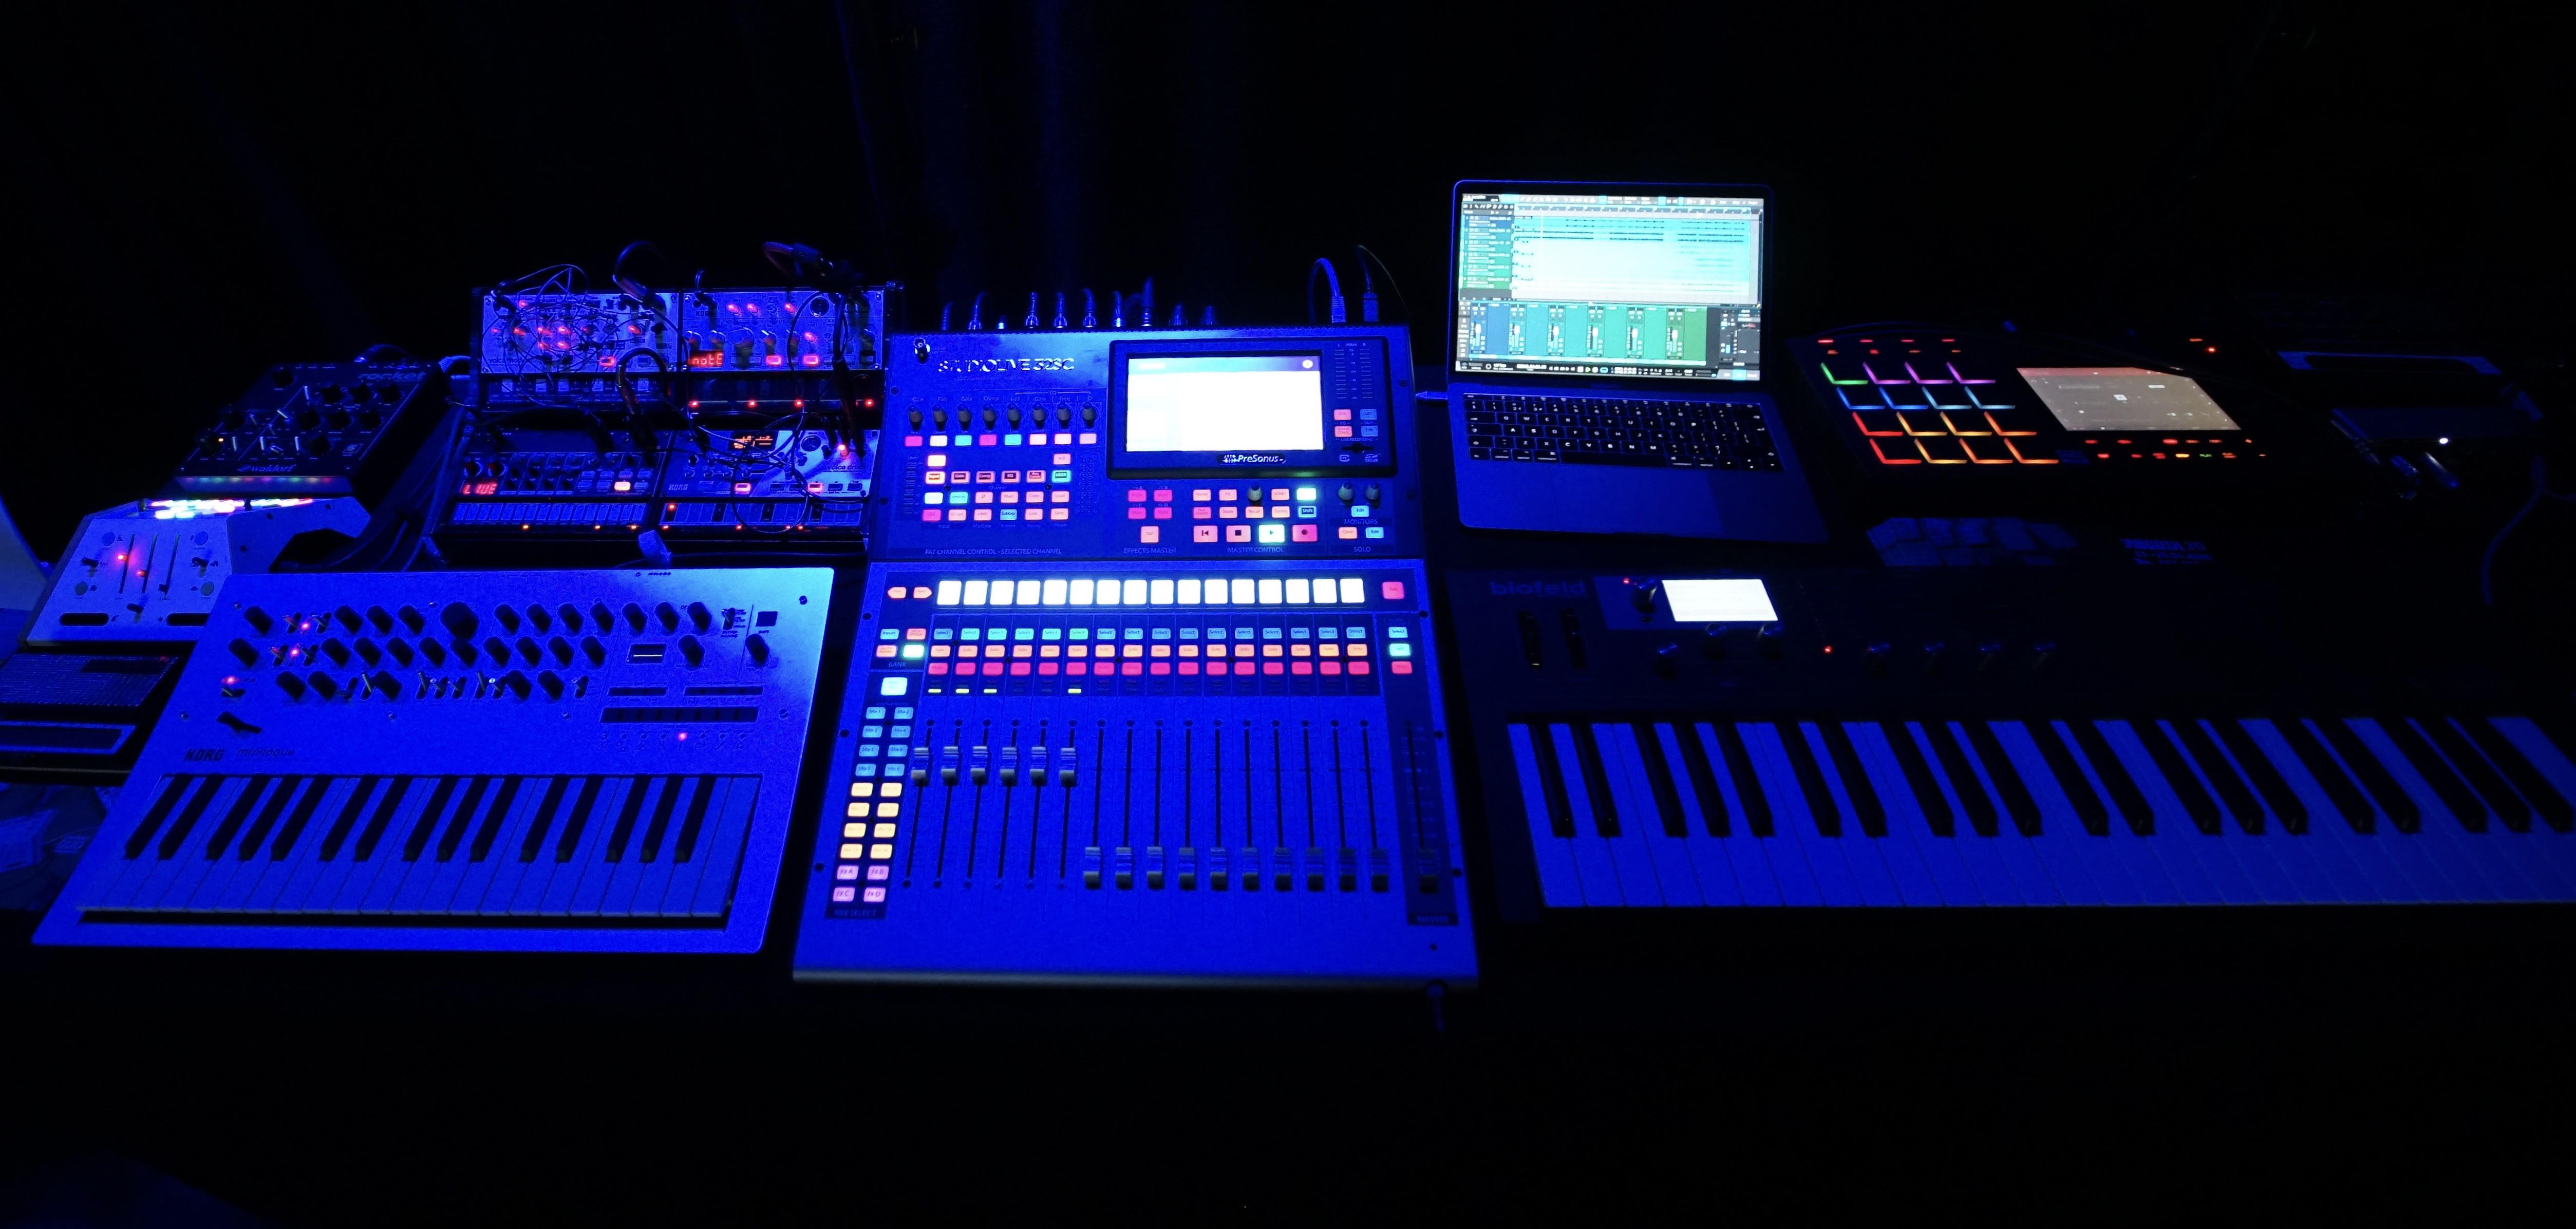
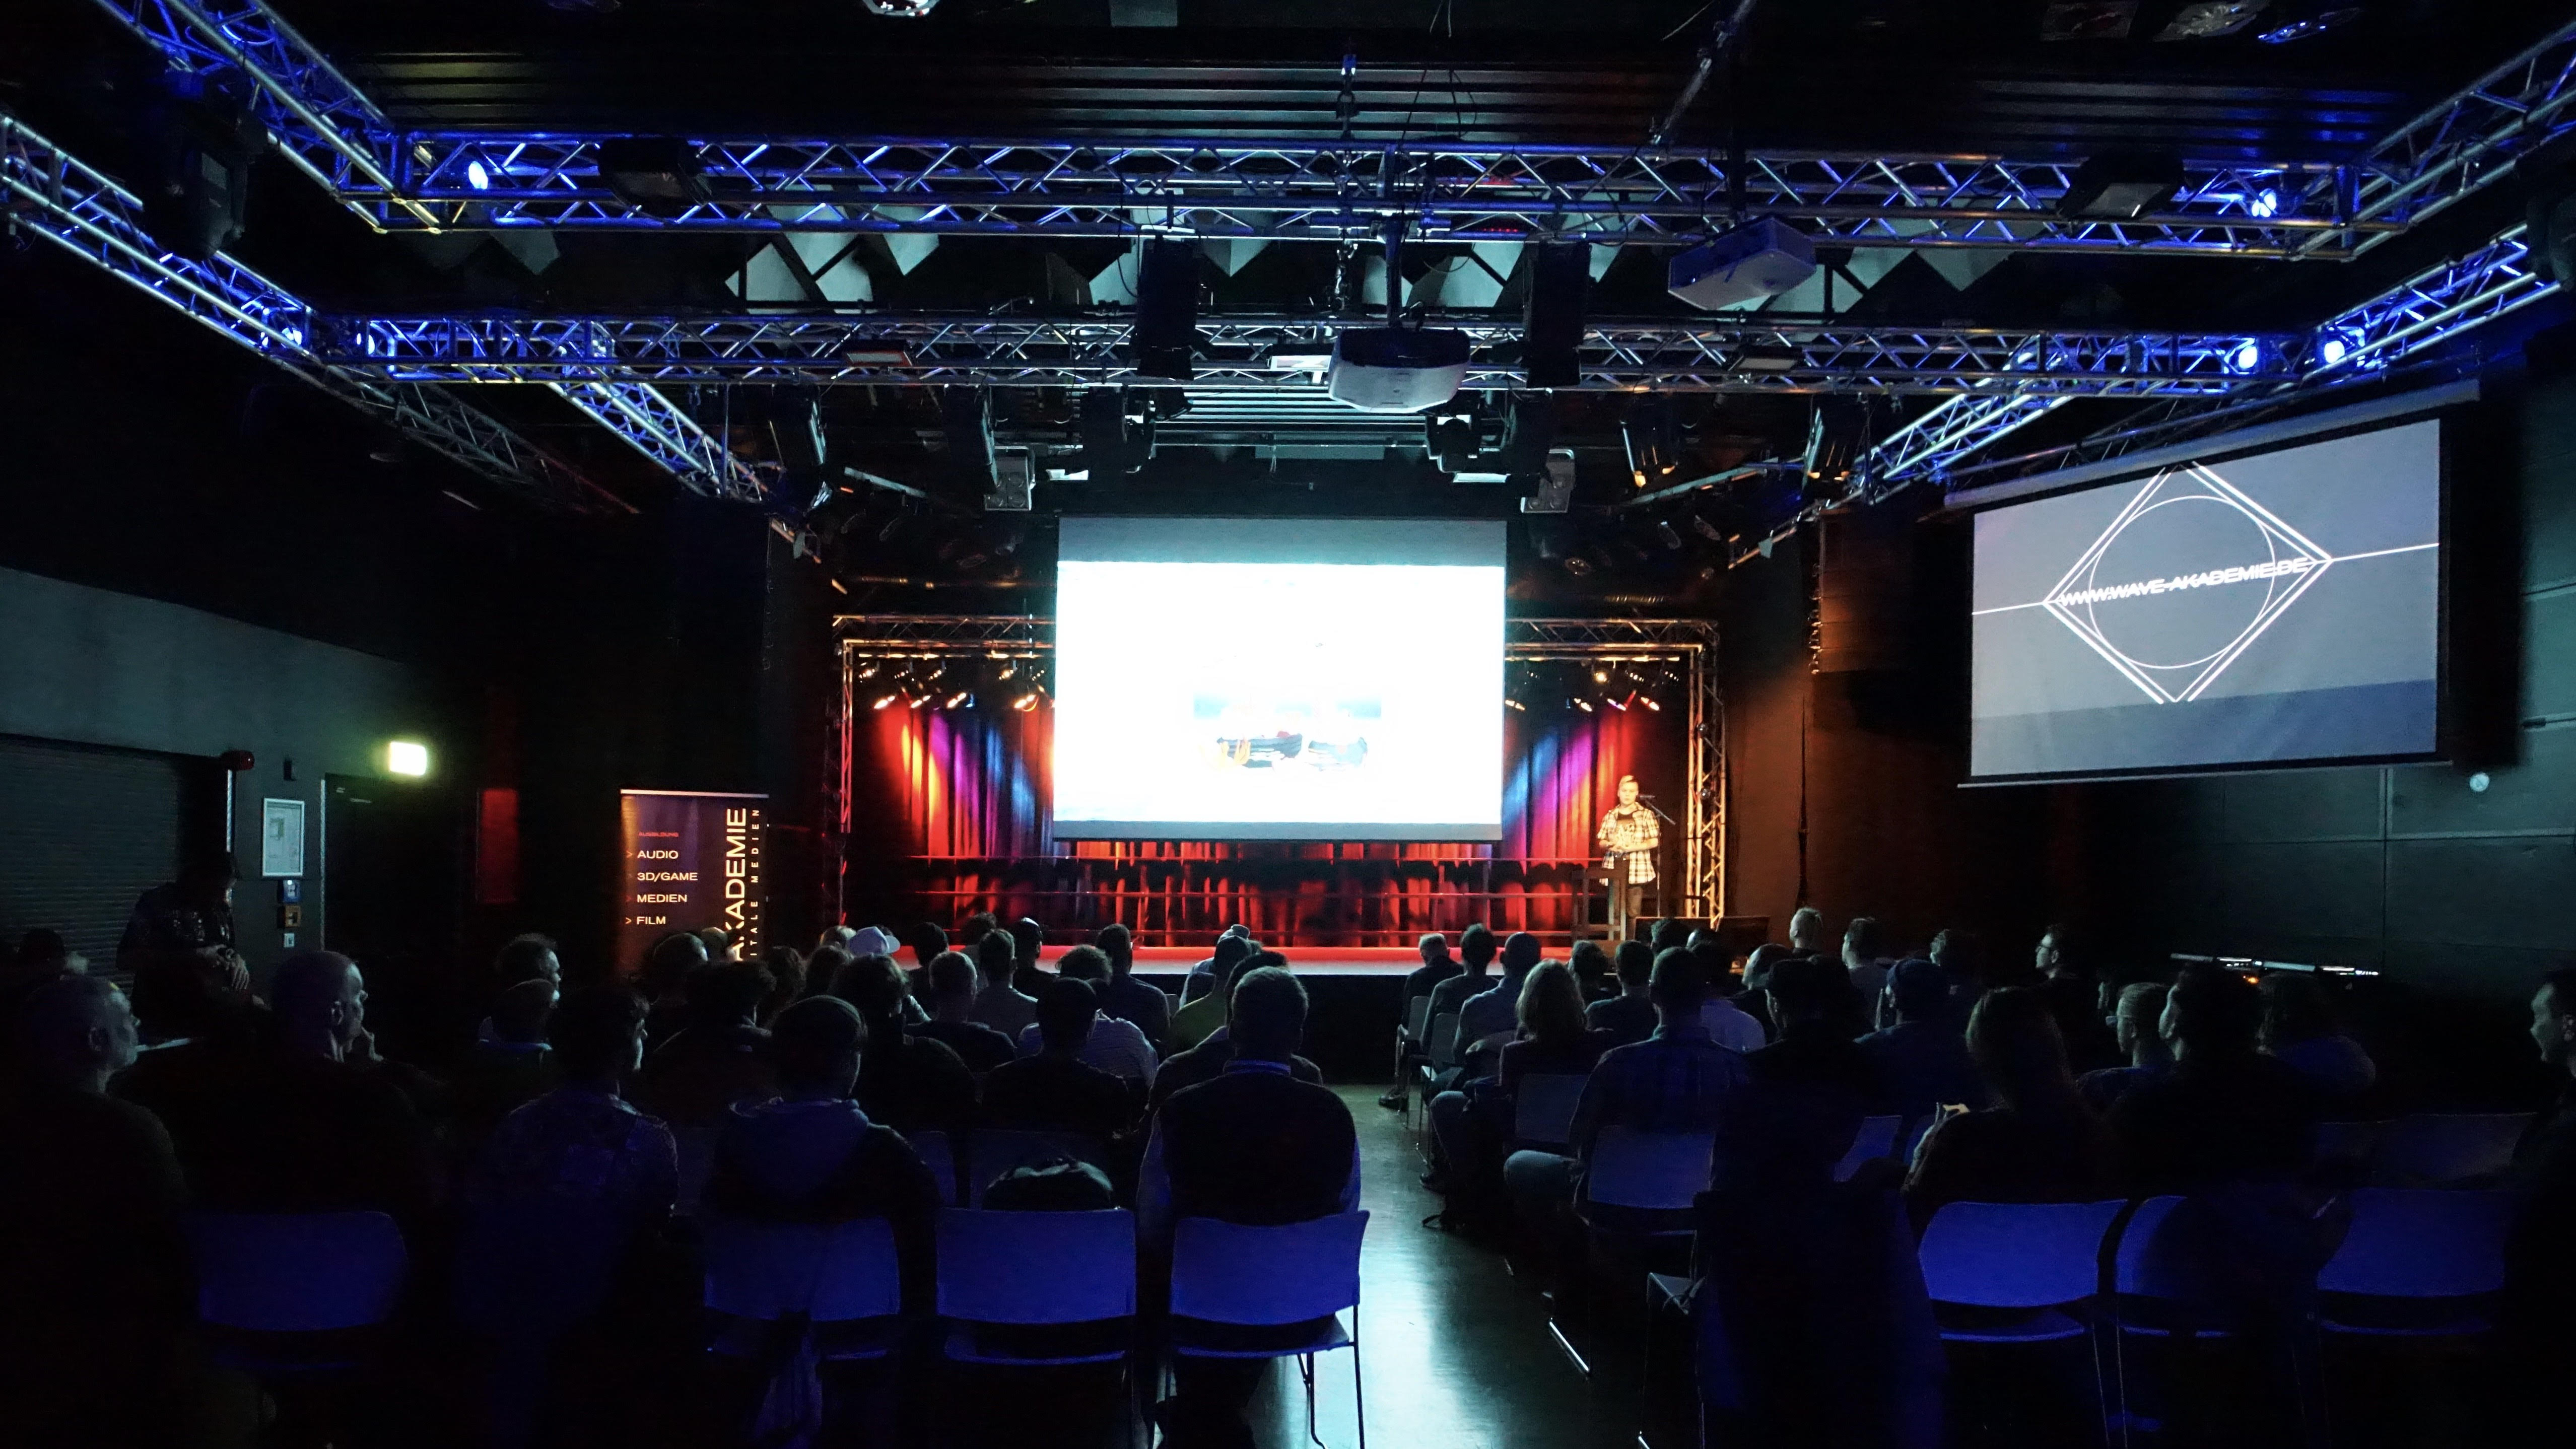
On October 11, our own Software Specialist Gregor Beyerle attended WAVE AKADEMIE Berlin’s Dissertation Presentation of Audio Engineering and 3-D/Game Design to demonstrate the StudioLive 32SC mixer’s DAW mode in conjunction with Studio One. The StudioLive 32SC is the new centerpiece of WAVE AKADEMIE’s “Soundlab,” where a large variety of both hardware and software instruments are accessible to the students.
Students and lecturers alike were amazed by the hybrid workflow of the StudioLive 32SC, which excels at integrating tons of outboard gear (like drum machines and synths) with software instruments, especially when used with Studio One. The ability to assign any channel to send or receive via analog, USB, or network gives WAVE AKADEMIE the flexibility they need in their Soundlab.
The ability to multitrack record jam sessions onto an SD card was also received with great enthusiasm, as it enables the students to record songs directly into the mixer before getting them into Studio One for post production.
Check out photos and video from the event below, and visit Wave-akademie.de for more information on upcoming events!
How to Create Compelling Mixes in Studio One—New from Craig Anderton
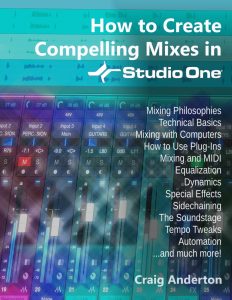
Available NOW at shop.presonus.com from Craig Anderton… How to Create Compelling Mixes in Studio One! This is Craig’s third book on Studio One, and it weighs in at a whopping 258 pages!
Click here to read more and shop!
Mixing is where you create an experience that transports the listener into your musical world. And now, renowned music technology expert Craig Anderton brings his years of production and mixing expertise to an easy-to-understand, comprehensive guide about all aspects of mixing. Chapters include Mixing Philosophies, Technical Basics, Mixing with Computers, How to Use Plug-Ins, Mixing and MIDI, Prepare for the Mix, Adjust Equalization, Dynamics Processing, Sidechaining, Add Other Effects, Create a Soundstage, Mix Automation, Final Timing Tweaks, and Review and Export.
Profusely illustrated, and loaded with constructive, practical, meaningful advice that will improve your mixes dramatically, this 258-page eBook sets the standard for discovering how to make compelling mixes in Studio One.
- 258 pages, 67,500 words, over 180 four-color illustrations
- Downloadable PDF, with links from the contents to book topics
- “Key Takeaways” section for each chapter summarizes chapter highlights
- “Tech Talk” sidebars do deep dives into selected topics
- Covers all aspects of mixing with Studio One
Chapter 1: Mixing Philosophies
Chapter 2: Technical Basics
Chapter 3: Mixing with Computers
Chapter 4: How to Use Plug-Ins
Chapter 5: Mixing and MIDI
Chapter 6: Prepare for the Mix
Chapter 7: Adjust Equalization
Chapter 8: Dynamics Processing
Chapter 9: Sidechaining
Chapter 10: Add Other Effects
Chapter 11: Create a Soundstage
Chapter 12: Mix Automation
Chapter 13: Final Timing Tweaks
Chapter 14: Review and Export
Appendix A: Mixing with Noise
Appendix B: Calibrating Levels
FaderPort 16 went to Rock in Rio with Helloween!
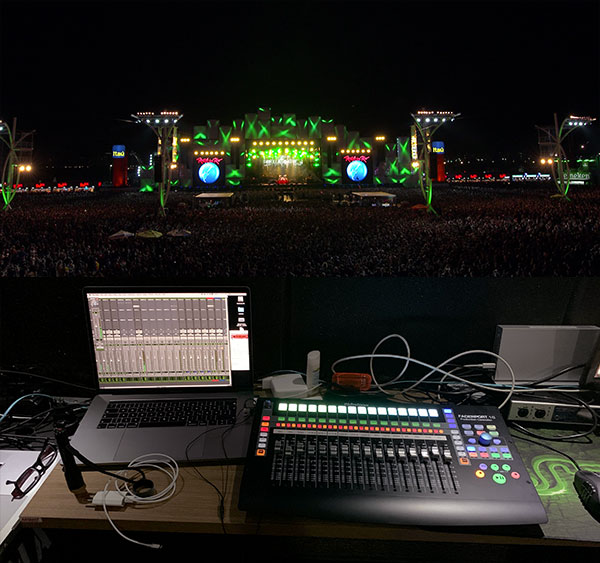
[This just in from Charlie Bauerfeind, producer for genre-defining power metal pioneers, Helloween! In his search for the perfect DAW Controller for his ultra-compact-but-complex, MacBook Pro-based, live-broadcast setup for Helloween’s Rock in Rio Show on October 4th, he turned to Presonus’s Faderport 16.]
I was blown away by the ease of use in the FaderPort 16’s setup, and the incredible versatility in this most compact DAW controller. It was truly a plug-and-play experience, and made my job in Rio go perfectly smooth… My Pro Tools-based setup is comprised of several session-based pre-programmed automation parts… but the much bigger dynamic automation part needs to be handled flawlessly during the live performance. I’ve owned a FaderPort Classic for a long time, but the FaderPort 16 allowed me to deliver a great broadcast result for one of the biggest Rock festivals on this planet.
A big THANK YOU to the guys at PreSonus!
-
For more on the FaderPort 16, click here.
Friday Tip: Percussion Part Generator
Just as we can use plug-ins to process audio, Studio One’s Note FX are plug-ins for MIDI data. They tend to be overshadowed by our shiny audio plug-ins, but have a lot of uses…like generating cool percussion parts.
This may sound like a stretch (“c’mon, can it really generate a musical percussion part?”), but the audio example will convince you. The first four measures are a percussion part created by the Arpeggiator NoteFX, the second four measures combine the percussion part with a house drum loop, and the final four measures are the house drum loop by itself—so you can hear how boring the loop sounds without the added percussion part.
This part was created with three conga and two bongo samples, each assigned to its own MIDI note. The initial “part” was just those five notes, each with a duration of four measures. It doesn’t really matter how long the notes are, you just want them to be continuous for the duration of the drum part. I then added the Note FX Arpeggiator plug-in to arpeggiate the notes (Fig. 1).

Figure 1: The Note FX Arpeggiator, set up to play different drums at different velocities.
By themselves, the standard up/down and down/up patterns tend to sound overly repetitive. The Random option (outlined in red above) helps, but then you have a random percussion part, which doesn’t relate to the music. So let’s introduce the secret sauce: automation (Fig. 2).
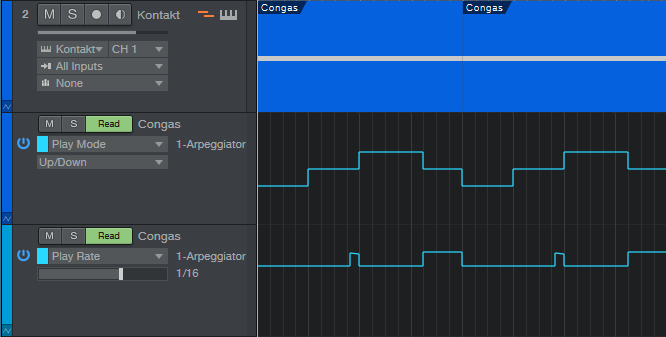
Figure 2: The automation lanes control Note FX parameters.
The key here is automating the Play Mode and Rate. The Play Mode automation starts with up/down for a measure, then down/up, then random for a bit more than a measure, and then down/up again. This adds variety to the part, and when it repeats, the random section creates additional variations so that all the parts don’t sound the same.
But what really adds the human element is varying the Rate. It starts off as 1/16th, but then just before the third measure starts, does one beat that starts with 1/32nd notes and ramps down over the beat to 16th-note triplets. The last three beats of the four measures uses a 32nd-note Rate so that the “robot percussion” adds some tasty, faster fills to lead into the next measure. I used down/up during these faster parts, but random can sound good too.
The final touch is Swing, which is set to around 70% in the audio example. Note how even though the drum loop is metronomically correct, adding swing to the percussion part lets it “dance” on top of the drums.
Now, here’s a very important consideration: You may look at the above and think “this sounds too easy,” or maybe “but what are the exact settings I should use?” The answers are yes, it really is that easy; and the exact settings really don’t matter all that much—feel free to experiment. Studio One’s little robot percussionist is full of surprises, and the way to uncover those is to play around with the settings, and automate them to create variations.
Finally, I’d like to mention that I have a new eBook out! At 258 pages, “How to Create Compelling Mixes in Studio One” is considerably longer than my two previous Studio One books. I’ve been working on it for the past year, and it’s finally available in the eBook section of the PreSonus shop. Check it out—I sincerely hope it helps you make better mixes.
A Riff on Heritage: Alien Weaponry Keeps Ancient Family Traditions Alive!
Let’s take a minute and acknowledge some of our favorite TV dads:
Now let’s introduce you to one of the coolest dads out there, Neil de Jong. He is the audio engineer and dad to two of the three-member tribal thrash-metal band Alien Weaponry. Like a good dad, he taught them the value of hard work. The band worked multiple jobs after school and on weekends, played tons of shows and funded all their own gear, full of instruments and recording equipment! Neil also served as the group’s manager until its recent signing to German music agency Das Maschine. He always went out of his way to teach his sons about Māori history and culture which is a massive influence on their music.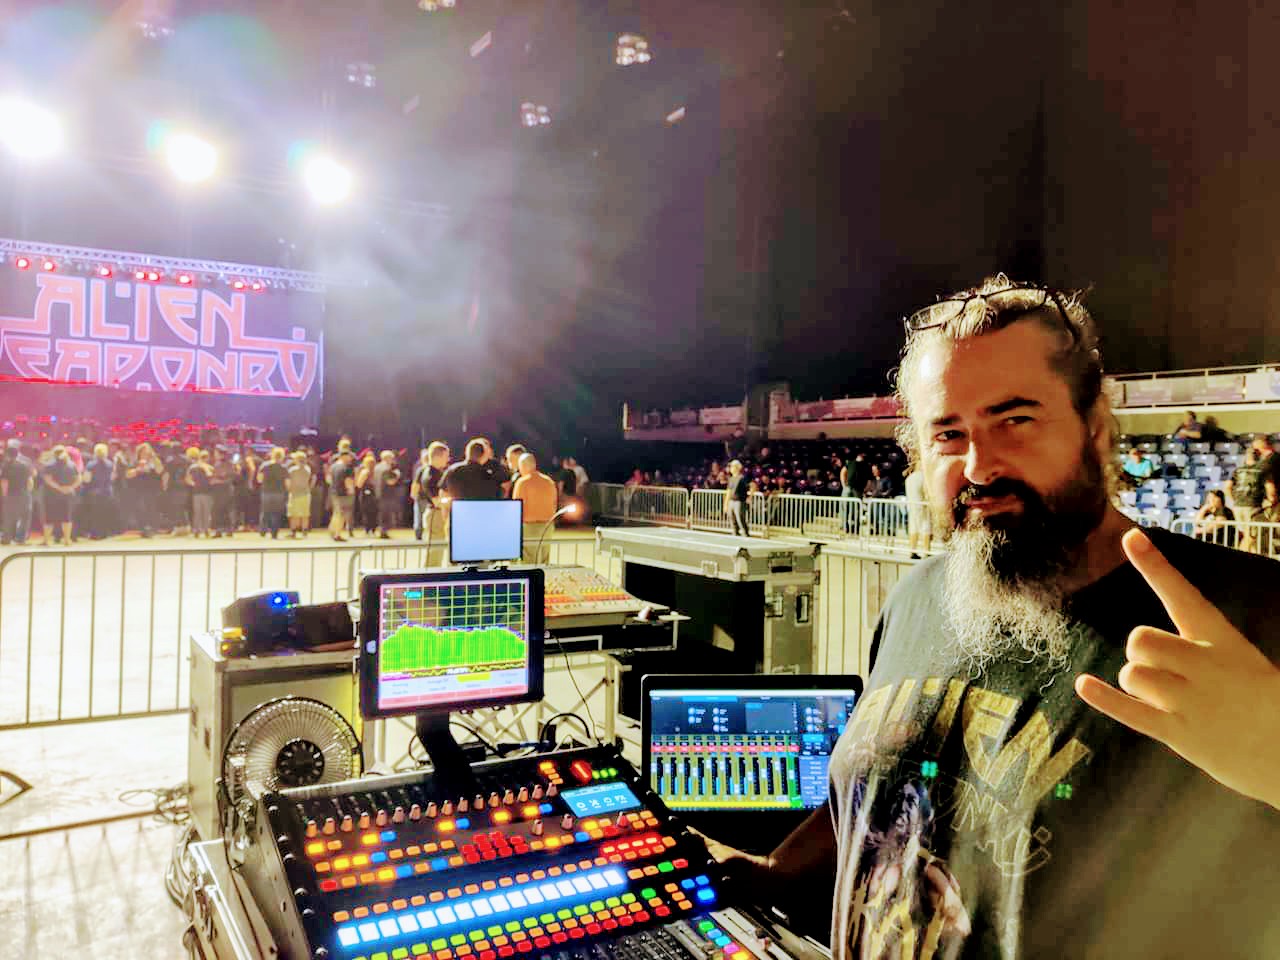
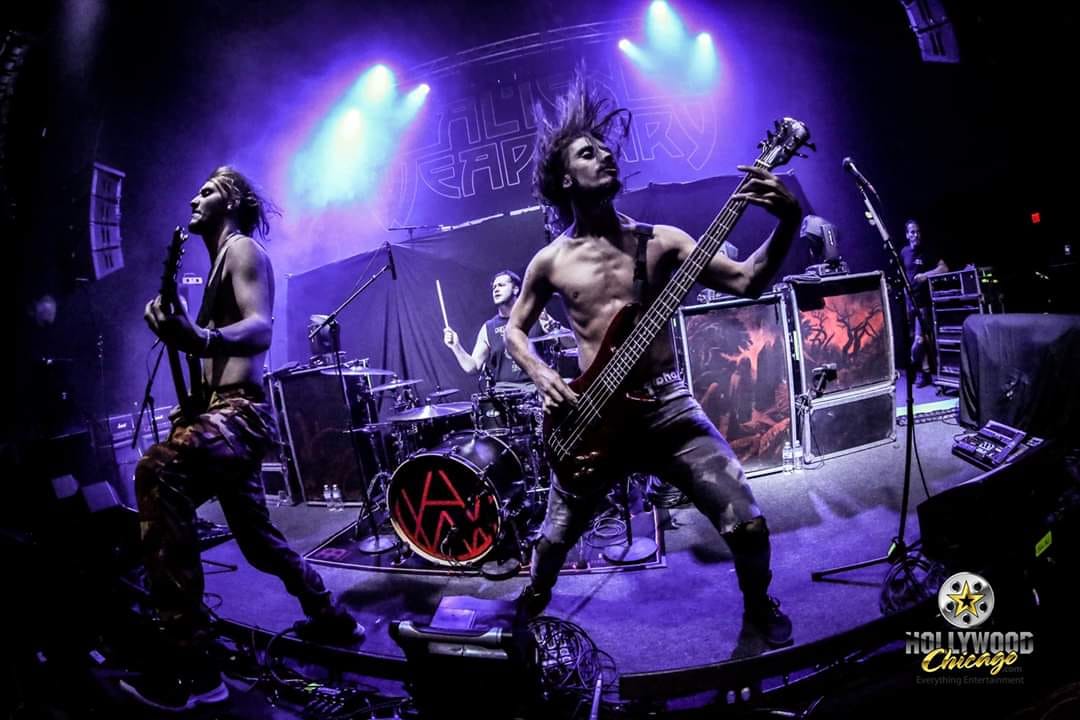
Alien Weaponry is a heavy metal band from Waipu, New Zealand, formed in 2010 by brothers Henry and Lewis de Jong. The band consists of Lewis de Jong (guitar and vocals), Henry de Jong (drums), and Ethan Trembath (bass guitar). Revolver Magazine called them “one of the best young metal bands in the world right now!”Alien Weaponry not only draws on the traditional Māori haka war-dance for their music, but often sing in the Māori language of Te Reo—and by doing so, are keeping the language alive. Pretty metal, right!?
They are currently killing it on tour, and we had the opportunity to hear all about it—and their rig, which includes a StudioLive RM32AI and a StudioLive CS18 AI. Neil took the time to answer a Q&A, below.
Hey Neil, give me some basic background info on your career and current projects.
I am 53 years old and have spent much of my life doing sound in one way or another. I spent my early years (like many) playing guitar in bands. When I was in my early 20s I landed a job working in a recording studio and trained there as a mastering engineer. I worked for many years on music and film projects as a post-production sound engineer and when Alien Weaponry started to make a name for themselves internationally I took on the role of live sound operator. I won Record Producer of the Year in last year’s New Zealand Music Awards for my work on Alien Weaponry’s album, Tū, which also won Best Rock Album and made dozens of Top Albums of 2018 lists worldwide.
What PreSonus product(s) have you used in the past and which do you currently use?
I work for Alien Weaponry, who are a young thrash metal band from New Zealand that I have had a long association with—I’m their dad! I started off with an StudioLive RM16AI and an iPad. This was initially to help the band out with a rehearsal space set up, but we found it made a great compact FOH rig too. I then acquired a 23-inch HP touchscreen to use which greatly enhanced the system. About two years ago, I acquired a CS18AI and an additional RM16 which I used for touring in Australasia with Alien Weaponry. I now own three RM32AI rigs, each with a CS18AI and AVB. I use these as my main touring rigs in the three main locations we tour in the world (North America, Europe, and Australasia) I still have the RM16s and recently bought a 24R for the rehearsal studio as the band wanted to record stuff straight to SD card. I have done some fly dates just with the 24R and a touch screen laptop.
For what applications are you using the product(s)?
I have been mixing on my RM32AI/CS18AI rigs at some of the world’s largest heavy metal festivals in Europe, America, and Australasia. (Download UK, HellFest France, Wacken Germany, Metaldays Slovenia, Chicago Open Air amongst others) The band also toured with Anthrax and Slayer last season in Europe and we played everything from 1,200 cap clubs to 20,000 cap arenas. I am almost always running the smallest mixing console at FOH, and it does raise eyebrows. Most guys are on the larger Midas, Digico or Avid consoles. After we play, many want to know what I am mixing on and are surprised by the sound.
 What led you to choose these particular PreSonus product(s)? Was it the company’s reputation, audio quality, specific features, price, other factors?
At the time I was looking for a mixed setup I had investigated the lower-end offerings by Midas and the Behringer X32. I decided to go with the PreSonus RM partly based on the architecture and a recommendation from the guys in New Zealand who run The Rock Shop (from whom I purchased my first RM16AI) Price was definitely a consideration and as it was for a rehearsal space a small footprint was a huge factor too.
Having used the gear, what do you like most about the specific PreSonus product(s) you use so far?
I really like the architecture of the AI-Series stuff. I like that the CS18AI is only a control wing as well as the flexibility I have with iPads and touchscreen laptops. Our monitor mix guy mixes directly to the system with his iPad from the side of the stage during shows. He and the band are on in-ear monitors. I also really like the sound of the PreSonus preamps too and think they sound better than many more expensive options I have encountered at big shows. Certainly better than the Avid/Digidesign console in my opinion.
In each of the PreSonus product(s) you use, what features have proven particularly useful for your specific workflow and why?
I think the “stage box” layout of the RM32AI is perfect for big festival shows with all XLR inputs and outputs on the front of the box. We have our ears wired in on the DB24 connectors on the back, and they conveniently live in the same SKB rack. We have been up and running in as little as 10 minutes with mics all line-checked and ready to go. I also like were the Tap Tempo and FX Mute button are on the CS18IA—right under my thumb.
Any user tips or tricks or interesting stories based on your experience with PreSonus gear?
I like that I can run music for testing the rig from FOH and that our stage mix guy runs the house music from the RMs position on stage. He is able to do a “silent” soundcheck/line check using his in-ears and iPad. This is how we do all festival setups and did many of the shows with Anthrax and Slayer when there was just no time for a full soundcheck. The system has never let us down.
Any final comments about PreSonus, our products in general, and the PreSonus product(s) you use in particular?
I also like that my PreSonus rig is so portable and flexible. The first time we toured Europe, we did it in a splitter van, so space was a big issue and the smaller footprint of the FOH gear was very welcome. I also like the dark grey/ black color scheme of the StudioLive RM AI/CS18AI units. I’m glad to see the newer Series III units are using less blue… but then I work for a metal band, so black is king. It’s one of the reasons we use Audix mics, hahaha!
Follow Alien Weaponry on Instagram!
Subscribe to their YouTube Channel!
Important! macOS 10.15 Catalina Notice
Apple is poised to release its next operating system, macOS X 10.15, “Catalina,” sometime in October of 2019. PreSonus has been working with Apple to qualify pre-release versions of this new OS with all of our products.
We have found changes in Catalina that affect compatibility with PreSonus hardware and software. Remain on current versions of macOS until further notice. We ask that you please wait for us to announce compatibility before updating your OS.
In the meantime, please be advised:
- Studio One version 4.5.4 is required to run Studio One under 10.15.
- Izotope Neutron Elements and Klanghelm SDRR2Tube will not install under 10.15.
- Arturia Analog Lite, and StudioLinked Trophies will at first not install— you must CTRL+Click (or right click) and select “Open” to install them.
- Check your third-party plug-in developers’ websites for updates, as many of them may not install or run correctly under 10.15, and will need updates themselves to work correctly.
- Some of the Studio Magic Plug-ins will not run under 10.15.
- Universal Control 3.1 and older versions are not supported and will not open sample rate settings correctly on macOS X 10.15 Catalina.
- An update to Universal Control will be necessary to access these settings. This update will be announced as soon as it’s ready for use with 10.15.
- Universal Control 1.7.6 for FireStudio interfaces and StudioLive 24.4.2, 16.4.2 and 16.0.2 will not install on macOS X 10.15 Catalina.
- An update to Universal Control will be announced as soon as it’s ready for use with 10.15.
- StudioLive Series III mixers will not work with macOS X 10.15 without a firmware update.
- We are planning a public beta of this firmware update to be available soon after 10.15 becomes available.
- StudioLive 16.0.2. USB will not work with 10.15, please stay on 10.14 or a previously-supported OS until further notice.
We will provide an update when we have qualified 10.15 for use with our products and what updates are needed to ensure proper compatibility.
Thank you!
PreSonus Team
Please also see the following article:
PreSonus FAM Friday with Gregor Beyerle
But who is Gregor? Good question…
How long have you worked for PreSonus?
I have worked for PreSonus since February 2019.
My official title is PreSonus Software Specialist. I produce videos for my series “Studio One with Gregor” on a regular basis. I’m also collecting user feedback for Studio One, and present at our software at workshops and other events.
My favorite thing about working for PreSonus is that I get to work every day on the exact same things I’d spend my free time on, with some of the most incredibly talented people I’ve ever met. It sounds corny, but it’s seriously the best feeling in the world to love what you do!
My first ever cassette was “Sleeping in my Car” from Roxette. That song still rips!
Who’s your go-to band or artist when you can’t decide on something to listen to?
When driving or clubbing, Malaa is always a safe bet. I’m also a massive fan of the German Synthpop band Seabound.
Everyone has a side gig, what’s yours? OR when you’re not at PreSonus, what are you up to?
Besides working for PreSonus, I’m producing, mixing and mastering for several Artists, primarily from the Electro-Industrial / Wave / Gothic scene. Check out Coma Alliance, We Are Temporary or V2A if you want to hear some of my work!
 Got any tips for working with Studio One?
I took my first steps in semi-professional music production with Cubase more than 10 years ago. I knew my way around fairly well, though I always felt that there were just too many steps involved in getting the result that I wanted. When I decided to make producing, mixing, and mastering a full-time career, this annoyance became a serious issue—because I just couldn’t earn a living if each project took so long to finish.
That’s the main reason why I switched over to Studio One. Within just a couple days, I was able to work so much faster than before.
“Studio One with Gregor” will be a regular series, so expect more and more episodes to be released going forward. I’m also working on several other projects that will help people get to know the power of Studio One better, every day. Besides that, I love consolidating user feedback and constantly gather ideas for future Studio One versions. If you have feature requests that you’d like to see implemented in future versions, please keep them coming over at PreSonus Answers.
Follow Gregor on Instagram!
Friday Tip: EZ Multiband Processing
The February 1, 2019 tip covered a multiband processing “development system.” Instead of using the Splitter’s frequency split option, it added sends and buses to make everything accessible in the Mix view. The Multiband Dynamics processor created the bands, which made it easy to add compression or expansion to some of the bands. After creating the desired sound with this development system, I’d port it over to an FX Chain, use the Splitter, and bring out the controls to a macro.
Reader Sagi Sinai came up with a brilliant application for mixing that showed the value of the “development system” approach. But I realized that the Friday Tip has never covered a basic multiband processing application with the Splitter, which can split at up to four different frequencies to create five different bands. So, let’s correct that oversight.
Multiband processing is particularly effective with guitar distortion when you want a more defined, articulated sound, with the potential for a wide stereo image. Of course, that’s not always the desired result—sometimes a spawling, dirty sound is what you want. But a track processed with the multiband distortion can sound more focused, and often, fit better into a mix. The audio example plays through single-band distortion, then through multiband distortion. Both use the same post-distortion effects (Pro EQ, Binaural Pan, Open Air) with the same settings. Note the difference in the stereo imaging and articulation.
Let’s look at the Splitter-based FX Chain setup (Fig. 1).
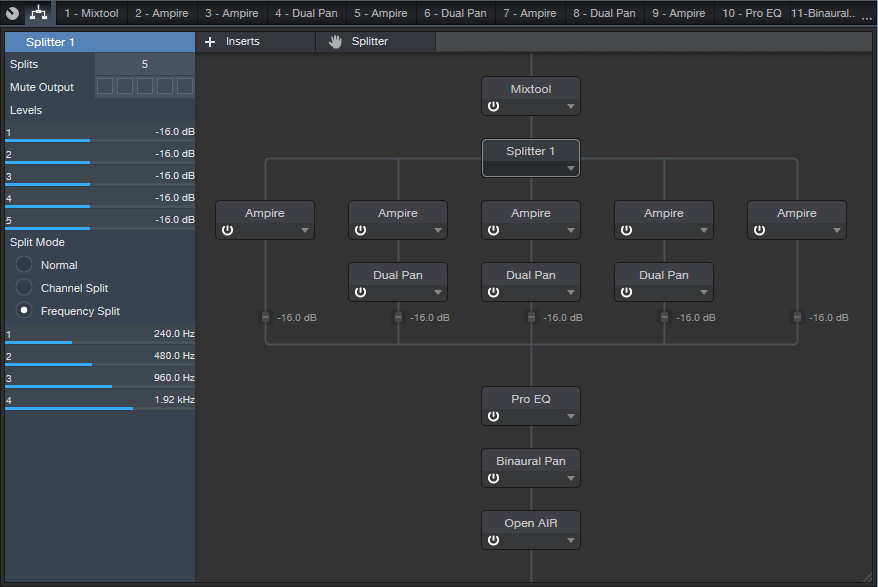
Figure 1 The Splitter is set up to do multiband processing.
The Splitter is using its Frequency Split superpowers to create five bands; each band feeds an Ampire (using the Crunch Boutique amp, no stomps, and the 1 x 12 American cabinet). The Mixtool at the beginning gives about 10 dB of gain—because we’re filtering out so much sound in each band going into each Ampire, the extra gain helps hit the amp a little harder. The Pro EQ at the end (Fig. 2) produces one of my favorite amp sim curves: Rolling off the lows tightens up the sound (like going through an open-back cabinet), while shaving off the extreme highs produces a sweeter sound. The upper midrange lift adds some definition.

Figure 2: Mixtool and Pro EQ settings.
One of the Splitter’s cool features is that you can mute splits. This makes it easy to focus on, and optimize, one split at a time. For the audio example, I used the same Ampire sound for each split so you could hear the “raw” contrast between the single-band and multiband versions. You can always take this further, and optimize each band for its specific frequency range. The Dual Pans on the mids help create the stereo image; the highs and lows are centered to “anchor” the part.
Of course, it’s possible to apply multiband processing to any effect. For example, with delay you might not want to delay all frequencies—delaying low frequencies can add “mud” that doesn’t happen when you delay only the upper mids and treble. Also, long delays on the higher frequency bands and shorter, slapback-type delays on low-frequency bands may create a delay effect that fits better in a track. And splitting an instrument into multiple bands, then chorusing each one separately, can give gorgeous, lush chorusing effects.
So give multiband processing a try—the Splitter makes it easy, and there’s a ton of potential.
Studio One Prime videos
Check it out! Gregor’s got a new series of videos for new users of Studio One Prime. He covers everything from installation and setup to basic beatmaking, and even time-stretching and working with Ableton Live.
More to come from Gregor soon!
Want to make some music? Get started with Studio One Prime here.