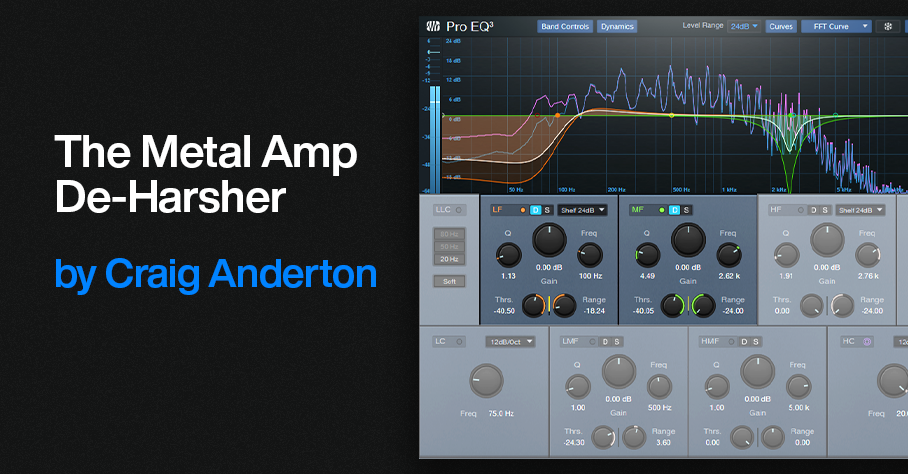
The Metal Amp De-Harsher
Since Dynamic EQ was introduced in version 5, I’ve used it to replace and improve some techniques I used to do with static EQ. For example, I’m a fan of adding a sharp notch in front of amp sims that feature heavy distortion. This is because notching out certain frequencies can lead to a smoother, less harsh sound. After tuning the notch for the sweetest tone, you make the Q narrow enough to take out only the frequencies that cause the harshness.
However, dynamic EQ can de-harsh amps with more finesse than static EQ. Fig. 1 shows the setup.
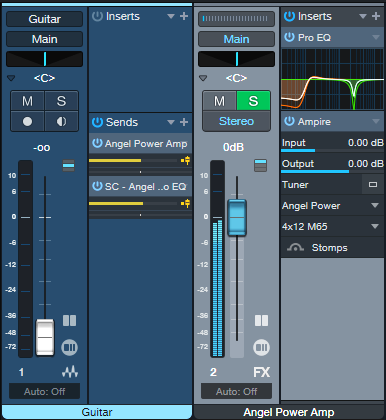
Figure 1: Setup for de-harshing with the Pro EQ3’s dynamic EQ.
The Pro EQ3 inserts before Ampire. I used Ampire’s Angel Power amp for the audio example. You’ll hear the biggest improvements with this technique when using high-gain amps, but it can also be effective with other amp sim designs.
Fig. 2 shows the Pro EQ3 settings. The de-harsher uses only two stages of EQ. The most crucial one is the midrange filter around 2.62 kHz. That’s the frequency I liked best, but be sure to vary the notch and try different frequencies with different amps. The effect is quite dependent on the notch frequency.
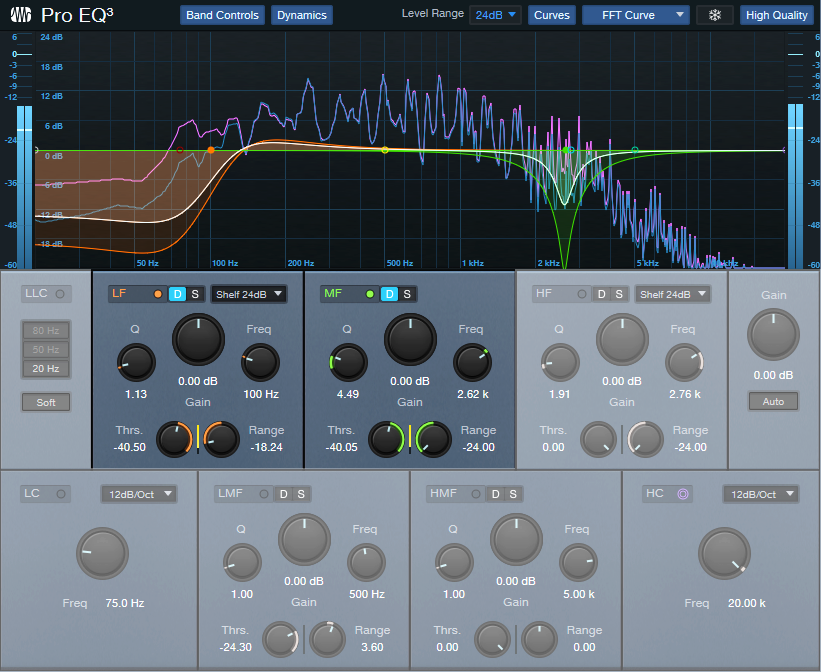
Figure 2: Pro EQ3 settings.
The low-frequency shelf is there because…well, because we can. There’s not a lot of useful energy down that low, so why have it take up bandwidth? Fewer frequencies being distorted means a cleaner sound.
Start with the settings shown. The optimum Threshold and Range parameter values depend on the input signal strength. For the Mid frequency, set the Threshold so that the notch reaches the full -24 dB of attenuation when hitting your strings the hardest. Dial back the Range if you want to re-introduce a little more bite. The low shelf settings aren’t that critical. I set it so that when slamming chords, there’s maximum attenuation.
The audio example plays the straight Angel Power amp, and then the same riff with the same settings but with the de-harsher EQ inserted before the amp. If you play the original version right after the de-harshed version, you may find it easier to notice the “spiky,” harsh artifacts that the de-harsher removes.