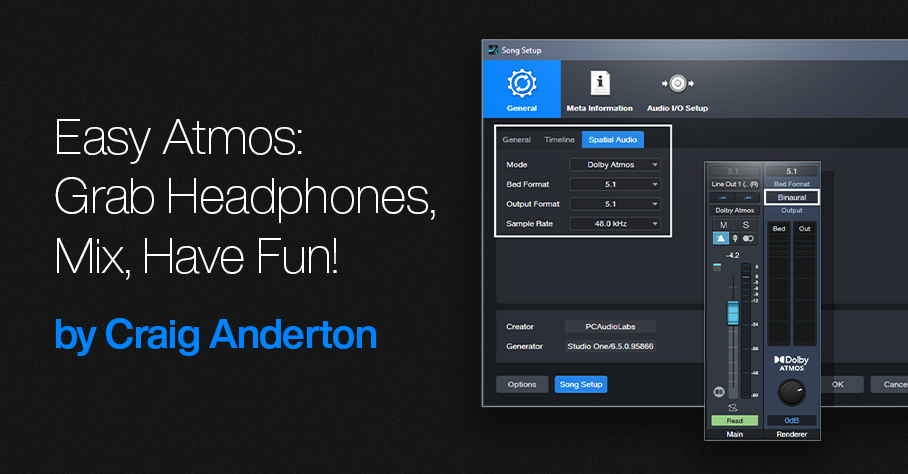
Easy Atmos: Grab Headphones, Mix, Have Fun!
Everyone talks about the importance of Dolby® Atmos for post-production, but the implications go further than that. Atmos really does change how you create and experience music. I’d almost compare it to the switch from mono to stereo.
This blog post is about the simplest, quickest way I’ve found to start exploring the 5.1 format with Atmos: remix one of your pre-Version 6.5 songs for headphones, using Atmos’s immersive panning options and binaural rendering. (Note: Save the song you want to remix to a new folder, and work with the copy. Then if you hit Save accidentally, you won’t overwrite the original song.)
1. Open your pre-6.5 song in Studio One. It will look like it did in previous versions.
2. Choose Song > Spatial Audio. In the Spatial Audio tab under General, for Mode select Dolby Atmos. For Bed Format and Output Format, choose 5.1 (fig. 1). If you’re not familiar with the concept of a Bed, see last week’s blog post. Although you’re locked into choosing 48.0 or 96.0 kHz as the sample rate, Studio One will convert your song automatically if it was done at a different sample rate.
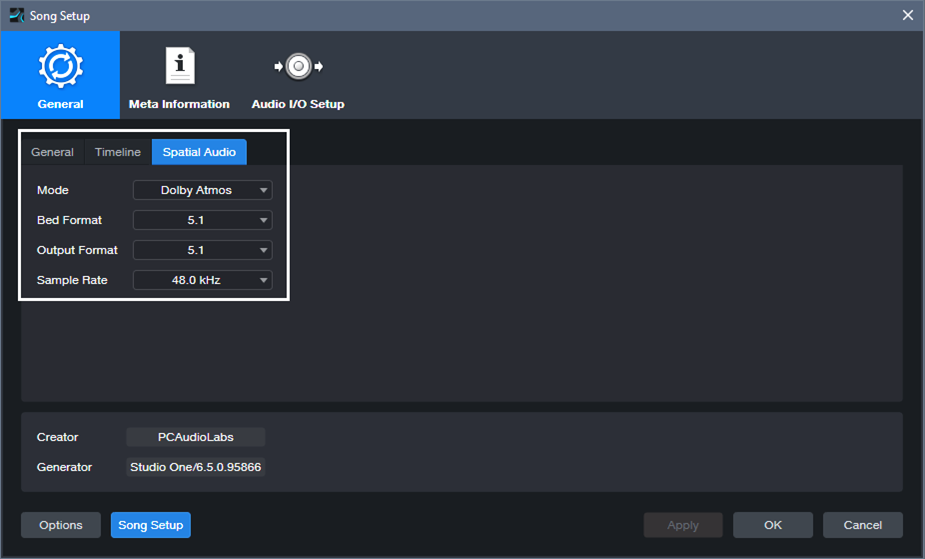
Figure 1: Song Setup for Spatial Audio.
3. Click Apply.
4. Under Audio I/O Setup, Outputs tab, select 5.1 for the Main output (fig. 2).
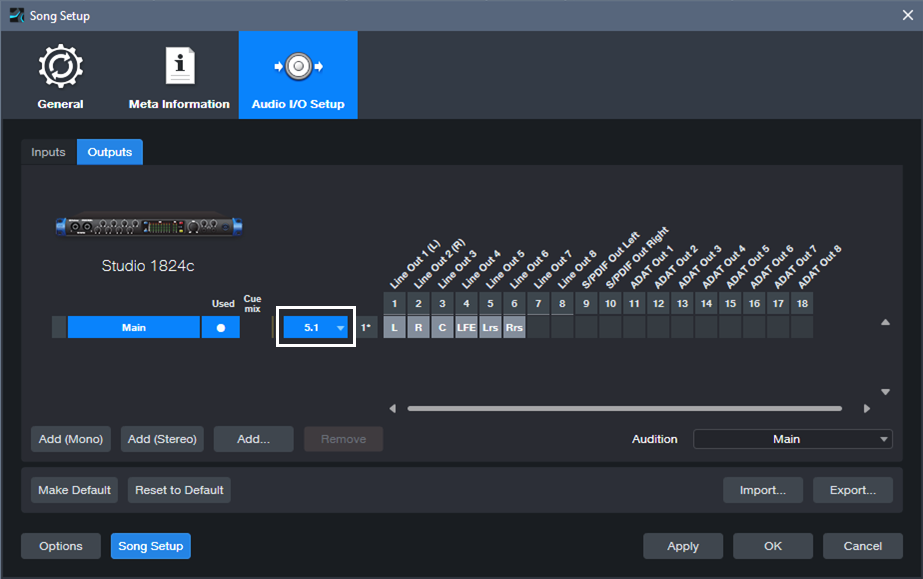
Figure 2: Audio I/O Setup for experimenting with Atmos.
5. Click Apply and OK.
6. Open the Console (F3). Your panpots have now been promoted to Surround Panners. (Regarding Sends and Surround Panning, please see the note at the end.)
7. In the Renderer section at the Console’s right-hand side, choose 5.1 for the Bed Format, and Binaural for the Output. Remember, you’ll need to do all your monitoring on headphones. To avoid blasting your ears, I highly recommend turning down the Renderer’s level, and then bringing it up to a comfortable listening level during playback.
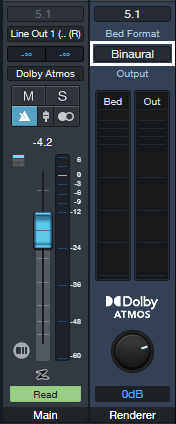
Figure 3: The Renderer section produces the binaural output for monitoring over headphones.
8. Start playback. It won’t sound exactly like the mix did previously, but that’s the point—now you can remix it for Atmos.
Of course, this is just a start. All we’re doing is setting up a sandbox so you can play with this shiny new Atmos toy in Studio One. Start your experiments with panning. Double-click on a Surround Panner to open it. You can change the width of the stereo field, its position, and whether the sound is close to the listener or further away. And yes, it’s all automatable. Choose Disable Center (which is more about dialog placement for movies, so we don’t need it). Also, LFE isn’t all that necessary for most music, unless one of your instruments is an explosion.
Right-click on a panpot, and you can replace the Surround Panner with a Spatial Object Panner, which places the sound anywhere in an immersive space that also emulates height. But we’re getting ahead of ourselves…for now, just have a good time playing around, and we’ll get deeper into how to actually mix with Atmos from an artistic/musical standpoint in later blog posts. Who knows? You might enjoy the process enough to set up a speaker-based surround system, and be seduced by the full impact of Atmos mixing.
About Sends
To have Surround panners for Sends, the Bus they go to needs to be configured for Surround. Do this by selecting 5.1 from the drop-down menu in the field below the Mute and Solo buttons (fig. 4).
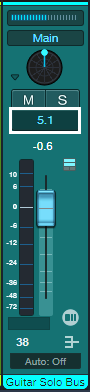
Figure 4: Where to choose the bus Speaker Configuration.
Note that Bus Channels, FX Channels, Aux Channels, and Send panpots can’t be Spatial Object Panners, only Surround Panners.