5 Mai Tai Tips & Tricks

We already covered Mai Tai’s FM synthesizer secret identity—but that was the start of “fun things to do with Mai Tai,” not the end. Here are five more Mai Tai tips, along with a couple bonus presets you can import.
1. The Character section. If you didn’t get into this feature, maybe it’s because you tried the top three options, thought “whatever,” and moved on. But this section doesn’t start hitting its stride until you get to CharacterSaw, Subvox, Talky, and Voxil, with honorable mention going to the bottom five options. The associated Sound and Amount parameters are the key to creating versatile variations (the effects are most pronounced with Amount between halfway and all the way up). Do yourself a favor: loop a big fat sawtooth chord, and play around with the Character section controls to hear what they do.
2. Random Phase. Enabling RP emulates the analog synth characteristic where an oscillator doesn’t always start from the same point when you press a key. With the two oscillators panned to center, this produces some mild timbral differences—but the magic happens when you enable RP for both oscillators, and pan them hard left and right. Put on headphones, and the slight differences between the two waveforms create animated psychoacoustic motion inside your head.
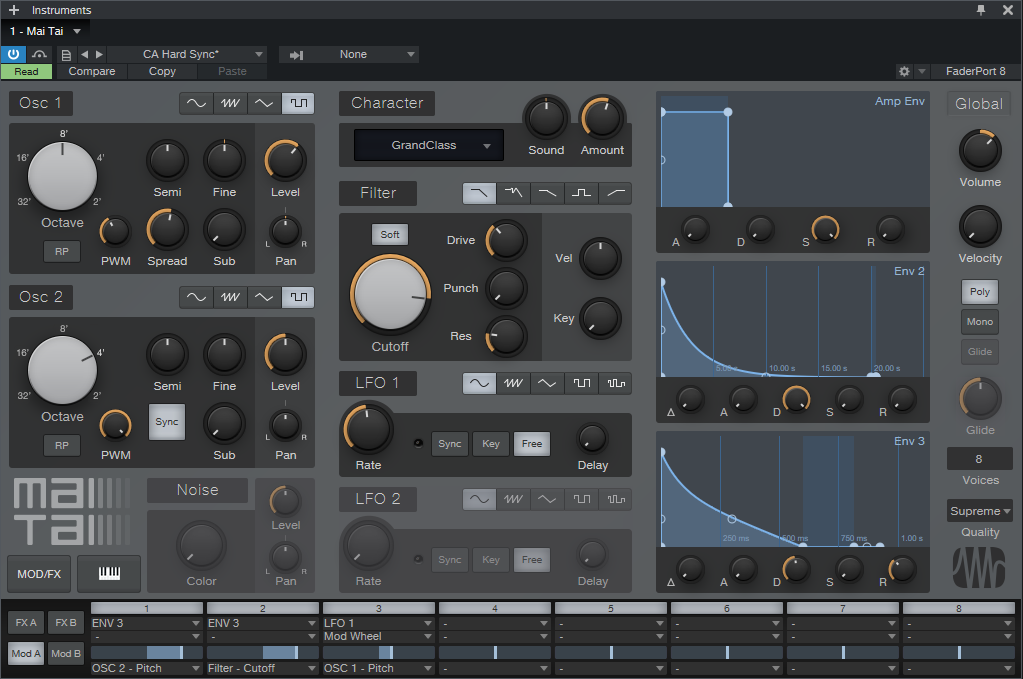
3. Hard sync. The Sync button in Osc 2 produces this classic synth effect, but be aware that:
- Osc 2’s Octave range must be equal to, or higher than, Osc 1.
- For the smoothest sync sweep sound, modulate Osc 2’s pitch with an envelope rather than modulating the Semi control.
Import the preset CA Hard Sync.preset (fig. 1), which is just waiting to be customized. Change the Osc 2 octave, edit the Env 3 shape that goes to the Osc 2 Pitch, try different PWM settings, see what else the Character and Filter sections can do…there are a lot of options.
4. You can automate almost anything, including the effects. Automating the Character section’s Sound and Amount controls can add ever-changing timbral variety, although it also reminds me that I really wish Studio One’s Paint tool could draw smoothed random waveforms. However, I do like to use the Paint tool to draw square wave modulation, and automate the Osc 2 Semi parameter when doing hard sync. This flips the sound between two timbres, like a crazy sample-and-hold.
5. The Modulation Matrix. My “Faux Feedback” preset (fig. 2) depends on the modulation matrix, and emulates what happens with electric guitar as feedback starts to build up.
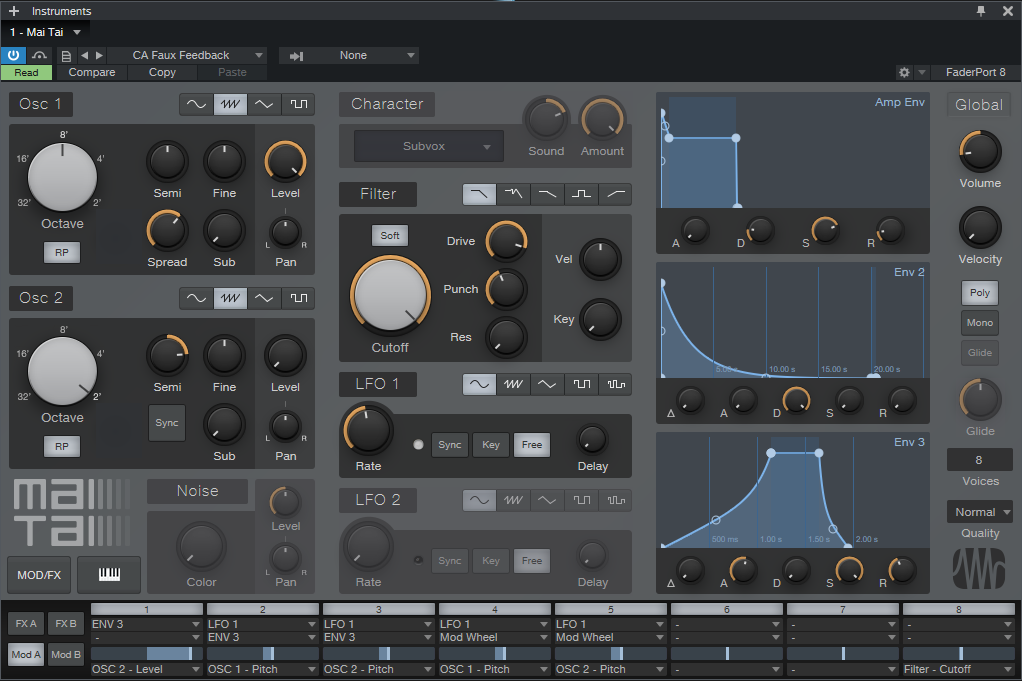
The interesting programming aspects are:
- Osc 2 is tuned an octave and fifth above Osc 1. This produces the feedback “whine.”
- To bring in feedback as the note develops, Env 3’s slow attack increases Osc 2’s Level. If you’re impatient and want the feedback to come in sooner, shorten the attack time.
- Env 3 also applies vibrato to both oscillators as the feedback comes in. Guitar players often add vibrato as the string sustains.
- If you want manual control over vibrato, the Mod Wheel introduces vibrato in parallel with Env 3’s delayed vibrato.
Import the CA Faux Feedback.preset, and play slowly at first—hold the note until the “feedback” appears, because this will give you a feel for how the sound develops. Don’t forget to include a lot of pitch-bending action when doing single-note solos (although the preset also sounds good with chords). And there are plenty of opportunities for customization…so have at it!
Download the CA Hard Sync.preset
Download the CA Faux Feedback.preset