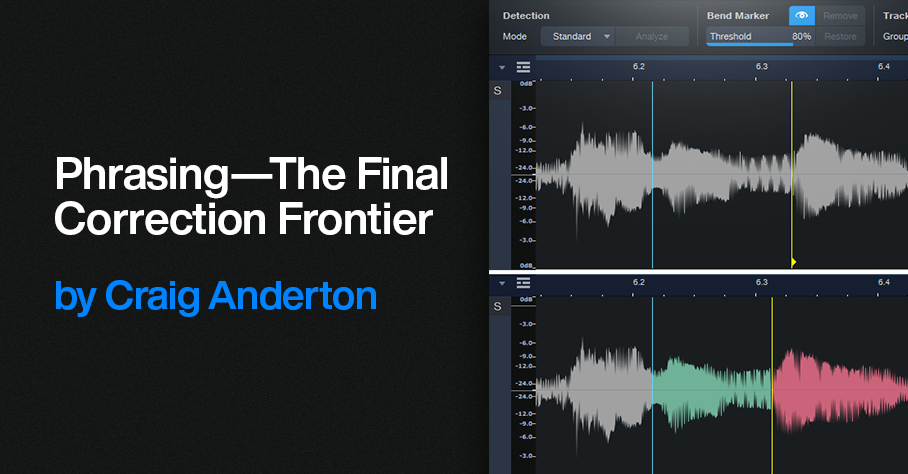
Phrasing—The Final Correction Frontier
First, a follow-up: In the October 13 tip about creating Track Presets for parallel processing, I mentioned that Track Presets can’t include buses, which is wrong. Sorry! However, the premise behind the tip is still valid. For example, by using tracks (which can record) instead of buses (which can’t), you can create Track Presets for recording tracks with effects that produce random changes in real time. Or, create Track Presets optimized to record hands-on effects control while recording the results. Another part of the tip about creating a dummy bus so that a channel fader can provide a master “send” to tracks, without sending audio to the main bus, can also be useful. Now, on to this week’s tip.
We have tools to correct pitch, and tools to correct timing. But one of the most important aspects of expressive music is phrasing, especially with vocals. Pushing a vocal slightly ahead of the beat, or lingering on a phrase a bit longer, can enhance the vocal performance.
Fortunately, the Bend Tool can alter phrasing. Of course, vocals don’t have the fast, strong transients to which bend markers usually lock. But we can place bend markers where we want them, and ignore the rhythmic grid. Think of bend markers not only as tools to correct timing, but as tools to add expressiveness to vocals by altering their phrasing.
Getting Started
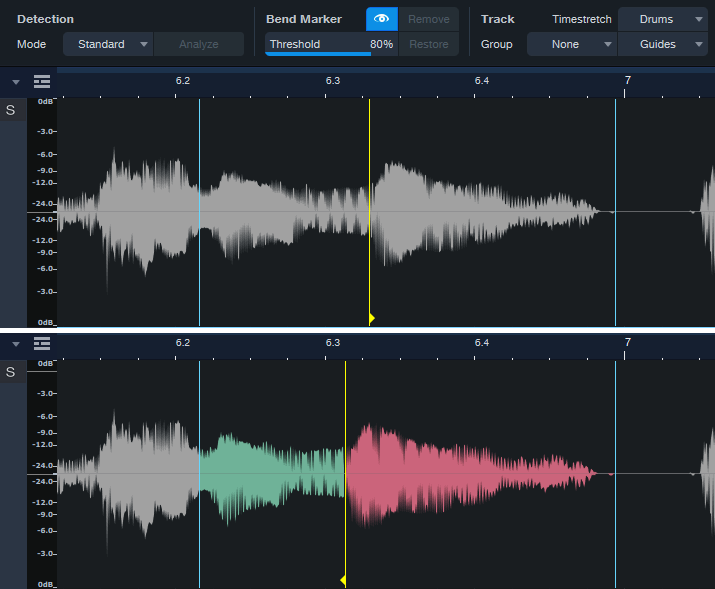
Figure 1: Note the show/hide “eye” button toward the top. Moving a bend marker affects the audio between it and both the previous and next bend markers.
- Turn on Show Bend Markers (the eye button in fig. 1).
- Turn off snap. Phrasing rarely benefits from the grid.
- Remember that stretching involves the interaction of three bend markers. The top part of fig. 1 shows a phrase before moving the yellow bend marker. The lower part shows what happens after moving the bend marker forward in time. Audio between the bend marker and the previous bend marker becomes time-compressed (green coloration). Audio between the bend marker and the next bend marker becomes time-expanded (red coloration).
- You’ll often need to place bend markers manually, in the spaces between words or phrases.
Remove Unneeded Transients, then Edit the Phrasing
Because vocal phrases don’t have defined transients, asking Studio One to detect transients won’t give the same results as percussive instruments. Often, transient pairs will be close together. You want only one of these (usually the one closest to the note beginning). Hover over the unneeded bend markers with the Bend Tool, and double-click to delete them (fig. 2).
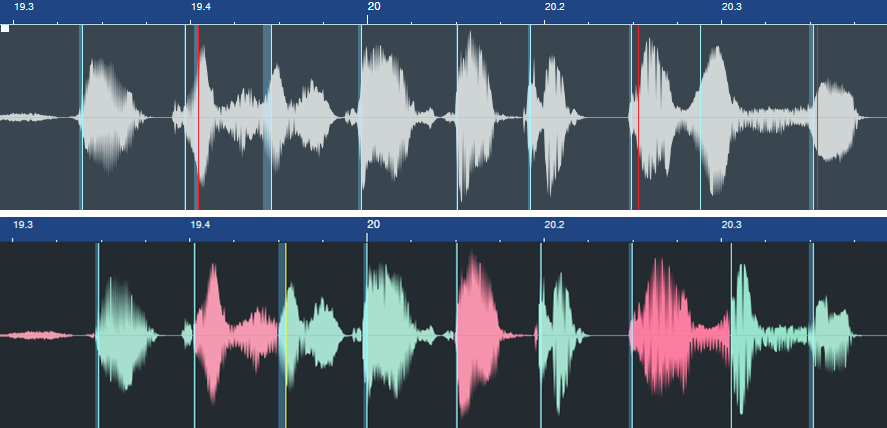
Figure 2: In the top image, the bend markers to be eliminated are colored red. The lower image shows the result of altering the phrasing.
In this case, I wanted to tighten the timing and move some notes closer to the beat. But also look at the second bend marker from the right in fig. 2. This had nothing to do with timing, but altered a word’s phrasing to slow down the audio leading up to it, and speed up the audio after it. This led the note more dramatically into the final note.
Here’s another before and after example. The words toward the end have had their phrasings adjusted considerably.

Figure 3: The phrasing slows down toward the end to give the lyrics more emphasis. The bend marker at the far right was added to keep the final word’s length closer to its original length.
Remember that moving a bend marker affects audio before and after the marker. In the bottom of fig. 3, the added bend marker at the end of the last word prevented the audio from being too compressed. Otherwise, the word would have been shortened. In cases where you need to move an entire word earlier or later on the timeline, sometimes it’s easier to split at the beginning and end of the word, and move the Event itself rather than use bend markers.
Custom Markers
If the transient detection isn’t useful with vocal phrasing, you’re better off placing bend markers manually. The Bend Tool options are:
- Click to create a bend marker.
- To alter the phrasing, hover on a bend marker. Then, click and drag to move the bend marker earlier or later on the timeline.
- To move a bend marker without affecting the audio, hold the Alt/Opt key, hover over the marker until left- and right-facing arrows appear, then click and drag.
- Double-click on a bend marker to delete it.