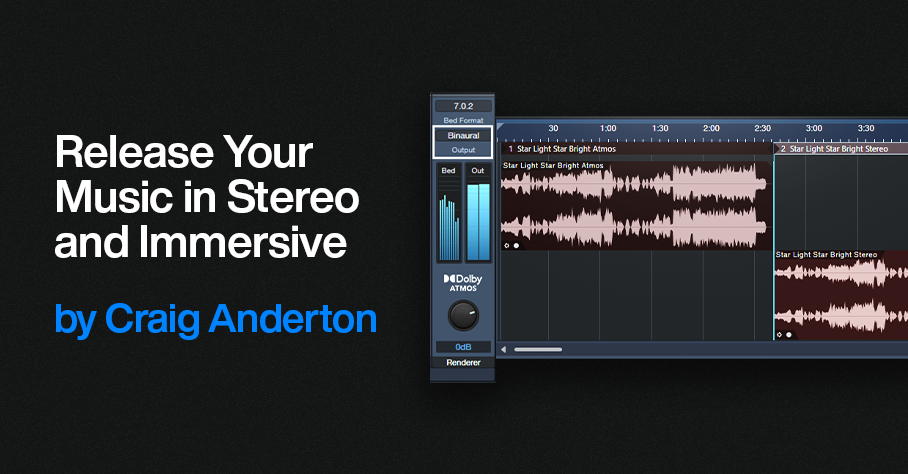
Release Your Music in Stereo and Immersive
For over a decade, stereo and mono vinyl records co-existed before the transition to stereo was complete. During that time, many records were released in both mono and stereo. We’re in a similar situation now, with stereo still ruling the world but with immersive sound (primarily Dolby Atmos) coming on strong. It makes sense to release music in both formats—and Studio One makes it easy.
I release my music on YouTube, which doesn’t support multichannel Atmos files. But YouTube can play back Atmos files that have been rendered as binaural stereo. As long as people listen on headphones or earbuds, the music will have that full, wide immersive quality. So, I now post a headphones-only Atmos mix, and a conventional headphones/speakers stereo mix. Given how many people listen to music on headphones or earbuds, this isn’t as limiting as it might seem.
So does this work? Following are links to a binaural and stereo mix of the latest song in my YouTube channel. Both are done entirely in Studio One 6.5. Don’t expect instruments whizzing around your head—this isn’t a movie or a game. The more you listen to Atmos Binaural mixes and acclimate to what the process does, the more you hear the full, wide effect compared to stereo.
Atmos Binaural (headphones or earbuds only)
Stereo (speakers or headphones)
Here’s an overview of why Studio One makes this process so easy, especially if you’re used to mixing with headphones. Refine the Atmos mix as much as you can with headphones, because that’s how people are going to listen to it. Then, create a new Project in the Project page.
Set the Dolby Renderer to Binaural, and send the file to the Project page. Return to the Song page, choose Stereo for the Renderer to downmix your Atmos mix to stereo, and then add that file to the Project. Your Project will then have both Atmos Binaural and Stereo files, which you can export for your two mixes.
Note that the stereo downmixing is faithful to the mix. Of course, the stereo file lacks the Atmos fullness, but you don’t lose any of the music. In fact, because the downmixing tries to translate any Atmos nuances to stereo, you may end up with a better stereo mix than if you’d started with a stereo mix.
How to Do It—The Details
Here’s the step-by-step process.
1. Finish your Atmos mix. Make sure it sounds awesome on headphones 😊. The Dolby Atmos Renderer should be set to Binaural (fig. 1).
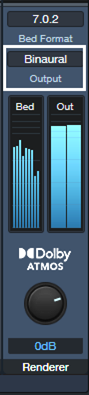
Figure 1: Choose Binaural for the output when rendering to Atmos Binaural.
2. Choose Song > Add to Project > New Project “Song Title.”
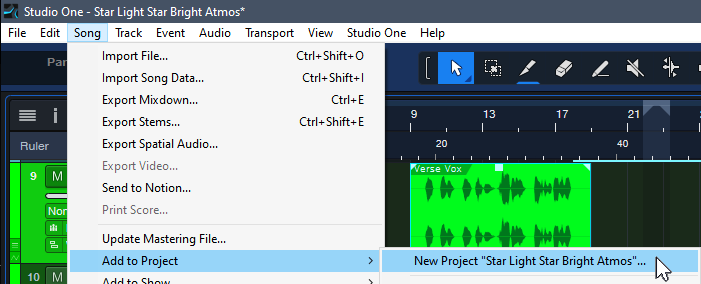
Figure 2: The New Project will eventually contain both the Atmos Binaural and Stereo renders.
3. Set the Sample Rate, and click OK. Click OK again when asked to update the mastering file. Optionally, normalize it after it’s updated.
4. Go back to your Atmos mix. Save As “Song Title” Stereo. (This gives you separate songs for Atmos and stereo, in case you want to make changes later in either one.) In the Atmos renderer, change the Output from Binaural to Stereo.
5. Choose Song > Add to Project > Song Title (the top item in the list, not the “New Project” item that’s the next one down).
6. Click OK when asked to Update Mastering Files.In your Project, the Atmos mix will be followed by a track with the Stereo mix (fig. 3). If you normalized the Atmos mix, normalize the Stereo Mix.
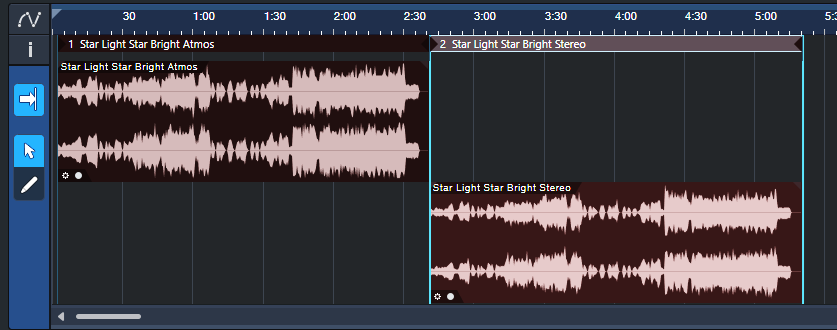
Figure 3: Both the Atmos and Stereo mixers are now in the Project page.
7. Add the insert processor(s) for the Atmos track and edit as desired. I typically use the Waves L3-16 to attain an LUFS reading of -12.5 so that the mix pops a bit more, with a True Peak between ‑1.0 and ‑1.5.
8. Drag the processor from the Atmos track insert to the Stereo track name in the track column. This inserts the processor in the Stereo file’s track.
9. Check the Loudness Information for the Stereo track. It will likely be lower. Edit your insert processors to obtain the same Post FX LUFS level as the Atmos track.
10. Listen to the stereo mix over loudspeakers as a reality check.
11. Click on Digital Release, and choose the formats for the two files.
And now, you’ve given your listeners a choice between an immersive binaural mix, or a conventional stereo one.
Tips
- In step 8, if you use more than one processor on your master file, it’s probably simplest to save the processors as a temporary FX Chain you can import into the other track.
- Because both mixes end up in the Project page, it’s easy to compare the two. The Phase meter will confirm the fuller sound you’re hearing, by displaying a wider, fuller stereo spread.
- You can process the master file in the Post fader insert section of the Main fader. However, I recommend doing it in the Project page, so you can go back and forth between the two files and obtain a consistent level prior to exporting.
- If there are significant differences between the two files (unlikely), you can return to either the original song or the one with Stereo in the title. Make your edits, then re-render.
- Similarly to mixing stereo over different loudspeakers to get a sense of how the mix translates over different systems, it helps to do reality checks on your Atmos Binaural mix with several different headphones.