Superspeed Comping with Studio One 6.2
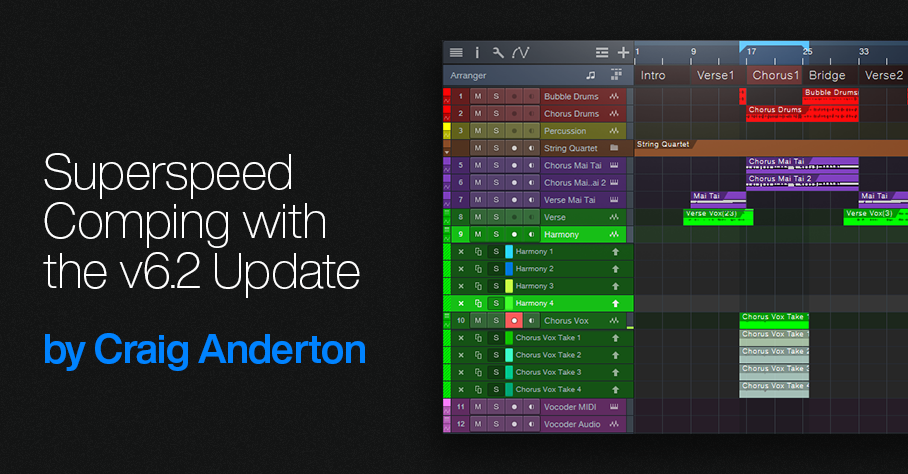
Studio One 6.2 reworked Layer and Take handling, and some of the new functionality is exceptionally useful. For example, suppose you want to record comp vocals for two choruses, and a harmony part for the second chorus. Previously, you had two options: set a comping range that covered both choruses, and then do a separate set of comped Takes for the harmony. Or, comp one verse, then stop. Set up to comp the next verse. After completing that, set up to comp the harmony.
With version 6.2, you can do all your Takes, for both choruses and the harmony, in a single comping operation. The same technique works for any parts in a song that occur more than once, like verses. The only constraint is that the sections need to have equal lengths. Here’s how the process works.
Fig. 1 shows the first chorus set up for comping. Below it are 12 Takes: 4 for the first chorus, 4 intended for the second chorus, and 4 intended for the second chorus harmony. (Personal bias alert: I try to avoid doing more than 4 comps for any given part. If I can’t nail a take in four tries, it’s probably time to move on and try again some other time.)
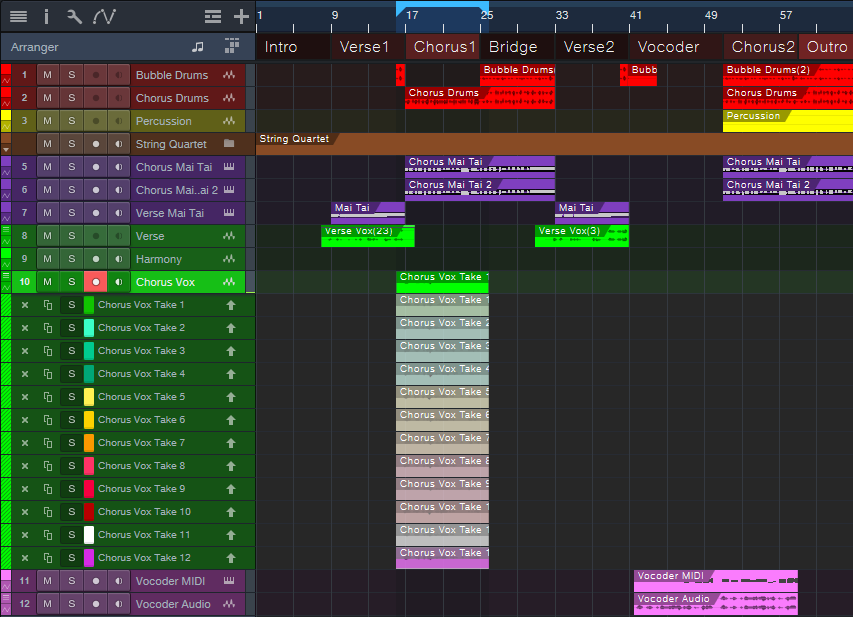
Figure 1: All the needed Takes have been recorded for both choruses and the harmony.
With v6.2, you can move layers around as easily as any other Event. Click on a layer while holding Ctrl/Cmd, and drag. Fig. 2 shows the second group of Takes moved to the second chorus.
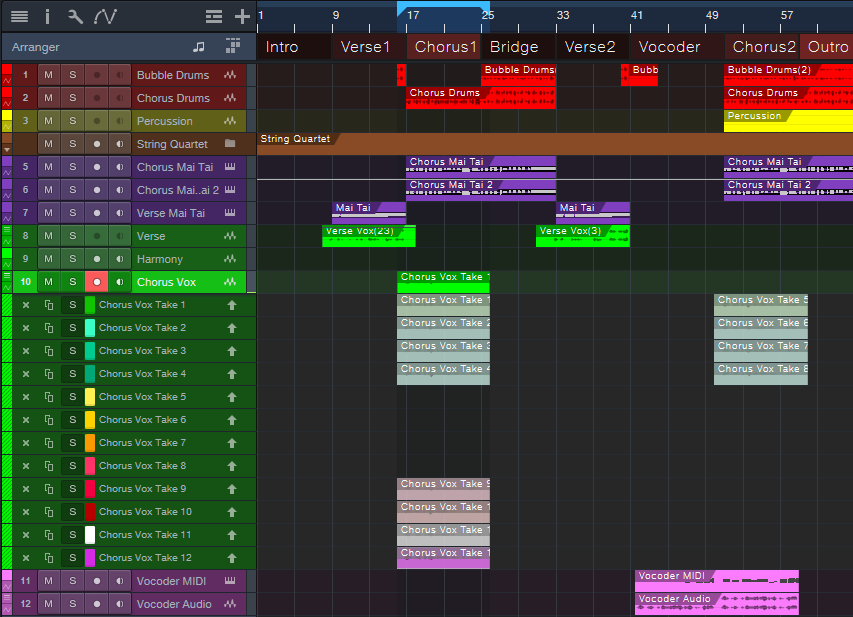
Figure 2: The next group of Takes has been moved to the second Chorus.
The four Harmony Takes need to go in the Harmony track instead of the original parent track. Creating four layers for the Harmony track provides a place to move the Harmony Takes (fig. 3). Now all the comps are in place, and ready for editing.
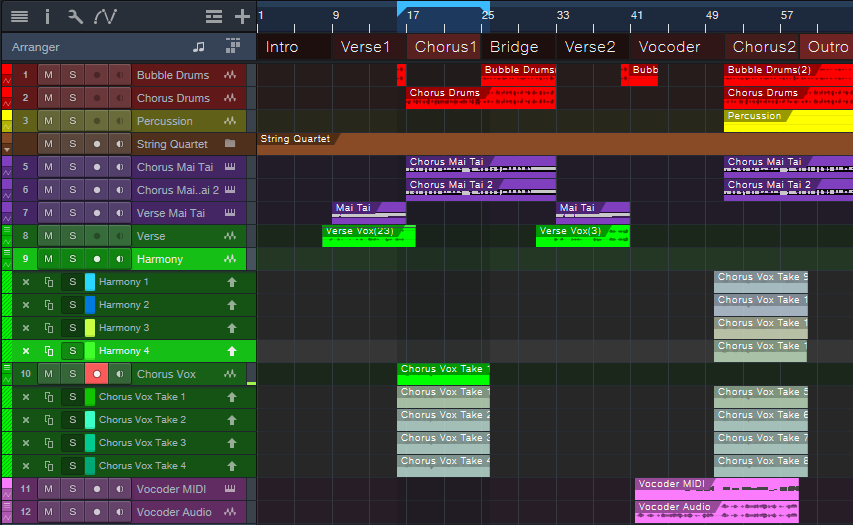
Figure 3: Adding four layers to the Harmony track provides a home for the harmony Takes.
Fig. 4 shows the final result: the edits are done for the two verses and the harmony. Complete the process by deleting the unneeded layers.
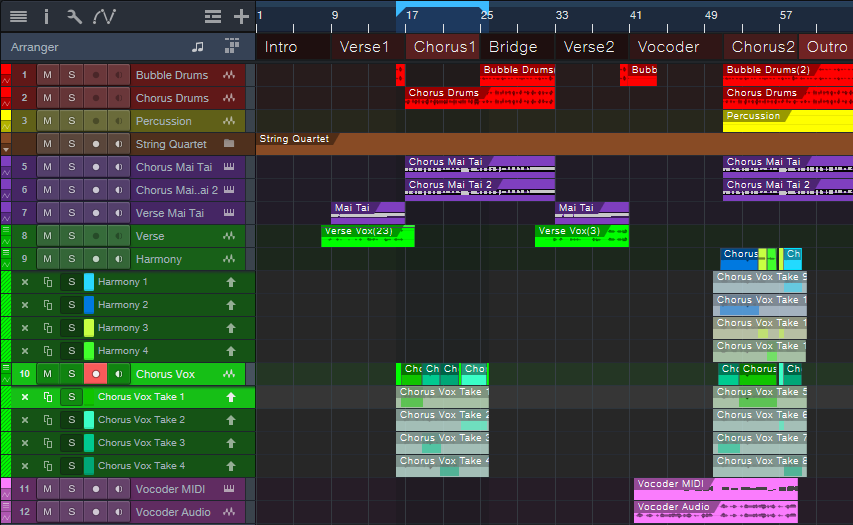
Figure 4: All the Takes have been edited to create the final composite vocals.
But Wait…There’s More!
This is only one application of Studio One 6.2’s enhanced layering. In the example above, suppose I messed up a word in the second chorus, but the first chorus had two Takes with a good version of the word. Previously, you needed to promote the alternate word to the parent track, move it, and then promote the original word. It’s now possible to select part of any layer with the Range tool, and unlike the Arrow tool, this avoids promoting the selection to the parent track. Click on the selected part while holding Ctrl/Cmd, and drag it out of its layer to use it elsewhere.
It’s great that comping and layers continue to improve, but don’t overlook the existing shortcuts and advanced techniques. If you haven’t checked out the Help section on comping and layers in a while, it’s worth re-visiting.