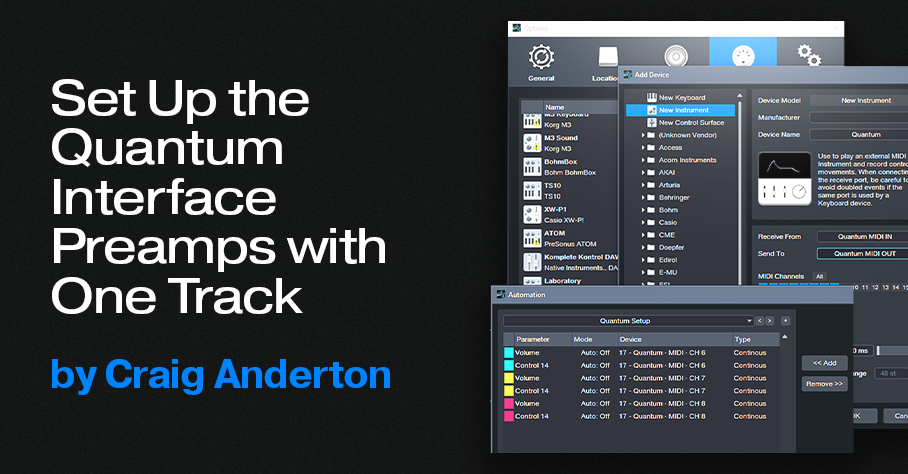
Set Up the Quantum Interface Preamps with One Track
A single Automation track can set up a session’s preamp levels and phantom power in the Quantum interface, as well as the older Studio 192. So, you can stop taking the time to reset preamp levels if you do lots of different sessions—let Studio One set up the preamps whenever you call up a specific song.
For example, I mostly use three vocal mics. However, their optimum gain settings vary for narration, music vocals, or recording my main background vocalist—who needs different gain settings depending on whether she’s doing upfront vocals, or ooohs/ahhhs.
To call up specific preamp levels for different songs, simply create an automation track (or tracks) at the song’s beginning. Then, when you first hit record, the track sets up levels and (with Quantum and Studio 192) phantom power on/off for up to 8 channels. The next time you call up that song, the mics will be at the right levels, with phantom power set as desired. Here’s how to do it.
1. In Universal Control, under MIDI Control, select Internal. Or, choose Enabled if you also want to be able to control Quantum from an external controller.
2. Choose Studio One > Options (Windows) or Preferences (macOS), and select External Devices.
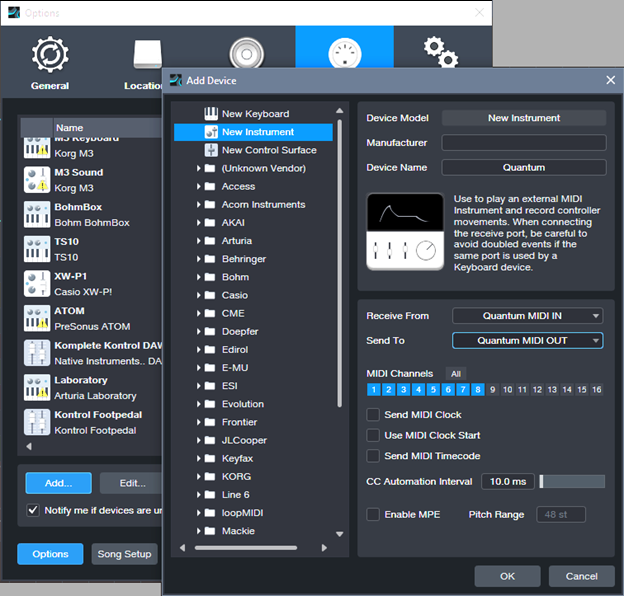
3. Select Add. Choose New Instrument.
4. For Receive From, choose Quantum MIDI In. For Send To, choose Quantum MIDI Out. Also tick MIDI Channels 1 – 8 (fig. 1). Then, click OK.
5. Create an Automation track. To show automation, type keyboard shortcut A.
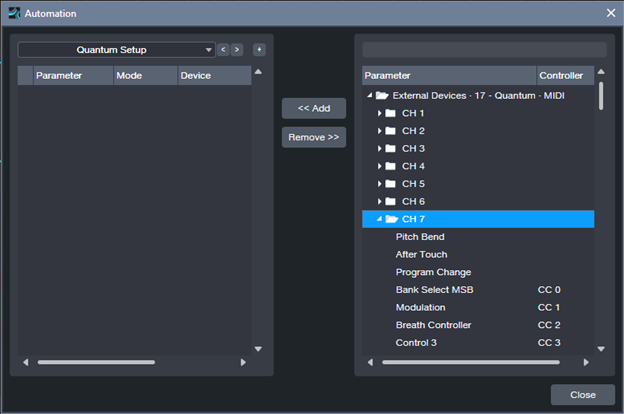
6. From the track’s automation drop-down menu, click on Add/Remove. In the right pane, unfold the External Devices folder, then unfold the folder for the Channel that corresponds to the preamp you want to control (Channel 1 = Preamp 1, Channel 2 = Preamp 2…Channel 8 = Preamp 8). See fig. 2.
7. For each preamp you want to set up, add CC7 (this controls preamp volume) and CC14 (controls phantom power). For example, I typically set up channels 6, 7, and 8. After adding these continuous controllers, the Automation menu’s right side looks like fig. 3 (except with your specific channel numbers). Click on Close after making your selections.

8. To set up the preamp levels, choose the parameter you want to program in the Automation track’s drop-down menu. Note that in the documentation, the phantom power control settings are reversed. The correct values for CC14 are 0 to 63 = Off, and 64 to 127 = On. To set the preamp level, with Universal Control open, adjust the envelope for the desired preamp gain reading (you can also see the level on the Quantum’s display).
9. Set the initial level and phantom power parameter values for the chosen preamps. Now your automation track will reproduce those settings, exactly as programmed, the next time you open the song. Given that I do voiceover or narration for at least one video a week, I can’t tell you how much time that saves—I load my narration template, and don’t even have to think about adjusting levels before hitting record.
Getting Fancy
A cool trick is to reserve a song’s first measure for doing the setup. Turn on phantom power at the song start, but fade up the volume to the desired level after the phantom power is on. That avoids power-on spikes from the mics. However, when adjusting the level envelope, the preamp knobs change only if you adjust the left-most node. So, set the preamp level you want with this node, then move it to the right on the timeline. Create another node at 0 that fades up to the node you moved, which sets the final volume.
Another trick is to have more than one automation track. For example, on most songs I have a setup track for me, and a setup track for the background singer. When she does overdubs, I turn my automation track to Off, and set her automation track to Read so it sets her levels.
Coda: Windows Meets Thunderbolt
The first time I tried Quantum on a Mac, it worked perfectly. With Windows, well…it’s Windows. My computer is a PC Audio Labs Rok Box (great machine, by the way) with dual Thunderbolt 3 ports. I used Apple’s TB3-to-TB2 adapter—no go. I found a new Thunderbolt driver for the motherboard, and asked PC Audio Labs tech support about whether I should install it. They advised doing so, and said if I had problems, they’d bail me out. But after installation, the Quantum’s power button’s color was still Unhappy Red instead of Happy Blue. I was about to contact support again, but stumbled on a program in the computer called Thunderbolt Control Center. I opened it, which showed Quantum was connected—but I hadn’t given the computer “permission” to connect. So, I gave permission. With its new-found freedom, the Quantum burst into its low-latency glory.
The moral of the story: Thunderbolt has many variables on Windows than macOS. But as with life itself, perseverance furthers.