Super-Simple Dim Solo Functionality
Dim solo is a variation on the standard solo function. With dim solo, non-soloed tracks are still audible, but at a lower level than any soloed track or tracks. This is great for many applications, including comping. Often, when auditioning comps, you want to hear them in context with the mix, but with the mix at a lower level. Dim solo is also helpful when checking out a track’s processing in isolation, or listening to a pair of tracks (like bass and drums) in context with the mix.
Studio One’s Listen bus offers a comprehensive dim solo function, but this tip is about a fast, easy way to add dim solo functionality, without needing the listen bus—or even having to actually solo tracks.
1. Select all the tracks in your project (e.g., click on the first track and shift+click on the last one).
2. De-select the track(s) you want to solo. You also need to de-select any channels that are already assigned to a VCA Channel. However, the VCA Channel that controls them should remain selected, so it can be dimmed along with the other tracks.
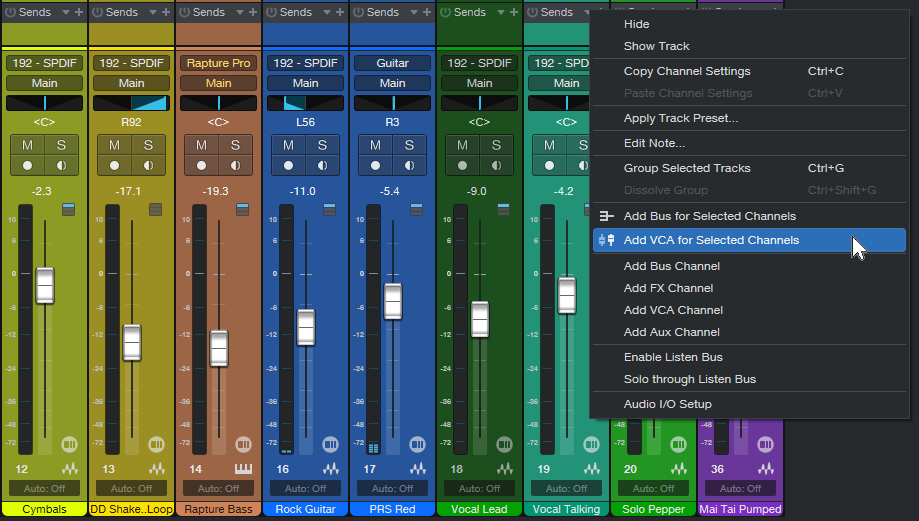
3. Choose Track > Add VCA for Selected Channels, or right-click on one of the selected tracks to add a VCA Channel for the selected channels (fig. 1).
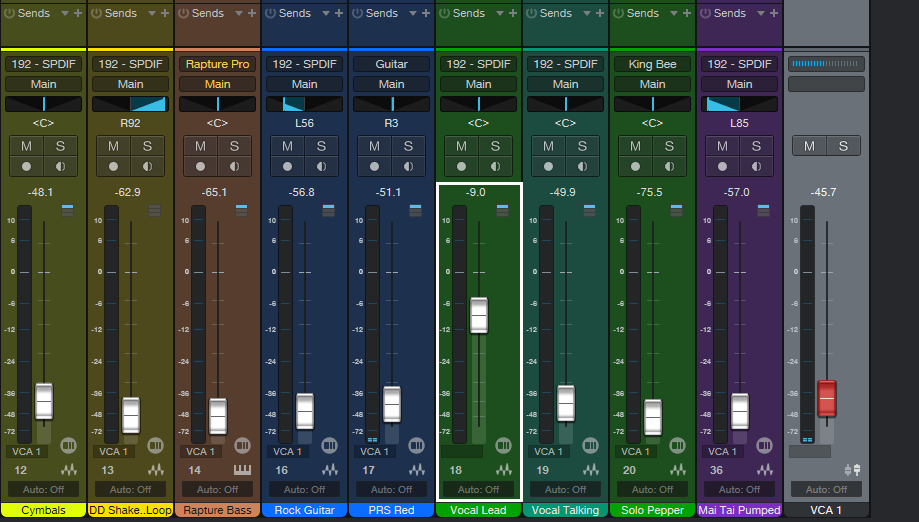
4. All the selected tracks now show VCA1 under their faders (or a different number if there are already VCA Channels in the project), to confirm that their gain is being controlled by the VCA Channel. When first added, the VCA Channel’s initial level will be 0.0.
5. Now, vary the VCA Channel level to set the dimmed level for the selected tracks. The level for the unselected track (or tracks) will stay the same. Turning the VCA Channel all the way down provides the traditional solo function that mutes, rather than dims, the other tracks.
6. Do your edits on the soloed track(s). When you’re done, ctrl+click on the VCA Channel’s fader to return the VCA Channel to its initial value (0.0). After that, the levels of all the selected tracks and buses will return to what they were prior to step 1.
Once you use dim solo functionality, you’ll wonder how you got along without it.
Bonus Solo Tips
- For an Exclusive Solo function that solos one track while muting all others, click on Solo while holding Alt (Windows)/Option (Mac).
- If several tracks are soloed, to unsolo them all at once, hold Cmd/Ctrl while clicking on one of the solo buttons. To restore the same state, click on any Solo button while holding Cmd/Ctrl, and Studio One will revert to the previous solo button state.
Errata (fancy author word for “I messed up”): In The Huge Book of Studio One tips and Tricks, version 1.3, Chapter 2, page 181, fig. 2.77, the right-most panpot of the Dual Panpot should pan fully to the right, not to center. This is corrected in version 1.4, which is being updated for Studio One version 6. The update will be free to owners of any previous version of the book. Estimated publication date is early 1st quarter, 2023.