Tag Archives: Studio One
Unlock the Power of Impact XT’s Multiple Outs
We all know Impact XT is cool—but it’s at its coolest when you use the individual audio outputs, because then you can add exquisite effects to individual drums.
How Multiple Outputs Work, Part 1: Impact Setup
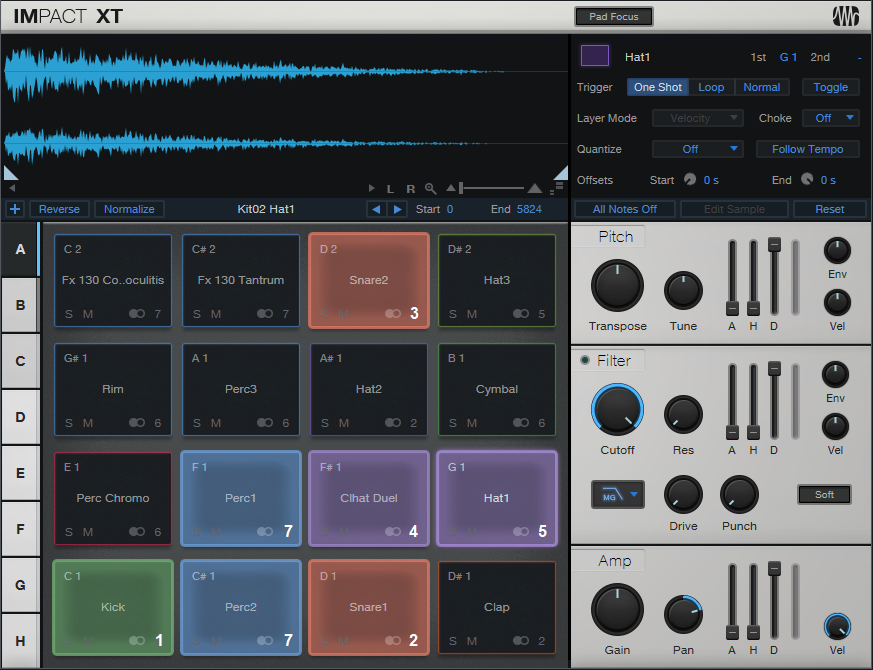
Let’s zoom out. Impact has 16 potential outputs, which can be mono or stereo. The reason for saying “potential” is that you can use as many as you want, in whatever configuration you want—all stereo, all mono, or a mix of mono and stereo outputs.
You assign a drum to one of the 16 outputs by clicking on the little number in a pad’s lower right, and choosing from one of the 16 outputs, either stereo or mono. More than one drum can feed a single output. For example, fig. 1 shows an Impact layout for a recent song. All the drums go to their own outputs, except that Perc1 and Perc2 feed the same output because they’re going to be processed, and have their levels adjusted, simultaneously.
Part 2: Console Setup
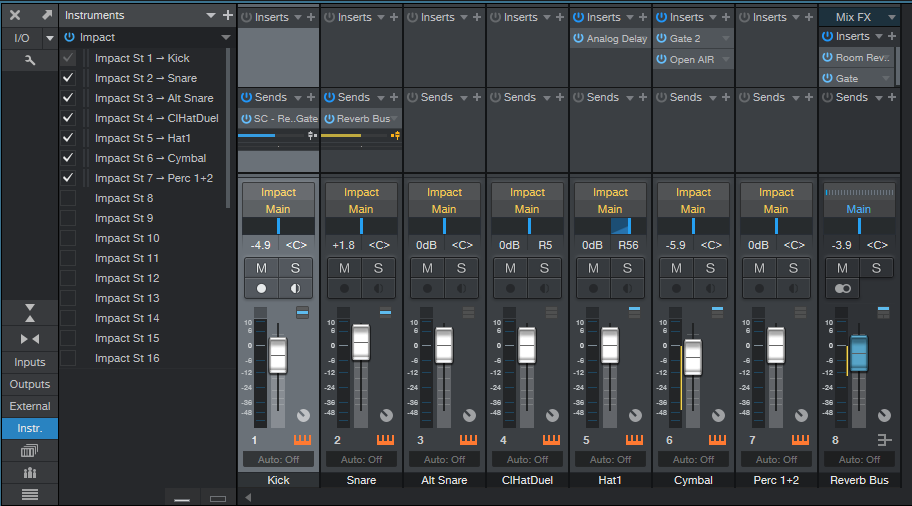
Now we’ll have the drums show up in the console. Open the Instruments panel, click on the downward arrow, and choose Expand to see Impact XT’s outputs. You’ll see all the Impact outputs (you may have to scroll to see more than the 16 stereo outputs). They’ll have an St (stereo) or M (mono) prefix, followed by the output number. Check the box that corresponds to each output that you’re using. It doesn’t hurt to check outputs you’re not using, but they’ll take up space in the console, and serve no purpose.
Next, simplify your life by renaming the console channels to reflect the drum names (fig. 2). The names will then show up in the Instruments panel. This lets you think of the console channels as sounds instead of just outputs.
Part 3: The Payoff
So why bother doing all this instead of just using a stereo output? Because we can do all kinds of fun processing. In this example:
- The Snare channel is going to a bus with Room Reverb, set for a loooong decay. It’s followed by a Gate.
- The Kick channel has a send that feeds the Gate’s sidechain, so when the kick hits, it lets through the snare’s reverb.
- The Hat1 sound’s Analog Delay adds some motion.
- The Cymbal goes through another Gate, set for a long attack time to give an attack delay effect. This is followed by the Open Air convolution reverb, which uses the “8.00s Thin” idealized reverb impulse from my Surreal Reverb Impulse Responses pack.
This processing transforms a dancehall-type beat into something more chill. The audio example’s first half plays what the loop would be like without processing, while the second half includes the processing—and that’s just the tip of the iceberg of what multiple outputs can do.
“Universal” Gated Reverb
Last week’s tip covered using the Mixverb to create the 80s gated reverb effects with drums. This week, we’ll present a more universal solution. But also, we’ll do some cool tricks with gated delay (there’s nothing like a dotted eighth-note delay, right?).
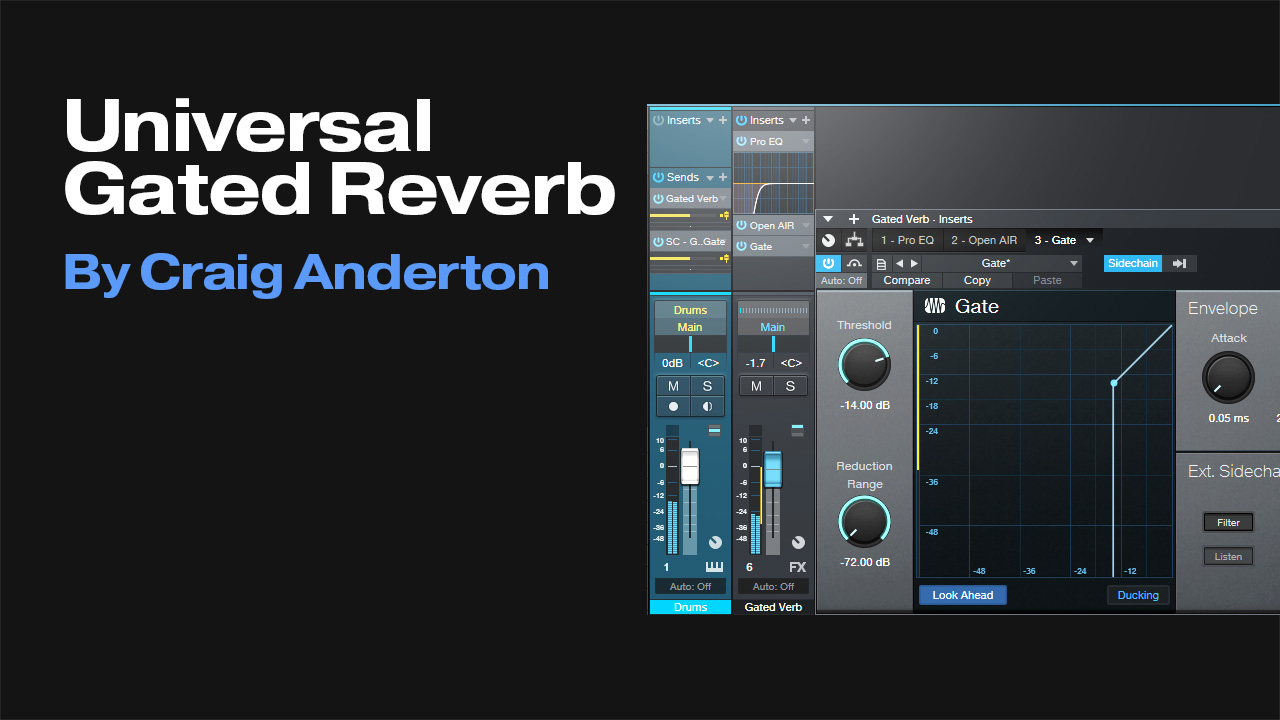
Compared to last week’s tip, the main difference this week is that it’s not limited to using individual drum sounds (although that remains the most flexible approach). Because the gate following the reverb has a sidechain, it works with drum loops or a mixed drum bus. Fig. 1 shows the mixer setup for a drum loop.
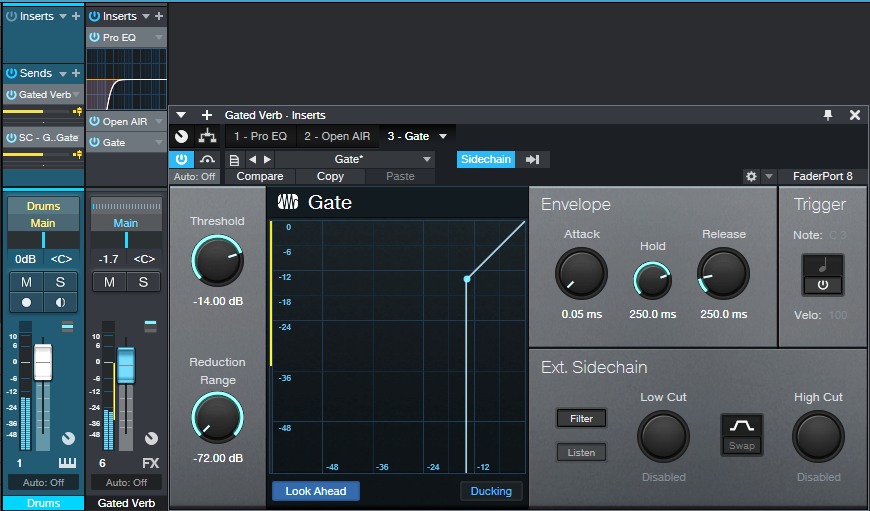
The drum (or loop, or bus) track has two sends. One goes to an FX Channel with Open Air reverb followed by Gate. The Pro EQ2 before the reverb is optional—it’s there to keep low frequencies, where the kick lives, out of the reverb. The other send controls the Gate’s sidechain.
For Open Air, I prefer reverb sounds that don’t have a lot of early reflections, with a long, consistent tail. Try different reverbs, because the results vary greatly depending on the reverb itself. My go-to is using a 4.00 or 8.00 second “Balanced” impulse from my Surreal Reverb Impulse Reponses sample pack, tweaked with the Open Air EQ. In the audio example, using this particular impulse imparts a sort of melodic component as well as space. However, most long, smooth reverbs will work.
Gate Settings
First off, a “gotcha”: When you assign a sidechain to the Gate, it assumes you want Duck mode. You don’t! Make sure you turn off Ducking, or you’ll wonder why the gating doesn’t work as expected.
The Gate’s Hold parameter plays an important role. You can set the Threshold to pick up as much of the drum dynamics as you want, and then use Hold to set a specific amount of time that the Gate is open. Release tailors the sound further by setting the way the Gate cuts off, from no time to a bit of a decay. For example, 250 ms adds a bit more of a reverberant character if you want a less drastic gating effect.
Audio examples? Sure! Let’s start with gated reverb on drums. The first half is dry drums. The second half has gated reverb, and uses the parameters shown in fig. 1.
The final audio example gates a dotted eight-note delay from the Analog Delay. In some ways, I think this is a better application than traditional reverb…but maybe that’s just because I haven’t heard it a zillion times before. This example has only the processed sound, since you already heard the dry sound in the previous audio example.
Studio One 5.5 Mastering with Perry Sorensen (Head of Mastering, NAXOS of America)
Perry Sorensen, Head of Mastering for NAXOS of America, gives us his favorite features of the updates in Studio One 5.5 on the Project Page. NAXOS is the largest distributor for classical jazz and world music.
Perry uses Studio One to master and in this video he gives a walk-thru of how he uses track automation plus more!
Learn more about Studio One
Learn more about NAXOS of America
Listen to Perry’s musical expressions with Jessie Kol
Join PreSonus Sphere today!
Only $14.95 per month for Studio One Professional, Notion, and so much more.
Happytwobehere with PreSonus
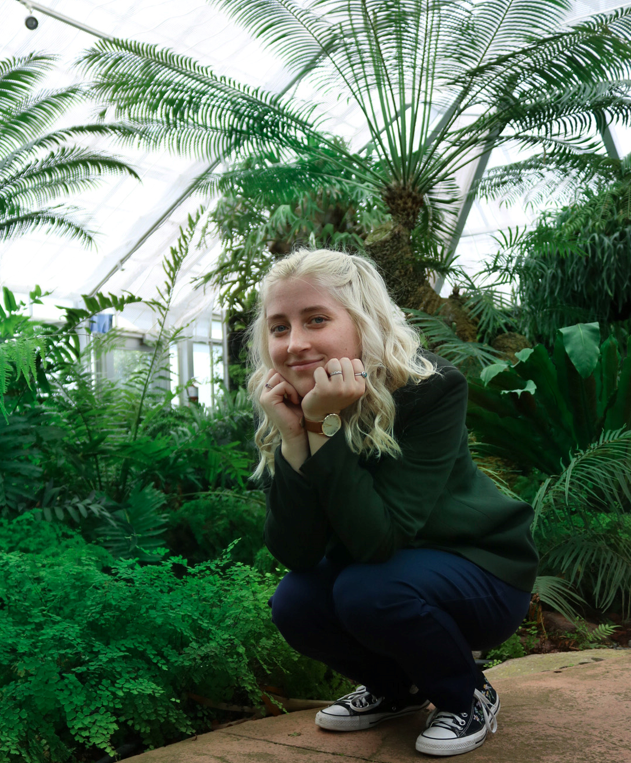
Happytwobehere is a duo from Covington, Louisiana comprised of two young ladies: Isabel Mathes (vocals) and Lillian Stegen (drums, keyboard, programming, production).
Here is their story…
Lillian: Isabel and I met in high school back in 2016 and became friends through our shared love of music. I can remember one day getting a ukulele and showing Isabel. We would always mess around, but one day we were like, “let’s write a song.” I can remember Isabel’s dad was picking her up and we had not finished the song. He arrived at my house and we were so excited to share it. We played it for him and he loved it. From there we knew that we could write. We began going to open mics at a local coffee shop and played our songs there. After we wrote a few songs, our friends started hearing them. We grew a following and support from our friends and family. We competed in our school’s talent show with an original and got so many positive reviews.

(Happytwobehere photographed by Margaret Killeen, New Orleans Botanical Gardens)
Being in high school, it was hard to get a gig. Our town is small and there are not many opportunities for kids like us. After we had gone to the open mic multiple times, the coffee shop owner reached out to us and wanted to book us to play our music there for two hours. This was the opportunity of a lifetime for us. When the show came, we packed the place out. Our friends and family came to support us and we had the best time ever. It was such an awesome moment to play our songs and have people sing them with us.
This was something Isabel came up with and it stuck. The phrase “Happy to be here” is something that we are whenever we go to play shows. We are so grateful for the opportunities we are given, so the name is fitting. The only difference between the phrase and our name is that the word to is spelled “two” because there are two of us!
To date, we have written about six or seven songs in total, and we plan to write many more in the future! We both have a passionate obsession with music and songwriting, so it’s always easy for us to collaborate.
The spring of 2020 was like no other. Isabel and I had been at different schools by this time, but wanted to release a song. I remember Isabel posted something on Instagram and I heard a groove with it. I sent her a demo and we got to writing. We would send voice memos back and forth because of the lockdown. In the end we created a song and music video all from home. The song, “Stay,” and its music video can be found on our individual Instagram accounts (Isabel) and (Lillian).
(Lillian, photographed by Margaret Killeen, New Orleans Botanical Gardens)
I have been living in Nashville for about two years now and love it. I am a student at Belmont University and have been truly blessed by PreSonus and what they have done. While it might seem small, their help has made me a better musician and opened many doors. Creating this project with PreSonus stuff helped be gain more knowledge with recording software. I was able to use what I learned in my own experiences and from audio engineering classes to start a job as a touring musician. The Quantum 2626 has traveled with me around the States! I have been able to drum at multiple music festivals with headliners like Miranda Lambert and Luke Bryan, using PreSonus’ gear for all of my needs during my set. Without their help, I could have easily been passed up for the gig. I am so grateful for their support!
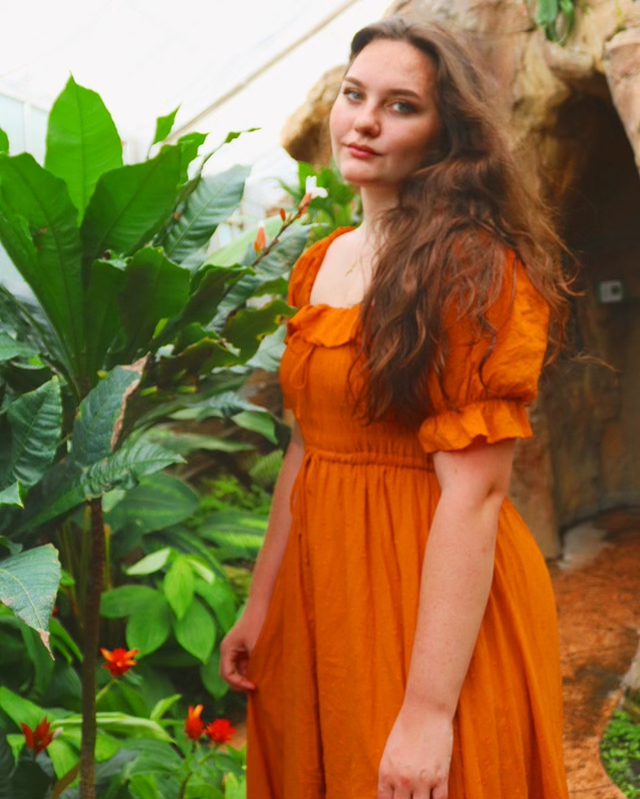
(Isabel, photographed by Margaret Killeen, New Orleans Botanical Gardens)
Isabel: Working with PreSonus was such an amazing opportunity for us. Due to the pandemic and the fact that we attend different colleges, we’ve struggled with continuing our songwriting and performing as a band. PreSonus decided to assist by providing us with audio tools (Revelator USB Mic, HD9 Headphones, Quantum 2626, DM-7 Drum Mics and Studio One recording software, via PreSonus Sphere memberships) to begin creating our music via online collaboration. We wrote “Never Met,” which was something we never finished in 2019 — and it will be available for the general public on Spotify, Apple Music, YouTube, and more soon!
Thanks PreSonus!
Join PreSonus Sphere today!
Only $14.95 per month for Studio One Professional, Notion, and so much more.
Studio One 5.5 is here!
Studio One 5.5 has arrived, adding a ton of new mastering power to the Project Page — including Automation — as well as plenty of other features, including a strum notes feature, .MID file support for the Chord Track, Fast Ampire switching, and more!
Here’s our Studio One 5.5 video playlist below. But if you want the full story and all the nitty-gritty details…
…head on over to the What’s New Page to see it all!
Learn more about Studio One
Shop Studio One
The Night Before Christmas (And All Through Studio One)
Check out renowned composer, Robin Hoffmann’s, rendition of “The Night Before Christmas” created exclusively in Studio One showcasing the use of Sound Variations prominently.
HAPPY HOLIDAYS to everyone!
Give yourself or someone you love the gift of music-making this holiday season.
Join PreSonus Sphere today!
Only $14.95 per month for Studio One Professional, Notion, and so much more.
James F. Reynolds: VOXPOD Studios and Studio One
So why is BTS (방탄소년단) “Fake Love” official video shown above?
Because their hit song was mixed in Studio One Professional by our latest PreSonus Sphere Featured Artist, James F. Reynolds!
Let’s catch up with the man himself and find out more about what he’s been up to lately:
 I started off my mixing career mixing Tinie Tempah’s triple-platinum album Discovery. Prior to this I wrote and produced music and was signed to labels such as Virgin and Defected Records. Since mixing Tinie’s album I have been busy mixing records for many artist including BTS, Sigrid, Dua Lipa, Kodaline, The Disciples, Sigma and most recently Shane Cod and his platinum single, “Get Out Of My Head.”
I have been mixing in Studio One for six years now and it keeps getting better and better. PreSonus really listens to user feedback and implements suggested improvements frequently; I haven’t experienced this with any other DAW.
Studio One allows for a very fast workflow and because of it’s intuitive build and design I can easily focus on the mixing.
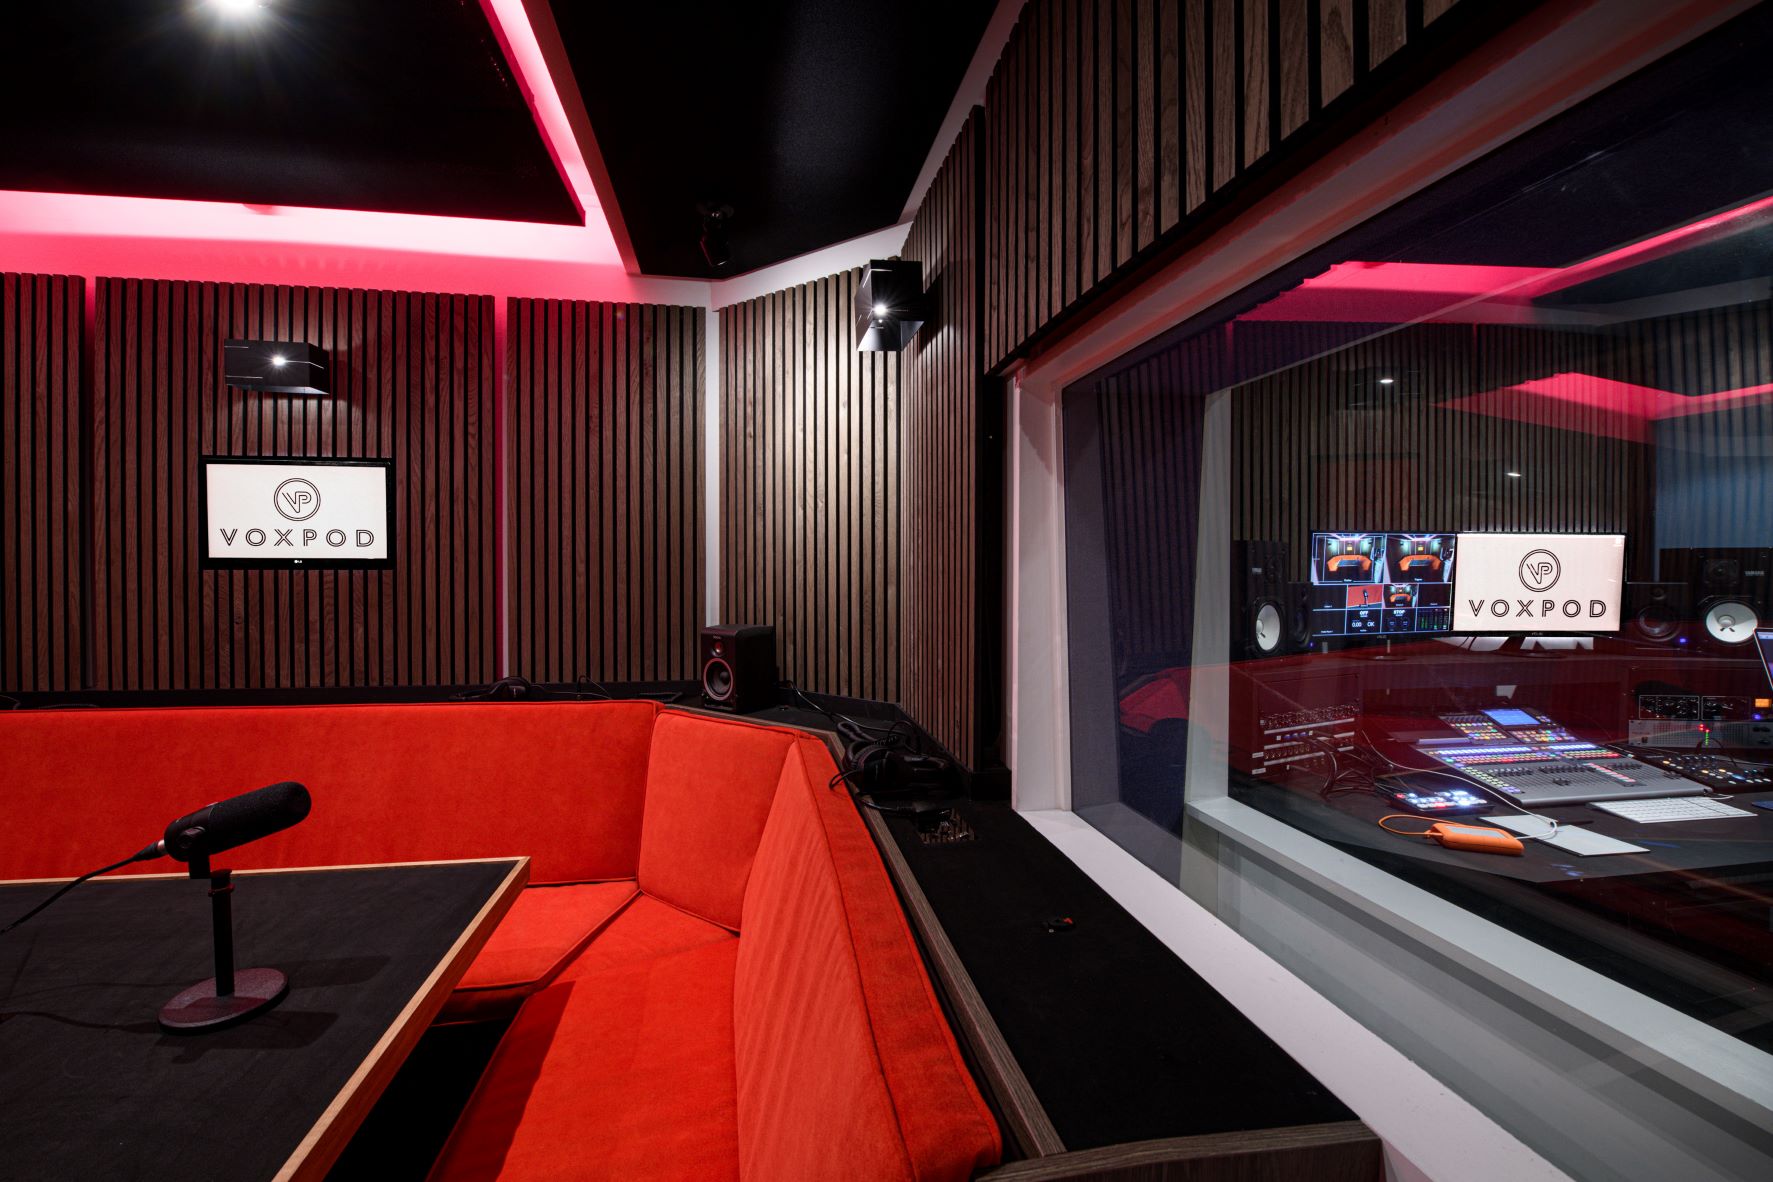
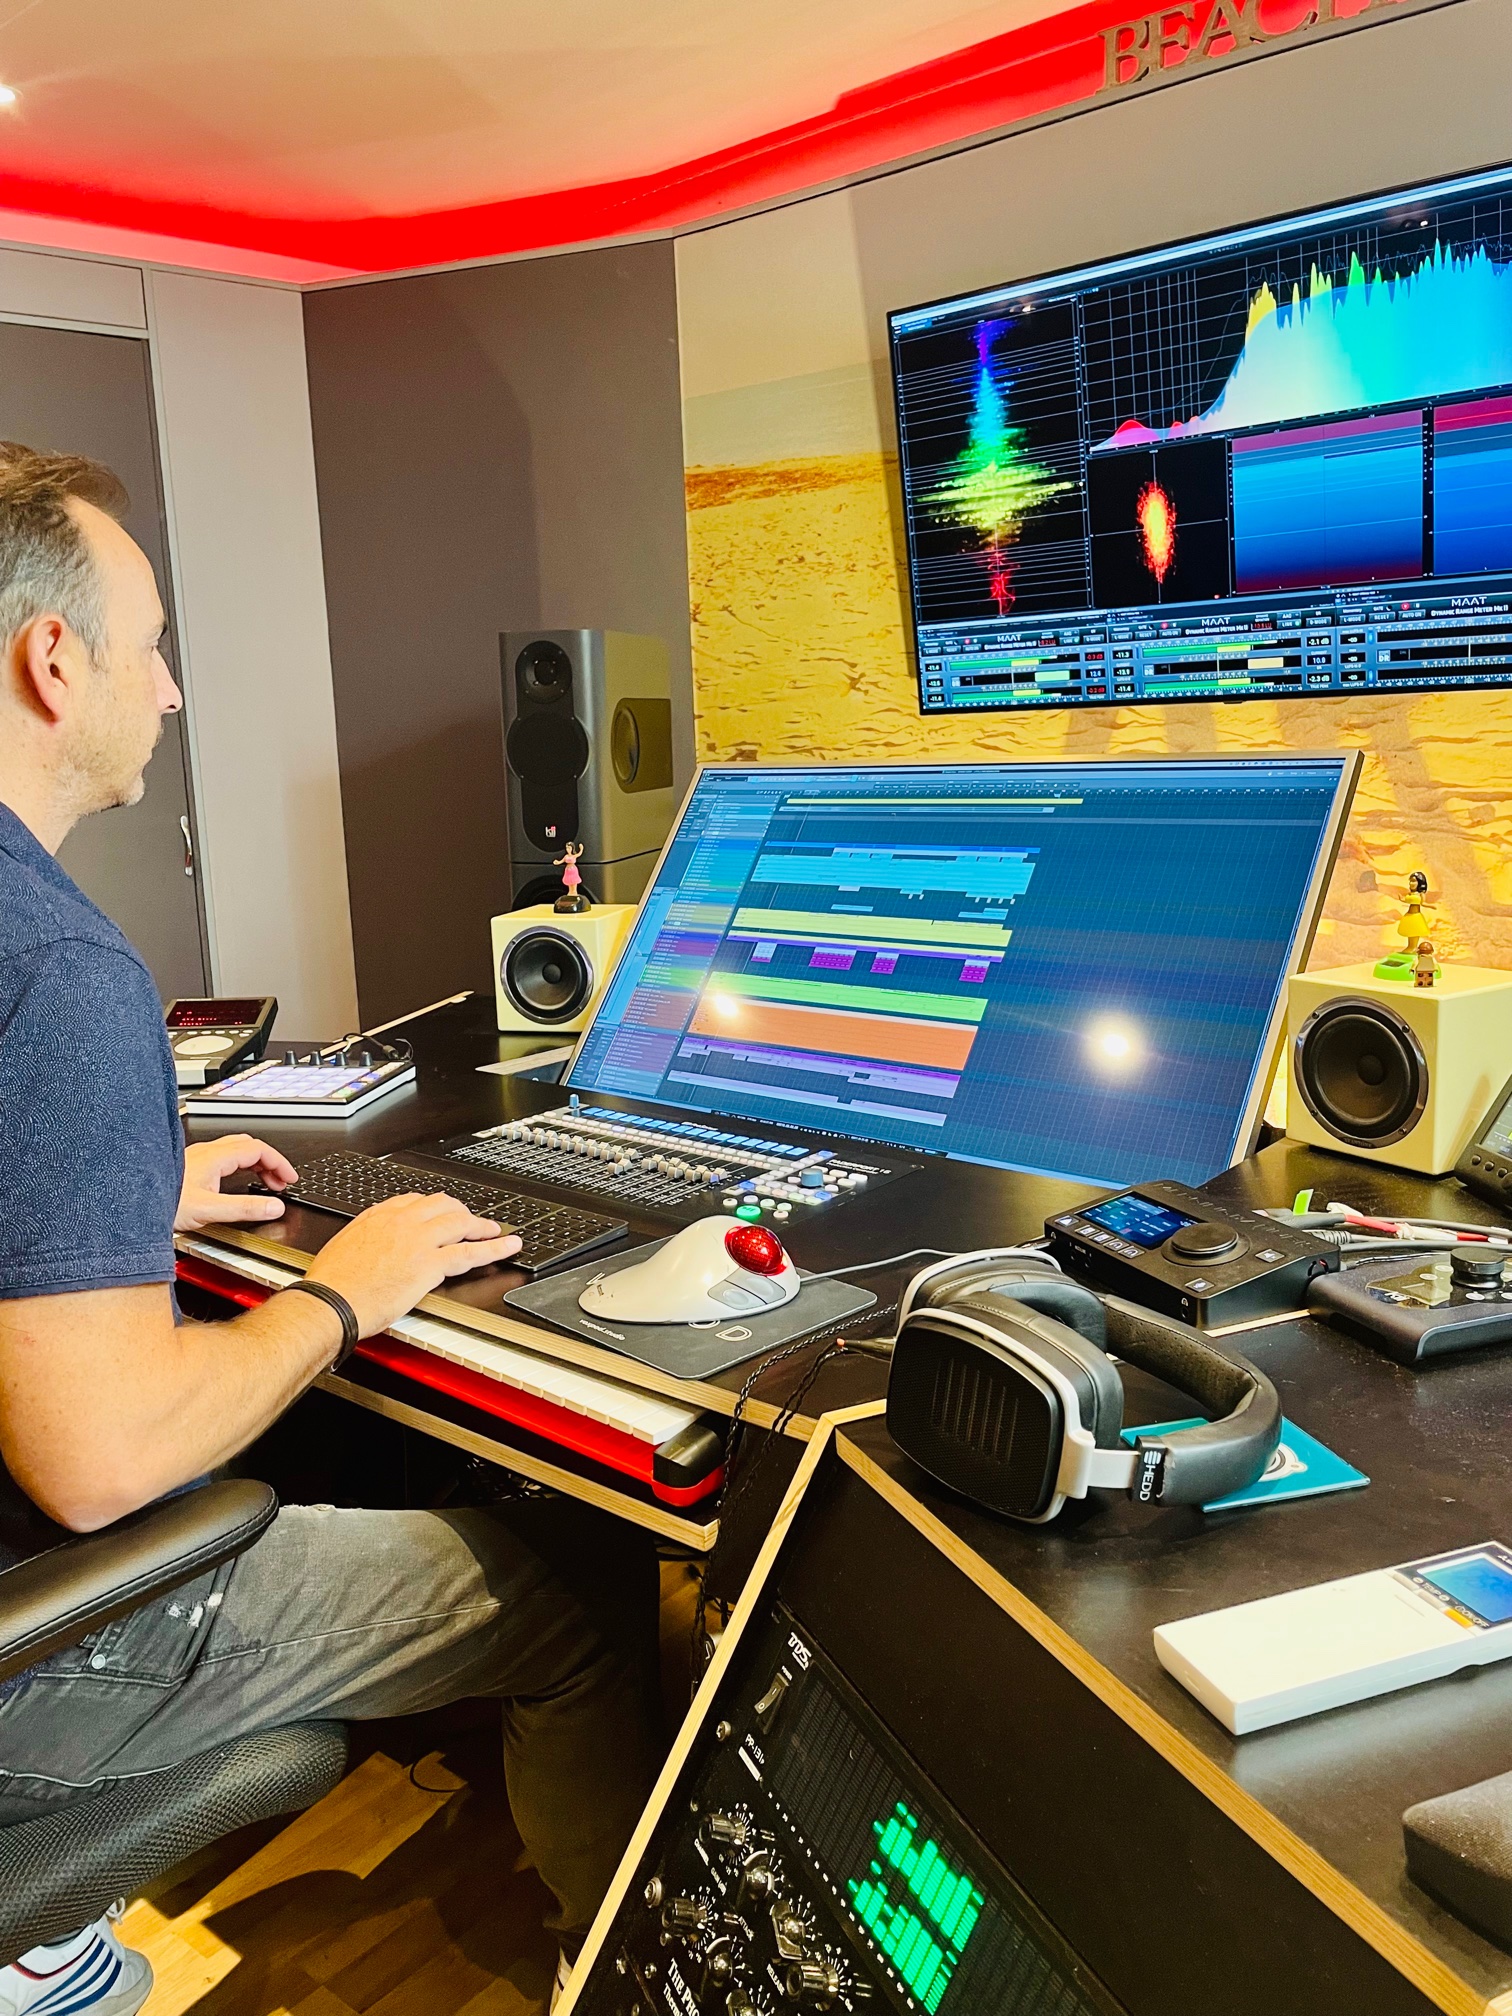
During lockdown in 2020, we decided that London was lacking in high-end state of the art podcast production facilities, so we built VOXPOD Studios. My podcast room can host up to eight people and also offers livestreaming and video recording of the shows on five video cameras placed around the room.
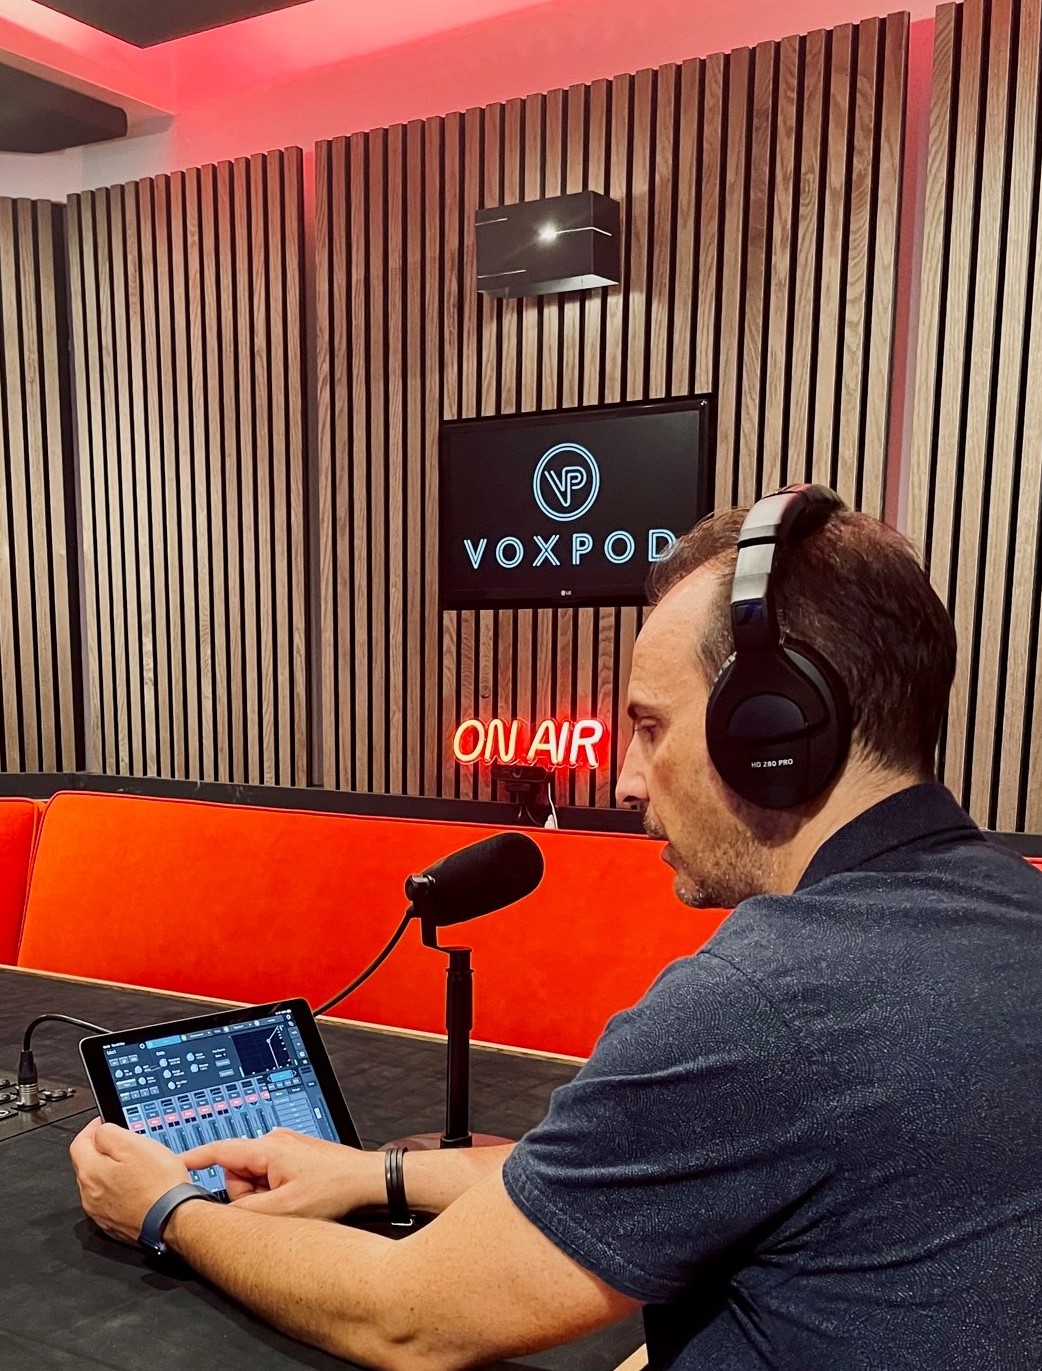 The PreSonus PD-70 dynamic mic has proven to be a game changer in VOXPOD studios. Its sound quality and tone set the bar above all the others on the market.
VOXPOD Studios has already started hosting shows for some big podcasts here in the UK, including the James Smith Podcast and Rugby’s leading podcast, “The Good The Bad and the Rugby.”
Lastly, another new positive feature of 2020 was the launch of PreSonus Sphere. It’s truly a brilliant way of connecting the rapidly growing number or Studio One users, world-wide. I love being able to try out suggested Presets and Studio One shared components from other engineers, writers and producers.
Join PreSonus Sphere today to check out James’ exclusive Presets and from those by other featured artists!
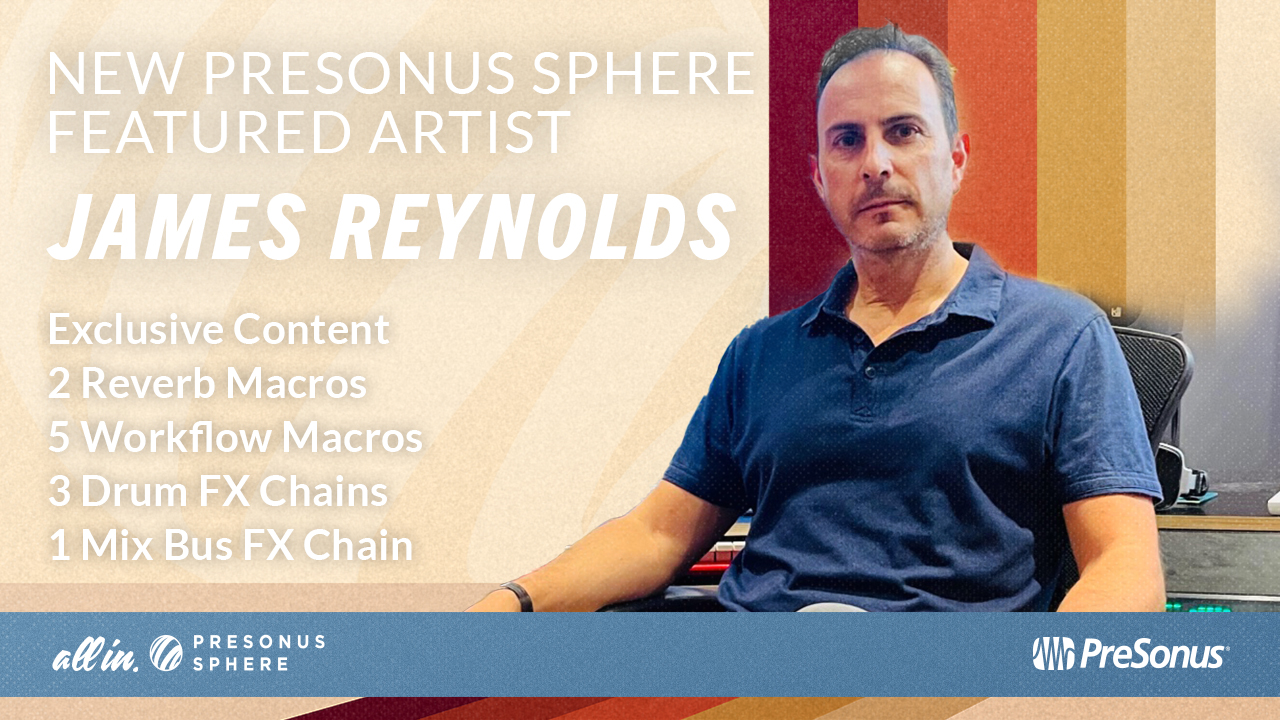
James F Reynolds: PreSonus Sphere Featured Artist
They include: two Reverb Macros, five Studio One Workflow Macros, three Drum FX Chains and a Mix Bus FX Chain for all PreSonus Sphere members to access and enjoy.
Only $14.95 per month for Studio One Professional, Notion, and so much more.
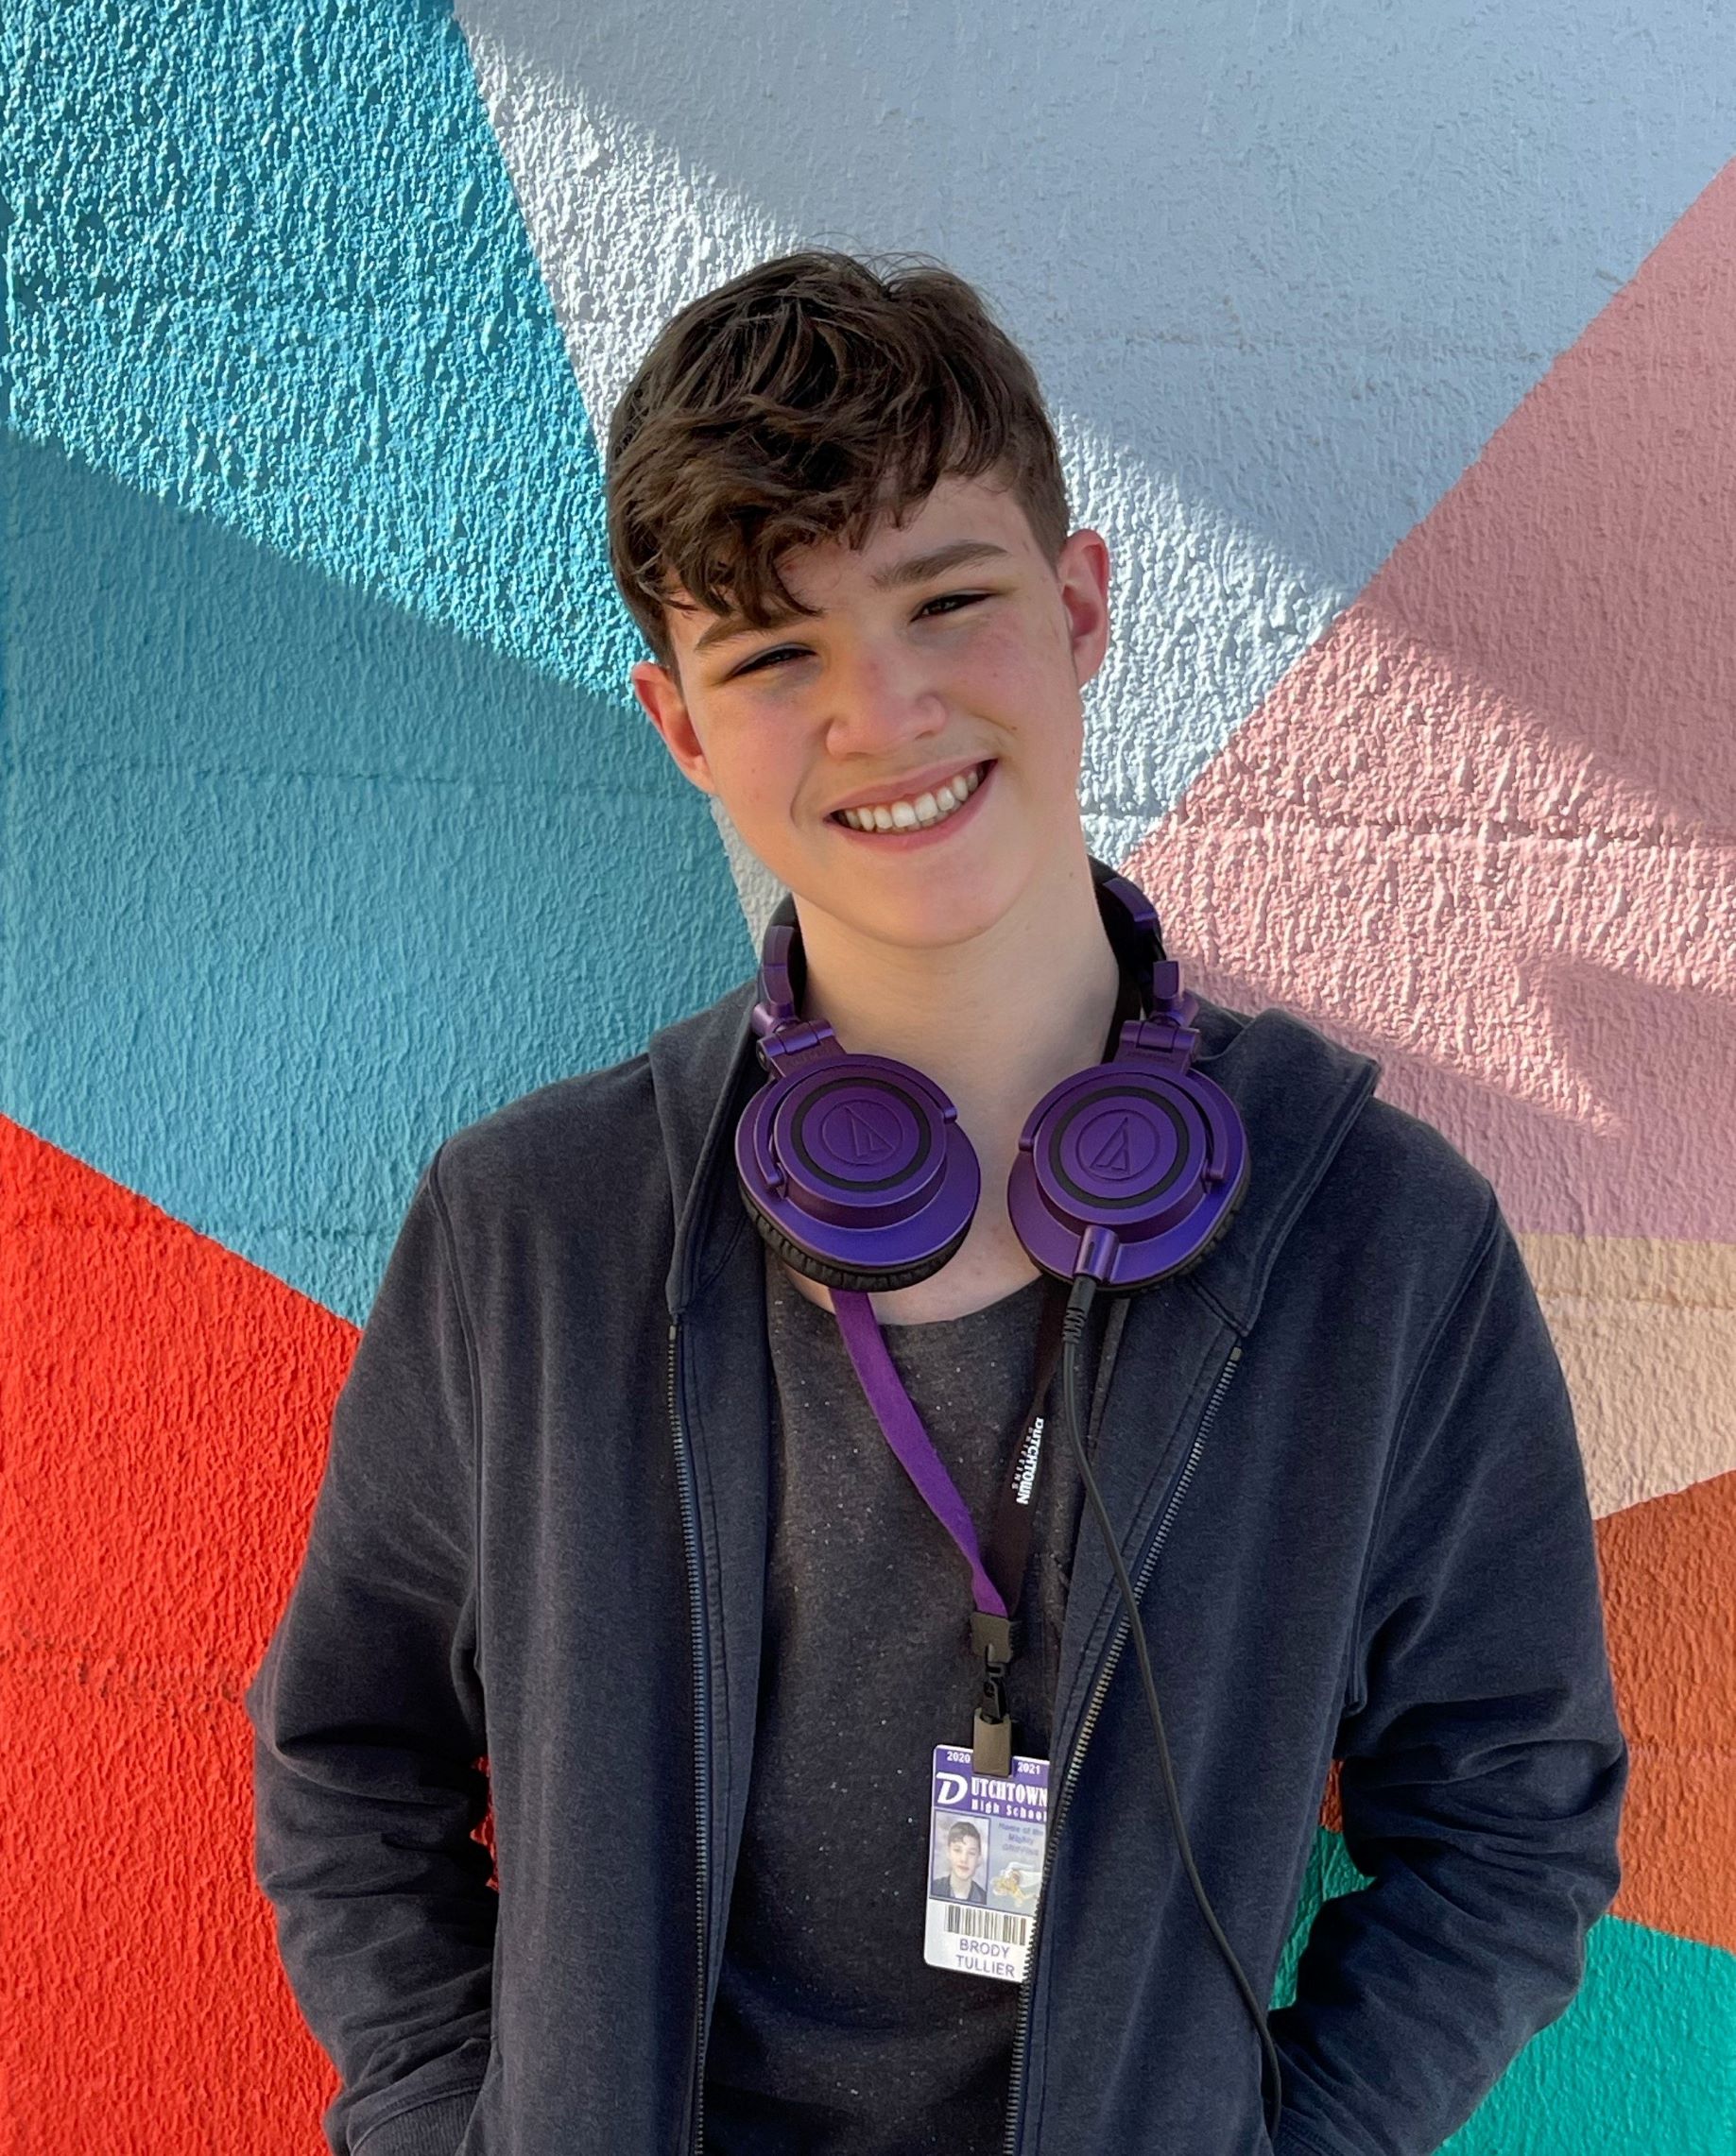
Brody Tullier on using Studio One for Video Game Soundtracks
Brody Tullier (aka Zeno) is a 17 year-old composer based in Baton Rouge, Louisiana who has been composing and arranging original music for the past four years.
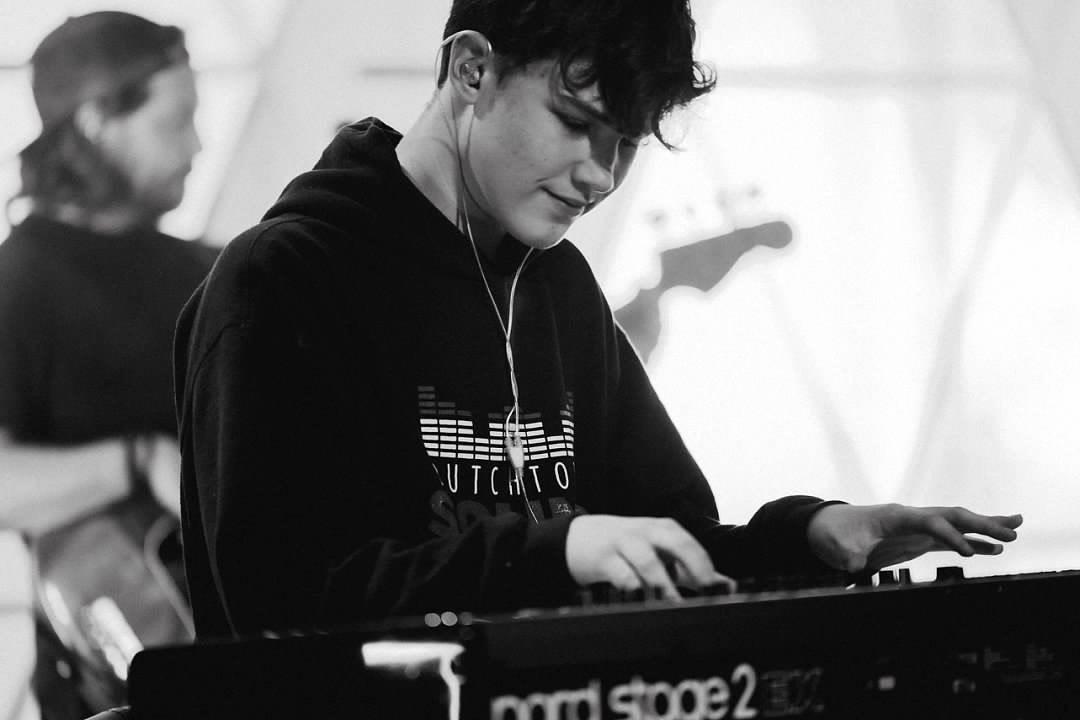 His main style of composition is often through complex midi-mapping and programming, although he is also a studying pianist and vocalist.
Delving into advanced audio production more and more in recent years, his music has become the lively, energetic, and polished arrangements that you can hear in his recent Bandcamp releases here.
Brody’s preferred style of compositions lean heavily towards video-game inspired tracks and he aspires to one day seek a career in the video game music industry.
We wish him great success in his ongoing growth as a musician, composer and producer!
Follow Brody’s path in discovering the creative power of Studio One, Notion and the PreSonus software add-ons available.
Join PreSonus Sphere today!
Only $14.95 per month for Studio One Professional, Notion, and so much more.
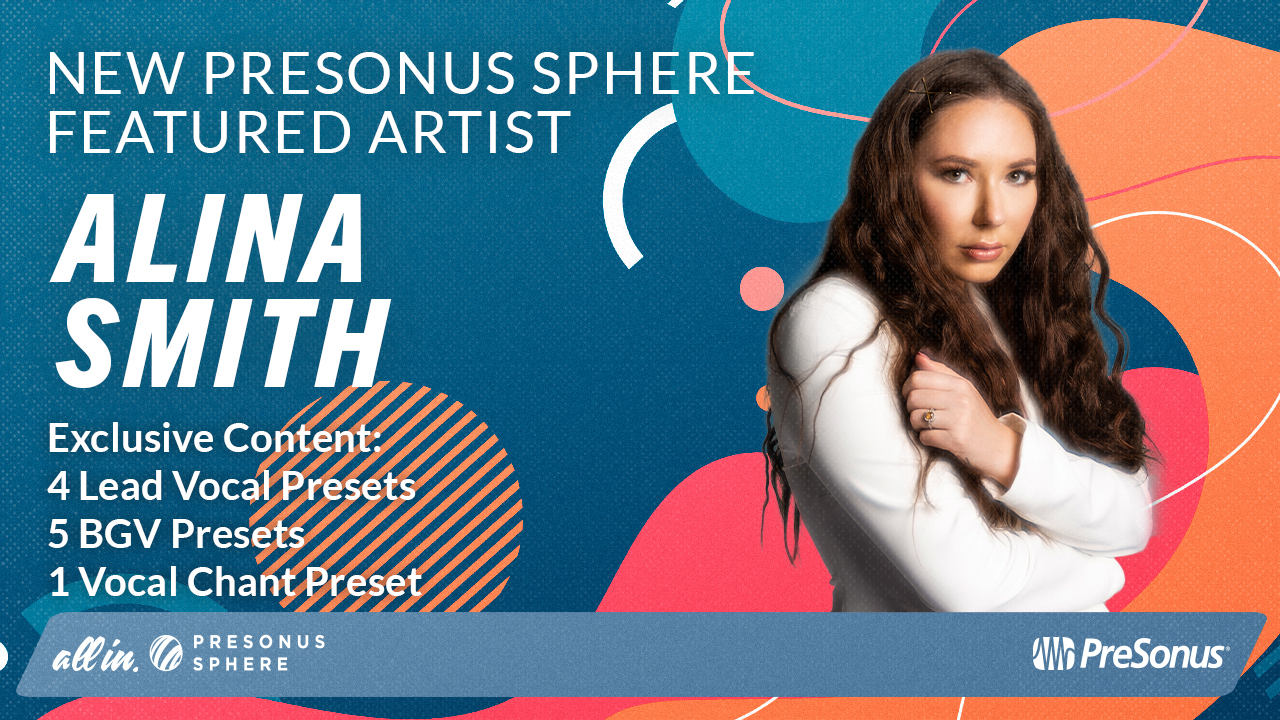
Mixing Vocals: How To Make Vocal Production Presets in Studio One with Alina Smith
Join PreSonus Sphere today to check out Alina Smith’s exclusive Presets and more by other PreSonus artists!
Only $14.95 per month for Studio One Professional, Notion, and so much more.
Alina Smith: 2000’s Teen

Alina Smith is a songwriter, a producer, and one half of LYRE, who has written and produced records for traditional acts such as Fall Out Boy, ITZY, Red Velvet, Betty Who, Kirstin Maldonado (Pentatonix), as well as for today’s top digital creators like Kenzie Ziegler, Lexi Jayde, Niki and Gabi.
She has accumulated hundreds of millions of streams on songs she’s been a part of and earned several #1 singles. Alina’s work has been profiled in Forbes Magazine, Billboard Magazine, American Songwriter, 1883 Magazine, and more. She’s also well-known in the sound design space with LYRE’s Splice sample pack called “Perfect Pop.”
Here’s what you need to know, straight from Alina:
So I started recording myself singing pretty early on, I wanna say… 2005. I had a dynamic mic I plugged directly into the audio input of my prehistoric laptop and I had absolutely zero training in anything related to production. Then, a few years later I upgraded to an M-Box and a $100 MXL mic which is, funny enough, the setup that I got my first songwriting cut on. From then on, I kept progressing and learning, which I still do to this day, although I do have a pretty large bag of tricks at this point that I can dip into when I record different singers in different genres.
A few years ago I switched from Pro Tools to Ableton Live for instrumental production, but I was struggling with the vocal production side of things in there because at the time Ableton didn’t have playlisting, so recording and comping vocals was super time-consuming and clunky.
I decided to test-run Studio One and fell in love with it immediately! With the ease of setting my own key commands, I was able to choose the commands I was used to and not have to learn a whole new set. Sprinkle in the Melodyne and VocAlign via ARA integration, and I knew that I finally found my soulmate vocal production DAW!
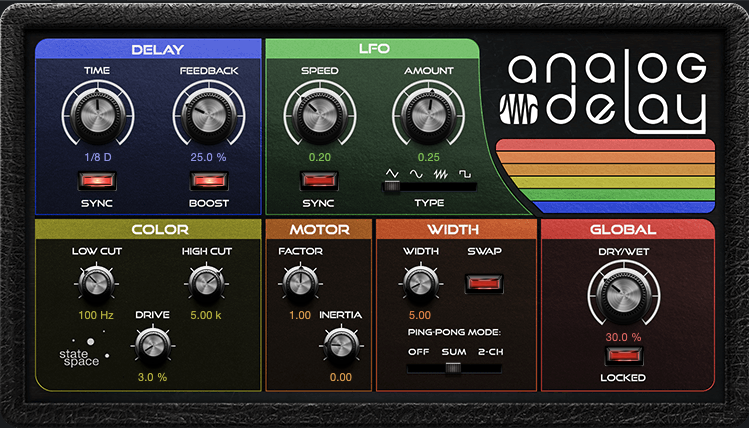 With a PreSonus Sphere membership, I’ve discovered a lot of new plug-in effects I really love, like the Analog Effects Collection. The Analog Delay is chef’s kiss!
I’ve really come to enjoy the PreSonus PX-1 mic, which I use for on-location recording quite a bit. With the right “in-the-box” vocal chain, I can make it sound bright and crispy and much pricier than it actually is!
It’s been a really hectic year for me! At the top of 2021, I set the intention of not holding back in any area of my life or career and for the rest of the year it translated into me pursuing several things all at once. I ended up organizing and hosting an online music convention, called the Modern Music Expo, which you can watch a replay of here:
I also released an EP called 2000’s Teen, which is my first body of work as an artist! And, seeing as my main job is writing and producing music for other artists with mg production team LYRE, I also did a ton of that, my favorite being “Mafia in the Morning” by ITZY, which came out this spring.
I’m already working on my next release: filming a music video and planning the drop. Writing and producing for various projects and making production tutorials for YouTube and TikTok. But mostly, I’m just trying to relax and enjoy fall, which is my favorite time of the year. It’s so important for artists to replenish their batteries, so that’s what I’m doing!
Let’s welcome Alina into the family as a Featured Artist on PreSonus Sphere!
She is sharing ten of her custom Vocal FX Presets for all PreSonus Sphere members to access and enjoy:
Join PreSonus Sphere today to check out Alina Smith’s exclusive Presets and more by other PreSonus artists!
Only $14.95 per month for Studio One Professional, Notion, and so much more.