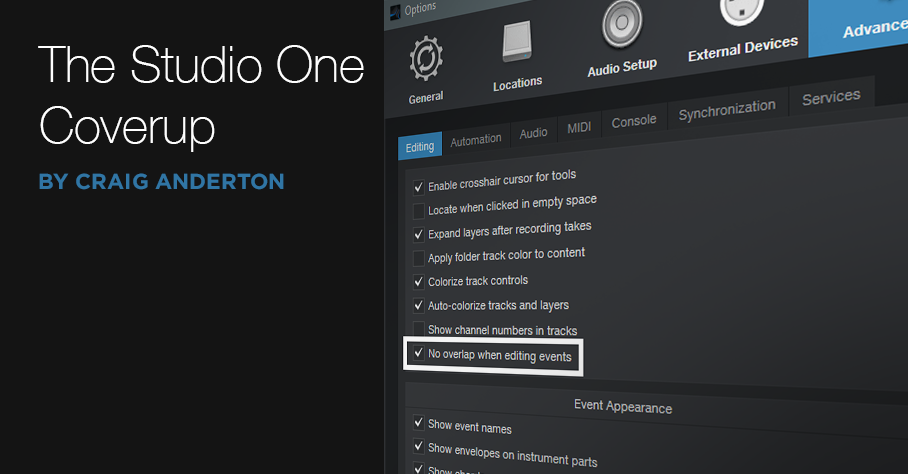
The Studio One Cover-Up
Studio One 5 has many little features that might fly under the radar, but are surprisingly useful.
Like being able to change what happens when one Event overlaps (covers over) a different Event.
Prior to Version 5, overlapped Events were treated the same. The overlapping Event became translucent, so you could see the waveform or note data of the Event underneath it. This is ideal for making audio crossfades, which is one of the main reasons for overlapping audio Events. To create a crossfade, type X, and optionally, click and drag up/down at the crossfade junction to shape the crossfade curve. Then you can shift+click on the overlapped Event, type ctrl+B, and combine them into a single Event. With note data, overlapping Events is helpful when combining, for example, the main snare hits on one track with alternate snare hits on a different track.
Another option after overlapping Events is mixing them together. Shift+click on the overlapped Event to include it with the overlapping Event on top. Then type Ctrl+B to mix audio, or G to merGe note data.
However, if you don’t crossfade or mix, then the region below the overlapping Event is still there. The overlapping Event is grayed, which can get confusing if you have a lot of muted sections; and if you remove the overlapping Event because you want to replace it with something else, it’s not obvious where the overlap occurred.
Meet “No Overlap” Mode
Some programs default to deleting, not just covering over, a section that’s being overlapped by another clip. This is useful when you’re doing lots of edits, because you’re not left with vestigial pieces of regions that still exist, but don’t do anything. To accommodate this type of workflow, Studio One 5 now offers a “no overlap” mode for Events. There are three ways to access this (Fig. 1).
- In Arrangement view, click the options Wrench and check “No overlap when editing events.”
- In Options/Advanced/Editing, check “No overlap when editing events.”
- Use the keyboard shortcut Ctrl Alt – [minus sign] to toggle between overlap and no overlap.
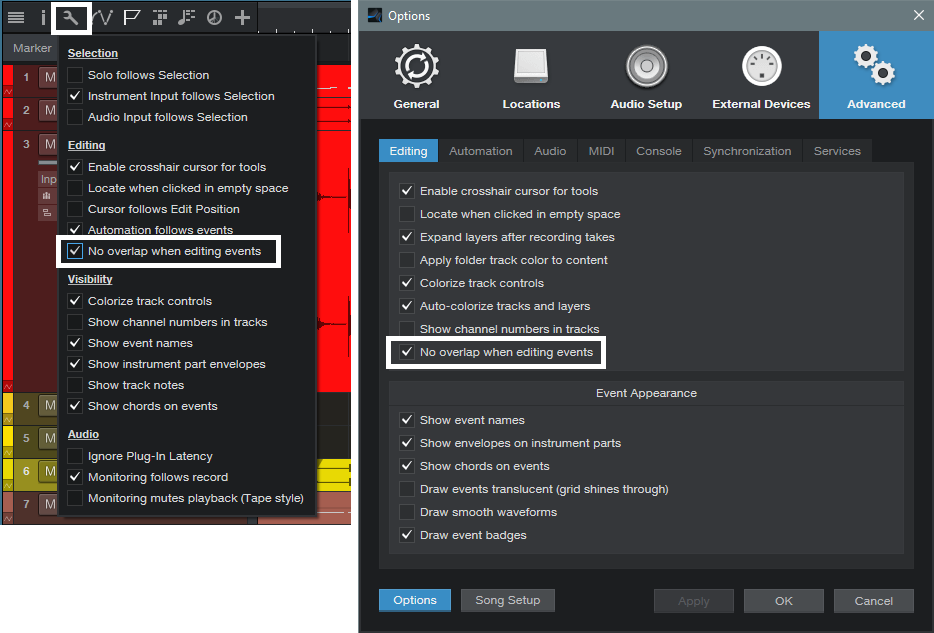
Figure 1: In addition to using a keyboard shortcut, Studio One can default to “No overlap when editing events,” as chosen in the Arranger view or under Options.
Selecting “No overlap when editing events” deletes the overlapped part of an Event, and the replaced section looks like it’s part of the track (i.e., not grayed). However, if you later decide you didn’t really want to delete the overlapped region, then just remove the section that overlapped it. Now you can slip-edit the edge of the underlying Event back to where it was.
(Note that if you enabled Play Overlaps in a track’s Inspector, or chose “Enable Play Overdubs for New Audio Tracks” in Options/Advanced/Audio, so that you could overdub over an existing track and hear both the original track and the overdub on playback, enabling “No overlap when editing events” overrides this setting.)
Granted, this may seem like a small change, but it accommodates more workflow possibilities—especially if you learn the keyboard shortcut, and choose the right option at the right time.