Track Matching with the Project Page
Okay, this is an unusual one. Please fasten your seat belts, and set your tray tables to the upright and locked positions.
Personal bias alert: With pop and rock music, for me it’s all about vocals, drums, and bass. Vocals tell the story, drums handle the rhythm, and bass holds down the low end. For a given collection of songs (formerly known as an “album”), I want all three elements to be relatively consistent from one song to the next—and that’s what this week’s tip is all about. Then the other instruments can weave in and out within the mix.
It’s fantastic that you can flip back and forth between the Project page and a Song that’s been added to the Project page, make tweaks to the Song, then migrate the updated Song back to the Project page. But it’s even better when you can make the most important changes earlier in the process, before you start down the final road of mastering.
Here’s a way to match bass and vocal levels in a collection of songs. This takes advantage of the Project page, but isn’t part of the mastering process itself. Instead, you’ll deploy this technique when the mix is in good shape—it has all the needed processing, automation, etc.—but you want a reality check before you begin mastering.
We’ll cover how to match vocal levels for the songs; bass works similarly, and in some ways, more effectively. Don’t worry, I’m not advocating robo-mixing. A mathematically correct level is not the same thing as an artistically correct level. So, you may still need to change levels later in the process—but this technique lets the voice and bass start from a “level” playing field. If you then need to go back and tweak a mix, you can keep the voice and bass where they are, and work the mix around them.
(Note that it’s important to know what the LUFS and LRA metering in the Project page represent. Rather than make this tip longer, for a complete explanation of LUFS and LRA, please check out this article I wrote for inSync magazine.)
- Create a test folder, and copy all your album’s Songs into it. Because this tip is about a diagnostic technique, you don’t want to overwrite your work-in-progress songs.
- Create a new test Project.
- Open a copied Song, remove any master bus processing, and Choose Add to Project for the test project. Add all the other songs on the album to the test project. Do not normalize the songs within the test project.
- Open the Loudness Information section for each song, and select the Post FX tab. Adjust each song’s individual level fader (not the master fader) so all songs have the same LUFS reading, then save the Project. The absolute LUFS value doesn’t matter; choose a target, like -20 LUFS. (When adjusting levels, 1 dB of level change alters the LUFS reading by 1. For example, if a song registers at -18.4 dB, decrease the level by 1.6 dB to reach -20 LUFS. Check and re-check by clicking on Update Loudness as needed until the LUFS readings are the same.)
- Choose a Song to edit (click on the wrench next to the song title). When the Song opens, solo only the vocal track. Then choose Song > Update Mastering File. Note: If a dialog box says the mastering file is already up to date, just change a fader on one of the non-soloed tracks, and try again. After updating, choose View > Projects to return to the test project.
- Repeat step 5 for each of the remaining Songs.
- Select all the tracks in the Project page, then click on Update Loudness.
- Check the Loudness Information for each song, which now consists of only the vocal (Fig. 1). For example, suppose the readings for six songs are (1) -24.7, (2) -23.8, (3) -24.5, (4) -22.7, (5) -23.1, and (6) -24.3. Those are all pretty close; we’ll consider -24.5 an average reading. The vocals on songs (1), (3), and (6) have consistent levels. (2) and (5) are a tad high, but song (4) is quite a bit higher. This doesn’t mean there’s a problem, but when you go back to using the original (not the copied) Songs and Project, try lowering the vocal on that song by 1 or 2 dB, and decide whether it fits in better with the other songs.
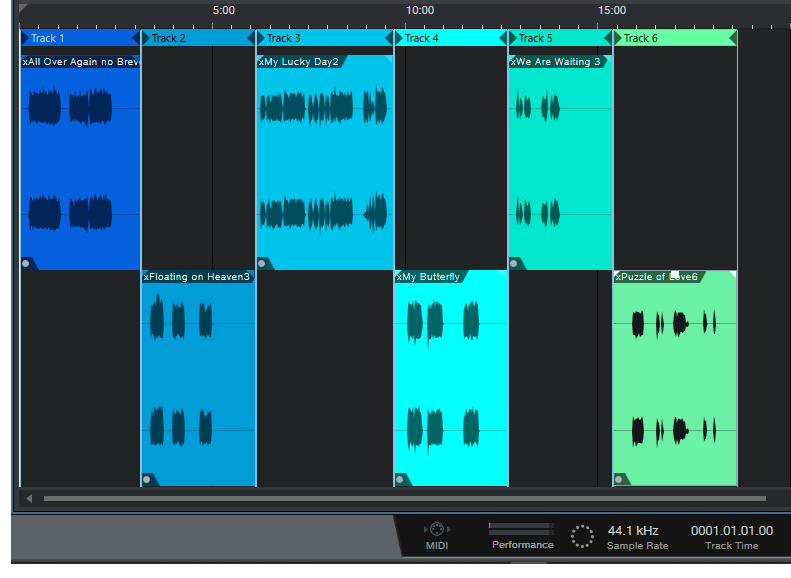
Figure 1: The songs in an album have had only their vocal tracks bounced over to the Project page, so they can be analyzed by the Project page’s analytics.
The waveforms won’t provide any kind of visual confirmation, because you adjusted the levels to make sure the songs themselves had a consistent LUFS reading. For example, if you had to attenuate one of the songs by quite a bit, visually the vocal might seem louder but remember, it’s being attenuated because it was part of a song that was louder.
Also try this technique with bass. Bass will naturally vary from song to song, but again, you may see a lager-than-expected difference, and it may be worth finding out why. In my most recent album, all the bass parts were played with keyboard bass and generated pretty much the same level, so it was easy to use this technique to match the bass levels in all the songs. Drums are a little dicier because they vary more anyway, but if the drum parts are generally similar from song to song, give it a try.
…But There’s More to the Story than LUFS
LRA is another important reading, because it indicates dynamic range—and this is where it gets really educational. After analyzing vocals on an album, I noticed that some of them had a wider dynamic range than others, which influences how loudness is perceived. So, you need to take both LUFS and LRA readings into account when looking for consistency.
For my projects, I collect all the songs I’ve worked on during a year, and release the completed project toward the end of the year. So it’s not too surprising that something mixed in February is going to sound different compared to something mixed in November, and doing something as simple as going back to song and taking a little compression off a vocal (or adding some in) is sometimes all that’s needed for a more consistent sound.
But let me emphasize this isn’t about looking for rules, but looking for clues. Your ears will be the final arbiter, because the context for a part within a song matters. If a level sounds right, it is right. It doesn’t matter what numbers say, because numbers can’t make subjective judgments.
However, don’t minimize the value of this technique, either. The reason I stumbled on it was because one particular song in my next album never seemed quite “right,” and I couldn’t figure out why. After checking it with this technique, the vocal was low compared to the other songs, so the overall mix was lower as well. Even though I could use dynamics processing to make the song reach the same LUFS reading as the other songs, this affected the dynamics within the song itself. After going back into the song, raising the vocal level, and re-focusing the mix around it, everything fell into place.