Friday Tip of the Week: A Sweeter, Beefier Ampire
A Sweeter, Beefier Ampire
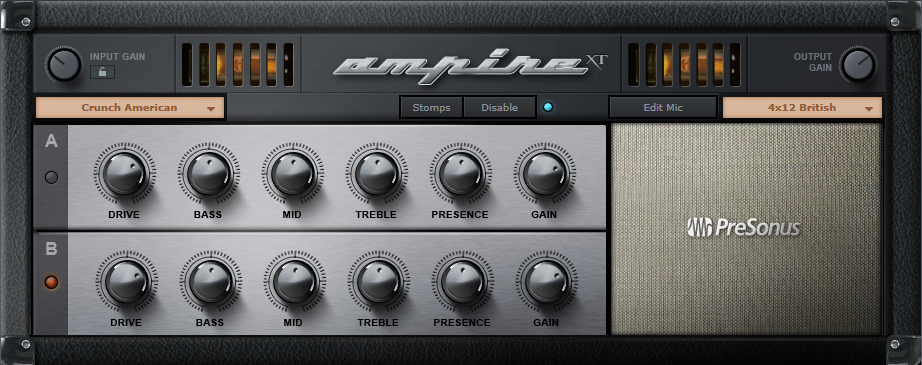
Let’s transform Ampire’s Crunch American from a motor scooter into a Harley. Here’s our point of departure:
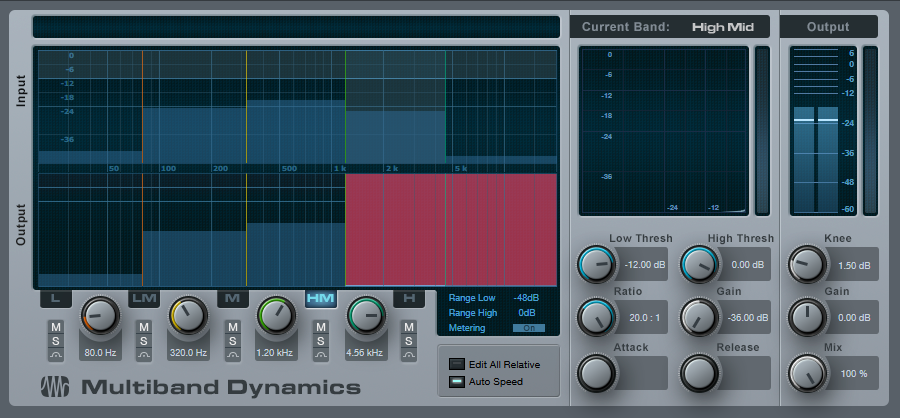
Insert the Multiband Dynamics before Ampire. The default patch is fine, but drag the High Mid and High gain and ratio settings down all the way. The goal here is to add a bit of compression to give more even distortion in the mids and lower mids but also, to get rid of high frequencies that, when distorted, create harsh harmonics.
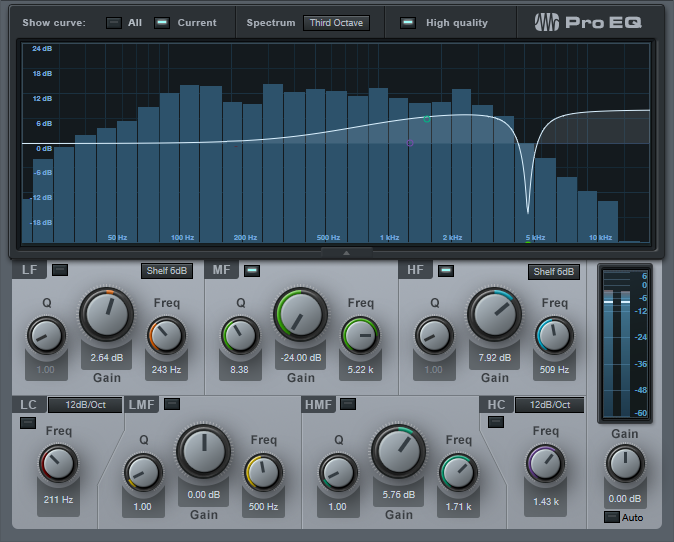
After Ampire, insert the Pro EQ. The steep notch around 8 kHz gets rid of the whistling sound you’ll really notice in the before-and-after audio example, while the high-frequency shelf adds brightness to offset the reduced high frequencies going into Ampire. But this time, we’re increasing the “good,” post-distortion high frequencies instead of the nasty pre-distortion ones.
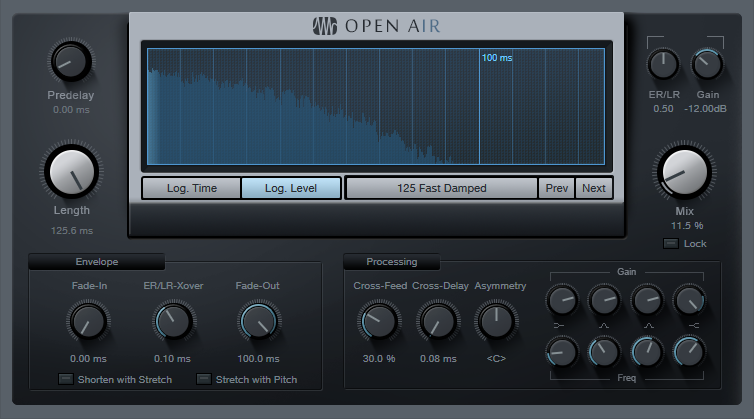
Those two processors alone make a big difference, but let’s face it—people don’t listen to an amp with their ear a couple inches from the speaker, but in a room. So, let’s create a room and give the sound a stereo image with the Open Air convolution reverb. I’ve loaded one of my custom, synthetic IR responses; these are my go-to impulses for pretty much everything I do involving convolution reverb, and may be available in the PreSonus shop someday. Meanwhile, feel free to use your own favorite impulses.
Of course, you can take this concept a lot further with the Channel Editor if you want to tweak specific parameters to optimize the sound for your particular playing style, choice of pickups, pickup type, and the like…hmmm, seems like that might be a good topic for a future tip.
That’s it! Now all that’s left is to compare the before and after example below. Hopefully you’ll agree that the “after” is a lot more like a Harley than a motor scooter.