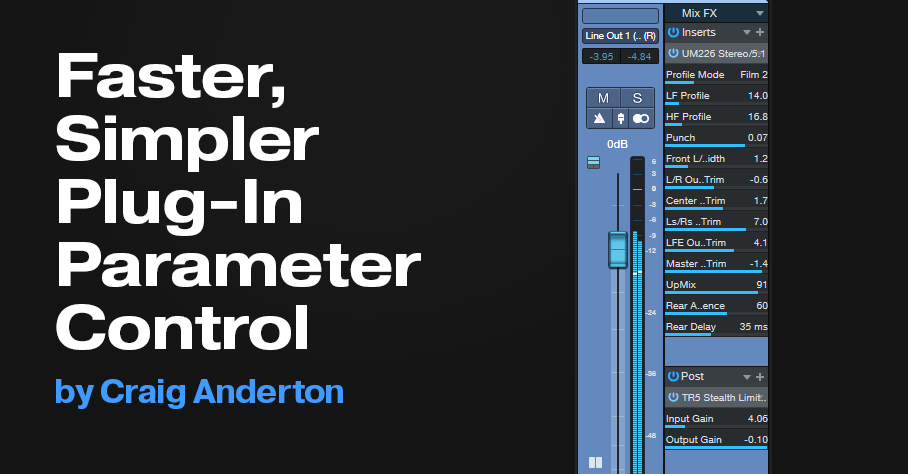
Faster, Simpler Plug-In Parameter Control
You’re probably familiar with Studio One’s Micro Edit view, where you can expand/collapse an effect in the Insert Device Rack. However, Studio One 6 extends this ability to third-party plug-ins. You can treat the Insert Device Rack as your plug-in GUI, and tweak or write automation for parameters without having to open a plug-in’s interface. The Micro Edit view is ideal for quick tweaks, but also, for effects that interact with each other, like EQ and compression. Instead of having to bounce back and forth between two different plug-in UIs, all the necessary parameters are laid out in front of you.
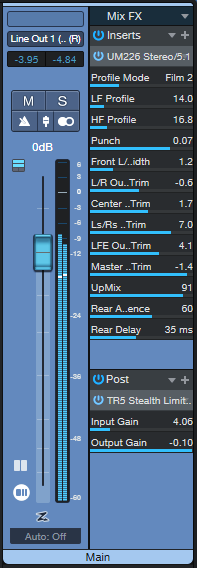
Fig. 1 shows an example of using a Micro Edit view in the master bus. The processors are Waves’ UM226 stereo-to-5.1 surround upmix plug-in, followed the IK Multimedia’s Stealth Limiter as a post-master fader effect. Although the UM226 is designed to synthesize surround, I also use it as a “secret weapon” to give more of an immersive feel, and sense of space, to stereo mixes. Its UI is relatively large, so this lets me tweak it while doing a mix with other plug-ins open. Micro Edit view lets you choose the parameters you want to include from third-party plug-ins. The ones shown are the ones I edit most often.
You can choose as many or as few parameters as you want, and all of them are automatable. However, also note that the standard automation options don’t have to overlap with these parameters. For example, I use standard automation for switched functions that might only be needed to change once or twice during a song. There’s no need to have them take up space in the Micro Edit view.
Serious Micro Edit Automation
Opening the view in the Insert Device Rack limits the fader length. That’s okay for tweaking parameters, but for automation, it’s better to have a longer fader. Version 6’s Channel Overview takes care of that (fig. 2).

Assigning Parameters
With PreSonus plug-ins, Micro Edit View parameters are pre-assigned to the most-used functions. With third-party effects, you select the Micro Edit view parameters, similarly to how you choose automation parameters.
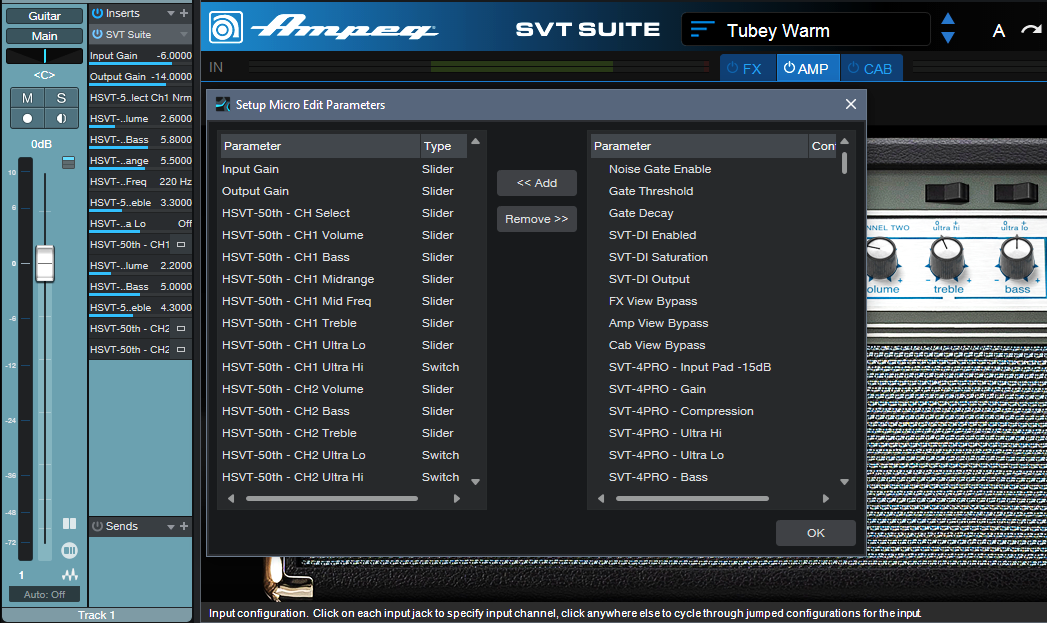
Right-click on the effect name in the Insert Device rack, and choose Setup Micro Edit Parameters. Click on the parameters you want to add in the right pane, and choose Add. Now the parameters will be in the left pane, and visible as Micro Edit view parameters.
Fig. 3 shows how this can save a huge amount of screen real estate when mixing. The Ampeg SVT suite bass plug-in’s UI takes up a lot of space. So, I assigned all the parameters for the amp being used to Micro View parameters. Now tweaking the parameters simply requires expanding the Micro Edit view, and collapsing it again when done (expanding and collapsing are both one-click operations).
This is the kind of feature that may not seem like much of a big deal—until you start using it. Micro Edit view makes for a less cluttered, more compact, and visually streamlined mixing experience.
Heads-up: Version 1.3 of The Huge Book of Studio One Tips and Tricks is now available! This 637-page book with 230 innovative tips is a free update to owners of previous versions ($19.95 to new buyers). Download the update from your PreSonus or Sweetwater account the same way you downloaded your previous version. For more information, check out the series of Studio One eBooks. Please note: version 1.3 does not cover the new features in version 6, although there will be a free update in the future. If you have questions about the tips, suggestions for future updates, or want news about the next version, please visit the dedicated support forum.