“Talk Box” Emulator for Guitar
Although this isn’t an actual talk box, it does give humanized mouth sounds with Studio One Professional. This is possible because the human mouth is a filter, and Studio One has filters…so let’s do it! Check out the audio example, then download the .multipreset to try it out for yourself.
Talk Box.multipreset – Click to download
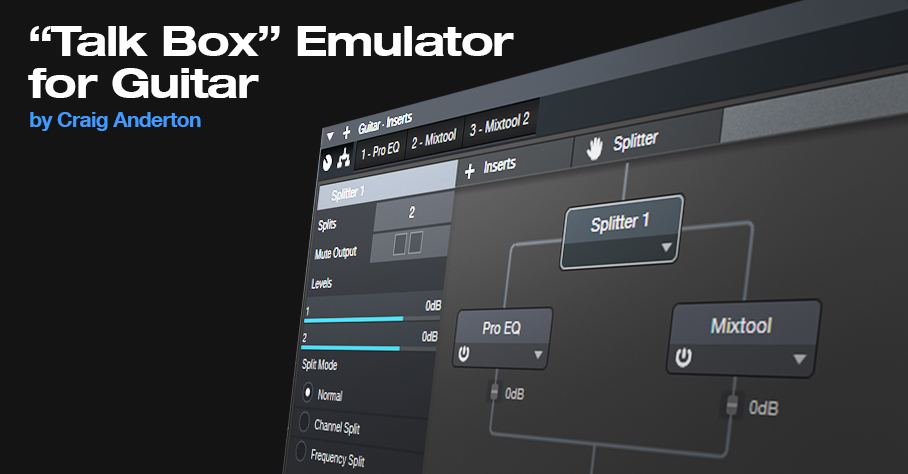
The Talk Box works by splitting the guitar (fig. 1). One split goes to a Pro EQ2, which uses a Channel Editor knob to sweep three bandpass filters simultaneously over the vocal range. The other split goes through a Mixtool that flips the phase, so it cancels all the audio from the Pro EQ2 except for the bandpass filter peaks.
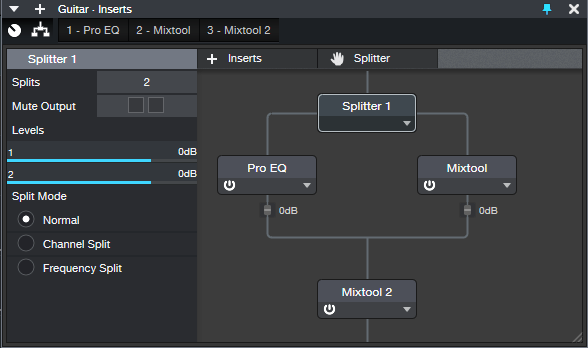
Figure 1: The Talk Box’s “block diagram.”
EQ Settings
The Pro EQ2 uses three stages (fig. 2). The LF stage, in Peaking mode, sweeps from about 250 to 500 Hz. The LMF stage sweeps from around 750 Hz to 1.5 kHz, while the MF stage sweeps from 1.5 to 3.0 kHz.
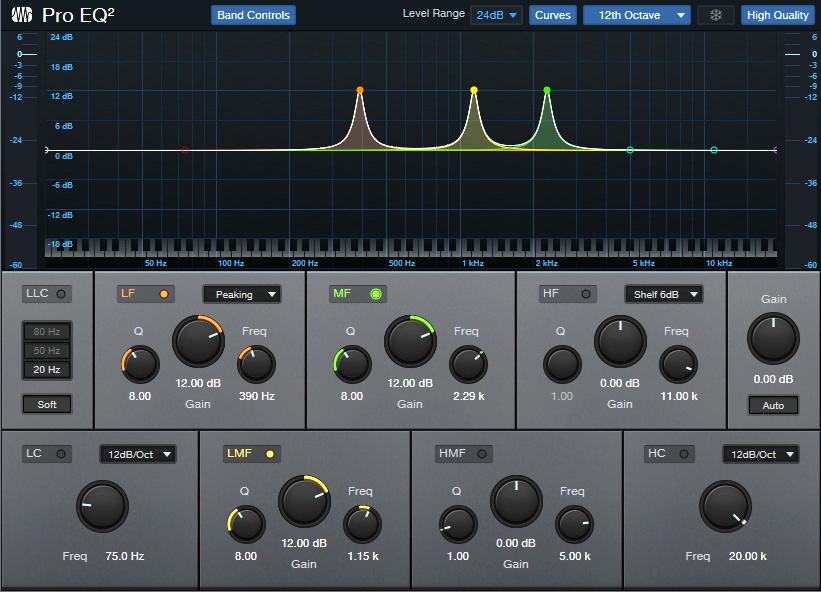
Figure 2: Pro EQ2 stages being used for the filtering.
Channel Editor Settings
Use the Channel Editor to assign the filter frequencies to a Macro control knob (fig. 3).
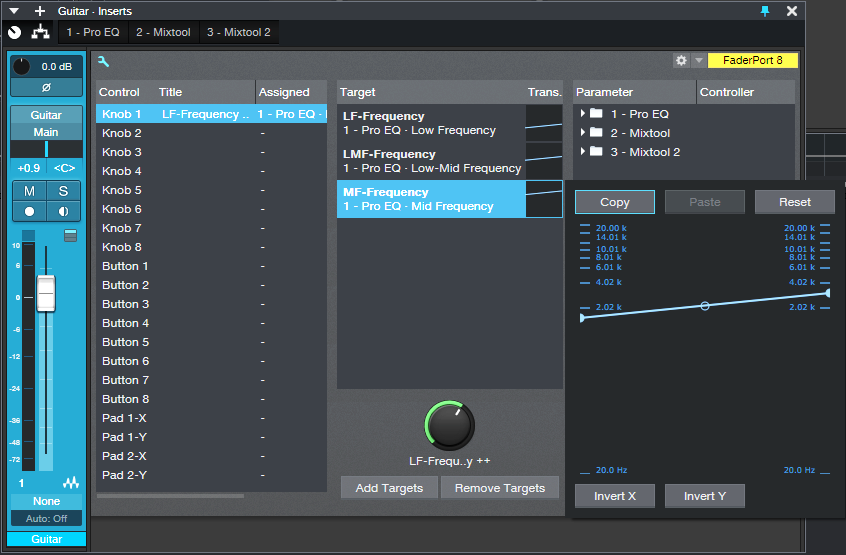
Figure 3: The Macro knob’s range has been edited to cover the Mid Frequency stage’s frequencies. Edit the other targets similarly
The second Mixtool at the output increases the level by 6 dB. This is necessary because one of the splits is out of phase. Because only the filter peaks come through, the output level is considerably lower than the input.
Everything described so far is included in the multipreset, but assigning the Macro knob to a MIDI controller or pedal is up to you. I did a blog post on a way to do this, and the information is also in The Huge Book of Studio One Tips and Tricks. (A heads-up for current owners of the book: a free update will be available soon with more tips, presets, and content, so stay tuned.)
Just remember that you can’t automate the Macro knob per se. You’ll need to add three Automation tracks, assigned to the Low, Low Mid, and Mid frequency parameters. Then, make sure they’re in Write mode when you move the Macro knob control, and they’ll automate the “talk box” changes.