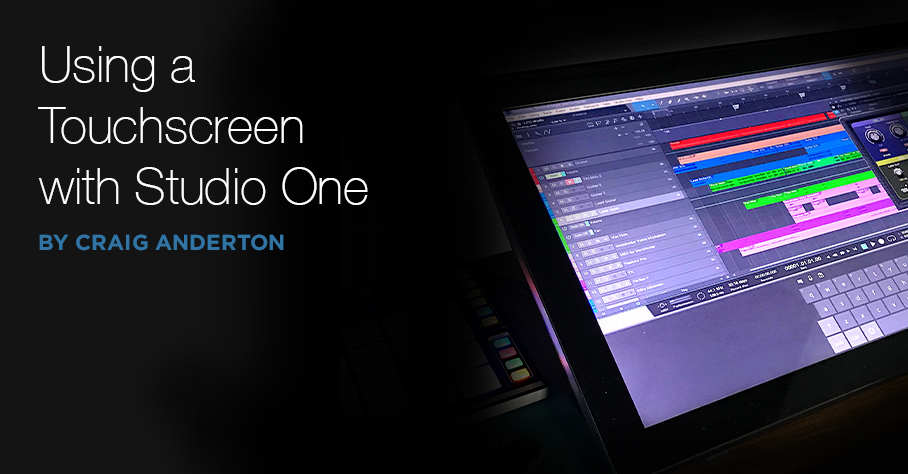
Using a Touchscreen with Studio One
The first touchscreens could detect a single touch, but modern touchscreens can handle up to ten touch points—which makes sense, because we have ten fingers. Studio One supports ten touch points natively on Windows, and thanks to a built-in TUIO extension, on the Mac as well.
DAW control with touch sounds sexy, but using touch on a large monitor is a different experience compared to using touch on a smartphone or tablet. Furthermore, whether a third-party plug-in supports multiple touchpoints is hit-or-miss. Also consider that a good touch monitor costs around $300—that’s quite a bit more than a standard monitor, so you need to decide how valuable touch would be to you.
Practically speaking, you probably don’t need touch, but it does offer two major advantages when working with Studio One. The main plus for me is being able to use a touchscreen control surface and mouse simultaneously—two-handed operation improves the physical workflow. The other advantage is being able to edit multiple parameters simultaneously with effects and virtual instruments (like adjusting filter cutoff while trimming the filter envelope amplitude, or editing EQ frequency and boost/cut8 simultaneously).
The Ergonomics of Using Touch
To use a touchscreen as a control surface, I lay the monitor down almost flat, at about a 20% angle (Fig. 1). It feels very much like working with a conventional hardware mixer. For this application, it’s vital that the monitor have an adjustable A-frame stand, so that you can adjust it to any angle you want.
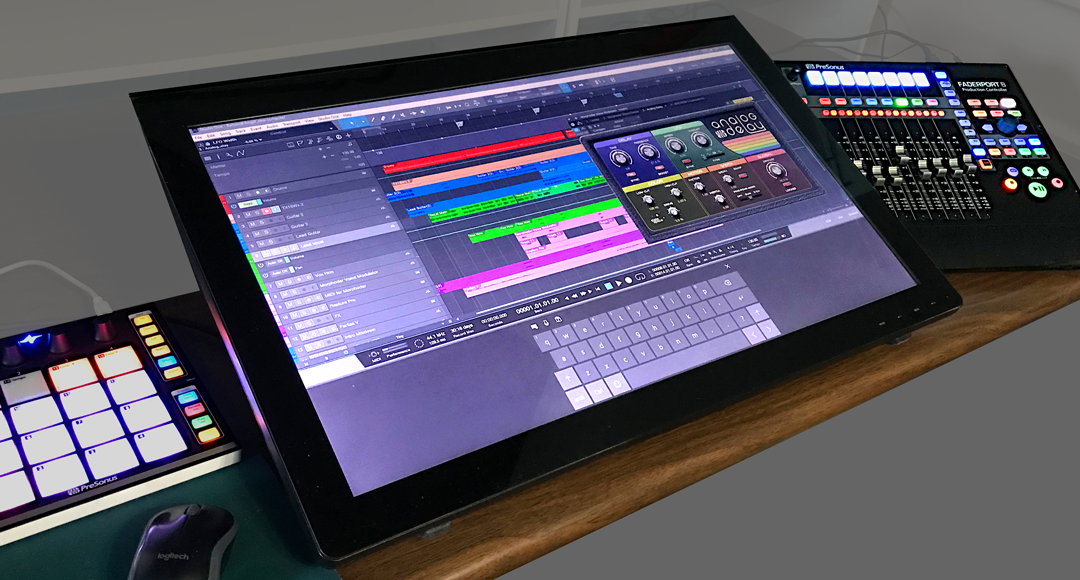
Figure 1: The Planar touchscreen is flanked by PreSonus control surfaces—that’s a lot of hands-on control. It’s at more of an angle than I normally use so that the screen is more visible.
Where touch doesn’t work, at least for me, is trying to use it with a conventional monitor placement (i.e., at a right angle to the desk surface, directly in front of you). Reaching out tires your arms; when I’m using the touch screen as a conventionally placed monitor for a project like writing an article, I rarely use touch. However, it can be helpful to move windows around while the mouse is doing something else, or touching a function after the mouse has made a selection. If you have RSI issues, touch can also provide a break from using a mouse all the time.
Also note that it takes a while to develop “touch technique.” You generally need to use the point of your finger to be sufficiently precise, and with the monitor at a low-lying angle, I usually have to aim a little toward the top of what I’m trying to hit. Also, you need to learn a few new tricks. You “right-click” simply by touching, and then continuing to hold your finger down until the context menu appears. And you can zoom tracks horizontally or vertically with two-finger pinches or stretches, which is pretty cool…as well move a project horizontally along the timeline by just swiping left or right.
Integrating a QWERTY Keyboard
You also need to decide how to integrate a QWERTY keyboard. If it’s in front of the touchscreen, then the touchscreen needs to go further back, which diminishes its ease of use because you have to reach further. One option is placing a keyboard on your lap, or adding an under-table keyboard drawer. Then you can slide the keyboard out when needed, and slide it back in when you want to concentrate on the touchscreen.
Another option is using Windows’ onscreen keyboard. Although primarily intended for tablet mode, right-click on the Taskbar, and choose “Show touch keyboard button.” This button will appear on the taskbar and persist; click on it to show/hide the keyboard. (Also for what it’s worth, you can enable a button for an onscreen touchpad.) Note that you have several keyboard options, from a mini-keyboard to one that includes Alt, Ctrl, Windows, and Function keys (Fig. 2).
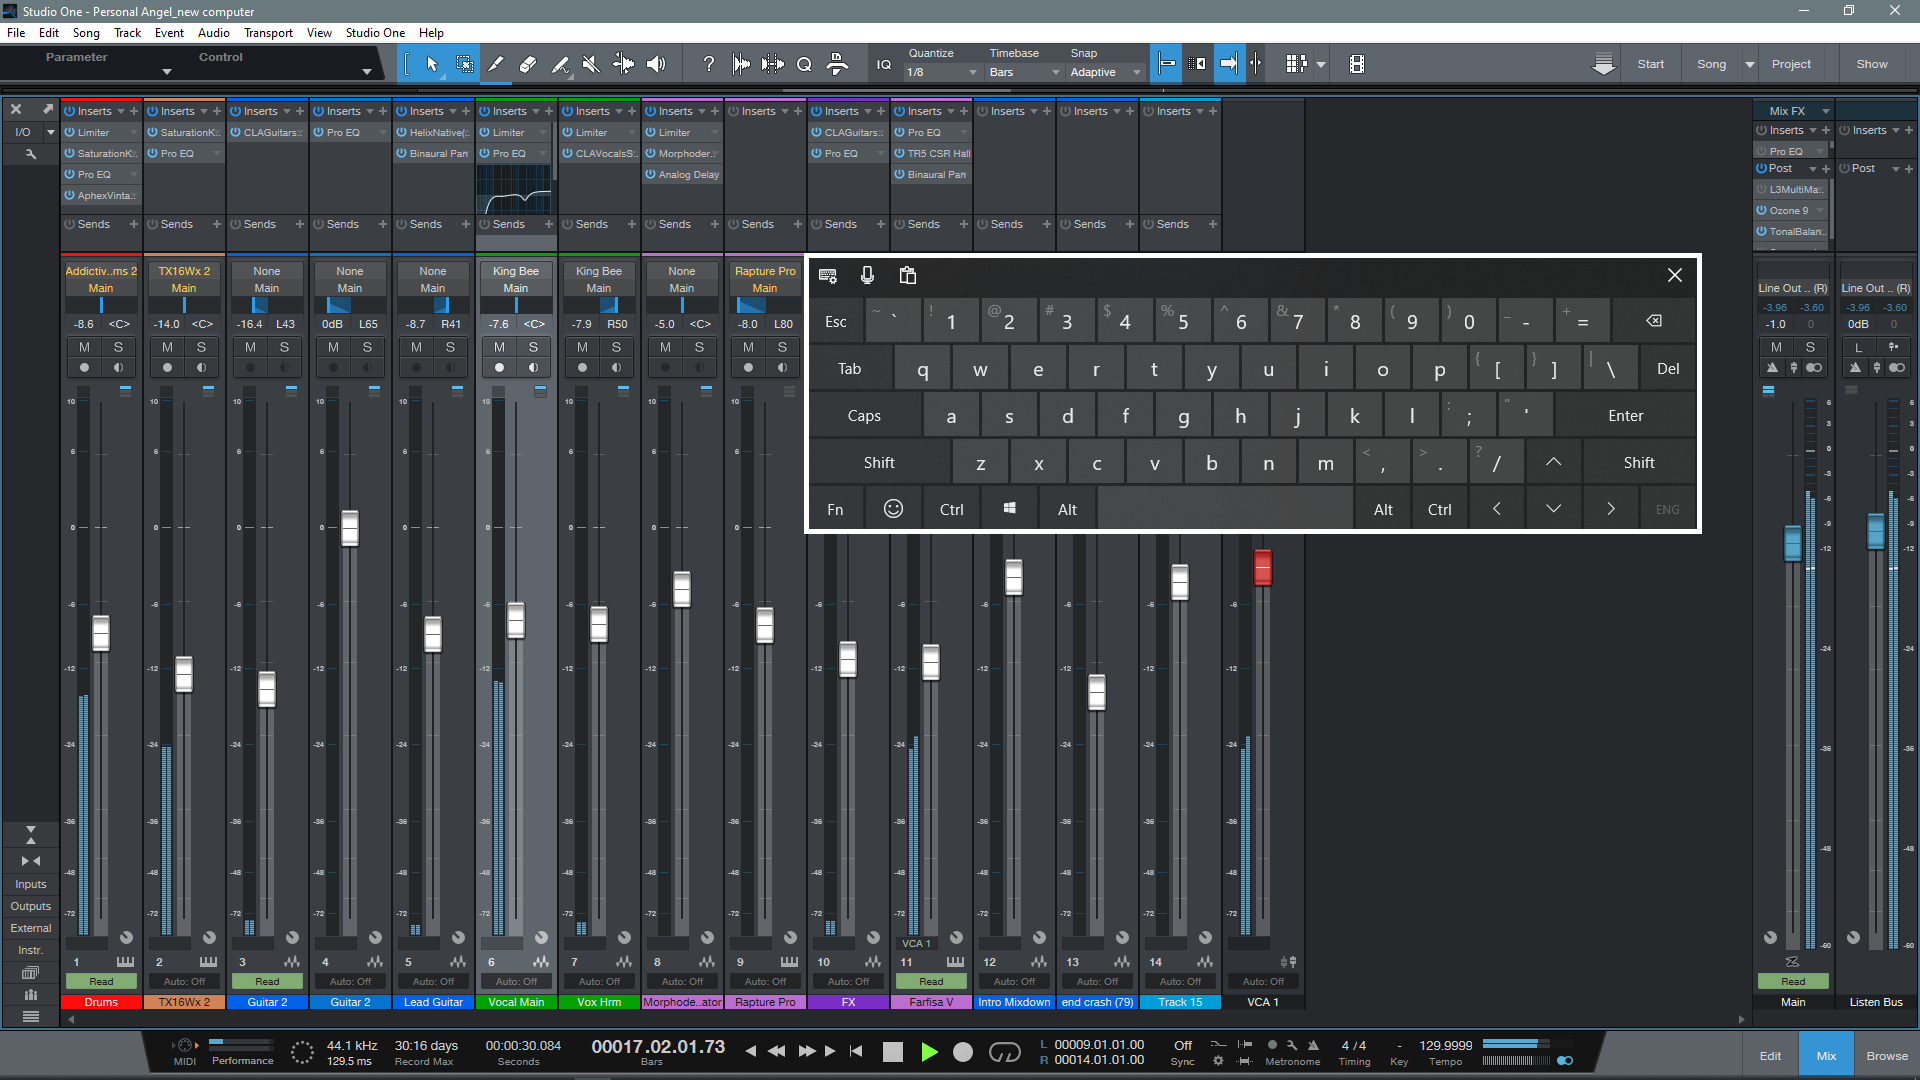
Figure 2: This shows the full keyboard, set for the option to float anywhere over the window. Note how the faders are stretched to give excellent touch resolution.
So Is It Worth It?
If you miss working on a hardware mixer surface, a gently angled, horizontal touch screen is pretty close to that experience. Studio One’s ability to extend the height of faders is also great—when you mostly want to concentrate on fine level adjustments, you can do so with touch. Multitouch on effect and instrument parameter adjustment is also welcome, especially compared to bouncing the mouse back and forth among parameters. Another factor is that unlike an external hardware control surface, you don’t have to “mentally map” the hardware to what you see on the screen—after all, you’re adjusting what’s on the screen.
If you have a choice between spending $300 on upgrading your speakers or buying a reasonably large touchscreen, I’d prioritize upgrading your speakers. But if you’re looking for a new tool that can give you an edge in certain workflows, a touchscreen may be the answer. And even if it isn’t, it can always serve as a conventional monitor, and provide an extra screen. And we can never have enough screens!